How to Set Up Your RV for the First Trip
There’s a special kind of nervous excitement that comes with your first RV trip — the kind where you’ve triple-checked the hitch, packed (and repacked) three times, and still feel like you’re forgetting something.
The truth is, setting up your RV properly before you ever hit the road makes the difference between a trip full of “we’ve got this” moments and one full of avoidable headaches.
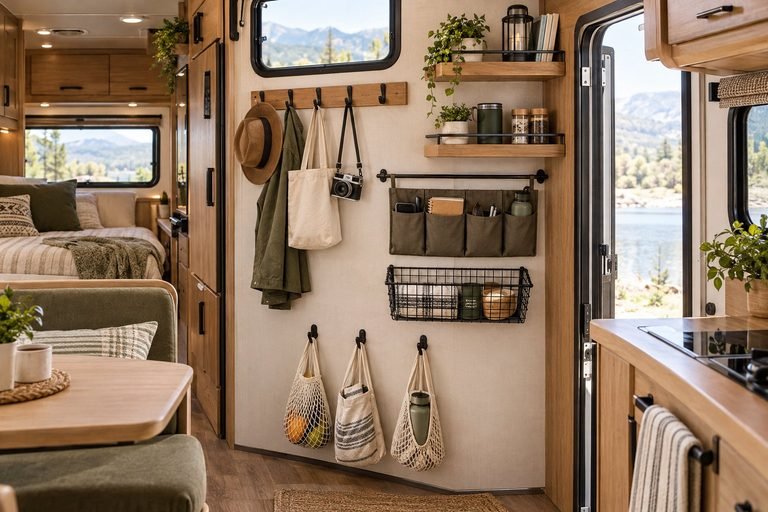
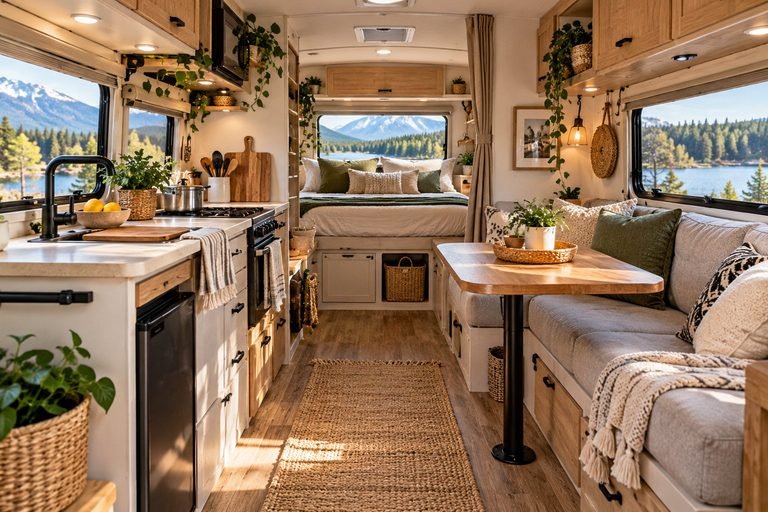
Before you go any further, it’s worth getting your basics dialed in. Start by browsing our best camping hacks and tips for a solid foundation, then get your rig organized with these RV organization accessories and hacks so nothing goes flying the moment you hit a bump.
Your kitchen deserves special attention too — check out our RV kitchen storage hacks to keep pots, pans, and snacks from turning into a game of Tetris every time you open a cabinet.
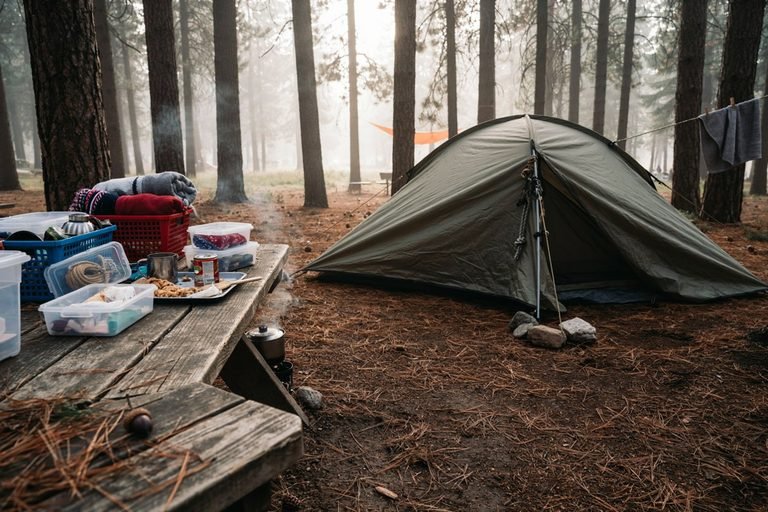
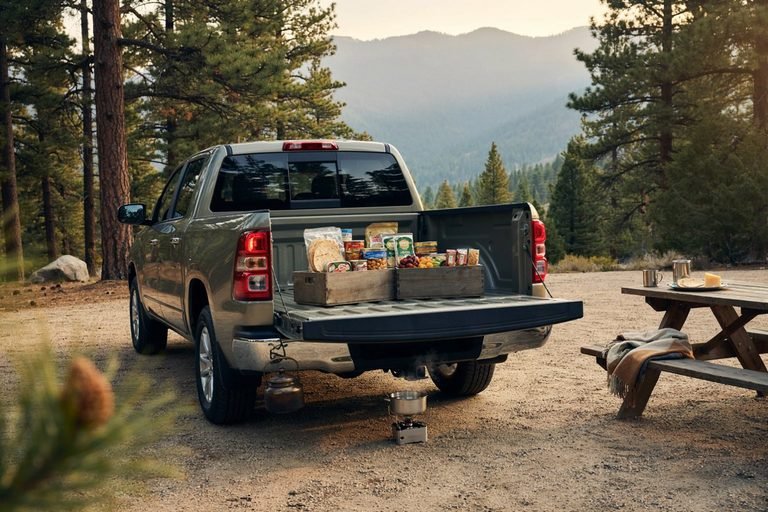
Once your space is set up, it’s time to think about what’s actually going in it. We’ve rounded up some easy, cheap camping meals that make mealtime simple even if your cooking setup is basic, plus a few clever DIY camping hacks that’ll save you money and frustration along the way.
And once you’re ready to actually plan where you’re headed, our bucket list RV campgrounds for 2027 is a great place to start dreaming up your route.
With your RV organized, stocked, and pointed in the right direction, you’re ready to tackle the essentials of your first trip setup — from hookups to safety checks to that all-important test drive around the block.
Get Your RV Ready Before You Leave Home
Planning an RV trip is exciting, but getting the RV properly set up before pulling out of the driveway can make the entire trip easier.
I have learned that a little preparation at home saves a lot of stress once you are on the road. An RV has more moving parts than a regular car, so I like to give myself enough time to check everything instead of rushing through the setup on departure day.
From checking the tires and fluids to organizing the kitchen, testing the lights, filling the water tank, and making sure everything inside is secured, each small task has a purpose. I also recommend doing a short practice setup if you are still getting comfortable with your RV.
Knowing where everything is and understanding how your systems work makes campground arrival much smoother. In this guide, I’m sharing the practical steps I use to prepare an RV for a trip, including the details that are easy to overlook when you are focused on getting on the road.
1. Give Yourself Enough Time to Prepare
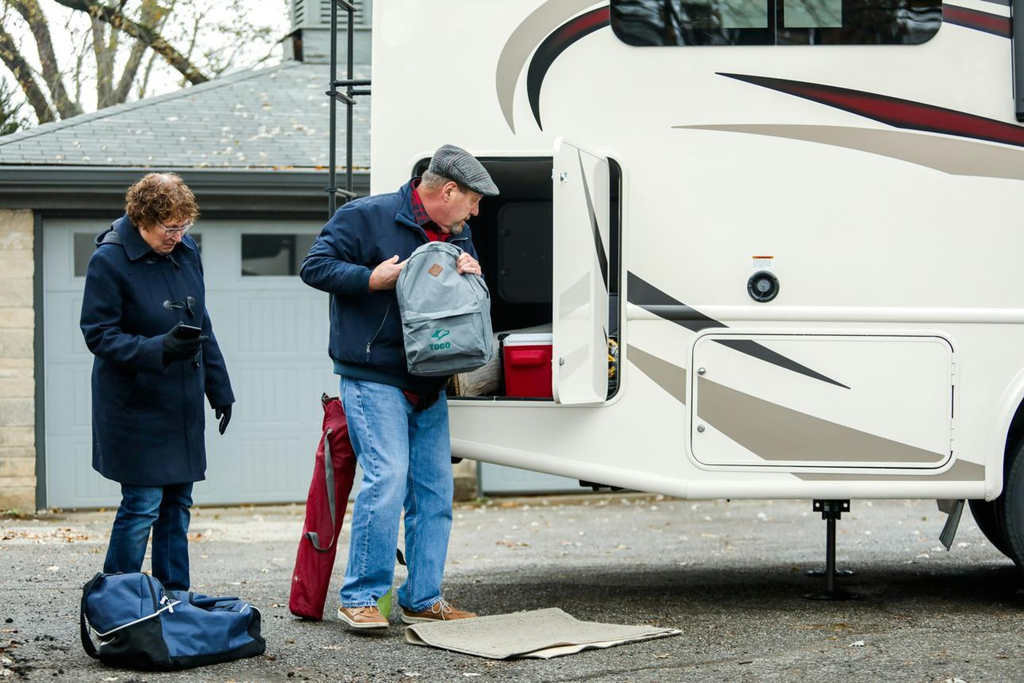
One of the easiest ways to make an RV trip stressful is trying to do everything a few hours before departure.
I prefer to start preparing the RV ahead of time. This gives me enough time to notice problems, find anything that needs replacing, and organize the things I actually want to take with me.
Before a trip, I usually walk through the RV with a simple list of jobs rather than trying to remember everything. I check the mechanical side first, then the water and electrical systems, followed by the interior and camping equipment.
This also gives me time to make small changes. If a cabinet is difficult to open, something needs reorganizing, or an item is taking up too much space, I would rather discover that at home than at a campground.
My practical tip: Avoid treating RV preparation as one huge job. Break it into smaller sections and work through them one at a time.
2. Check the Tires Before Every Trip
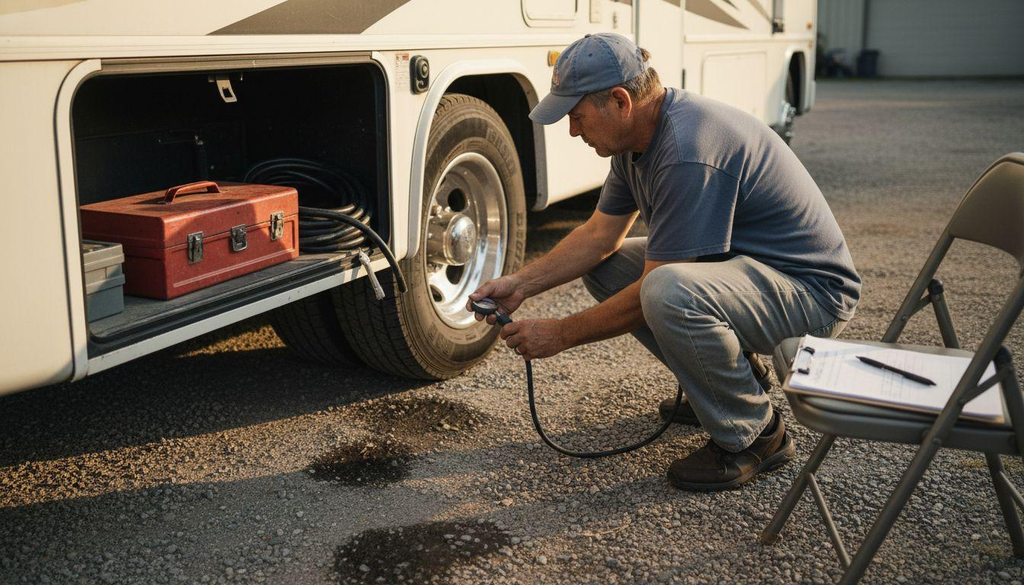
Your tires deserve extra attention before you put an RV on the highway.
I make checking the tires part of my regular pre trip routine because an RV can carry a significant amount of weight, and incorrect tire pressure can affect handling, tire wear, and safety.
Check the recommended tire pressure for your RV and inspect each tire for obvious problems. Look for cracks, unusual wear, bulges, cuts, or anything that does not look right.
Do not forget the spare tire if your RV has one. It is easy to check the four or six tires you can see and completely forget about the spare sitting underneath or in a storage compartment.
I also like to check the tires when they are cold because that gives me a more consistent pressure reading.
If your RV has been sitting for several weeks, give the tires an especially careful inspection before heading out.
3. Check the Engine, Fluids and Battery
6
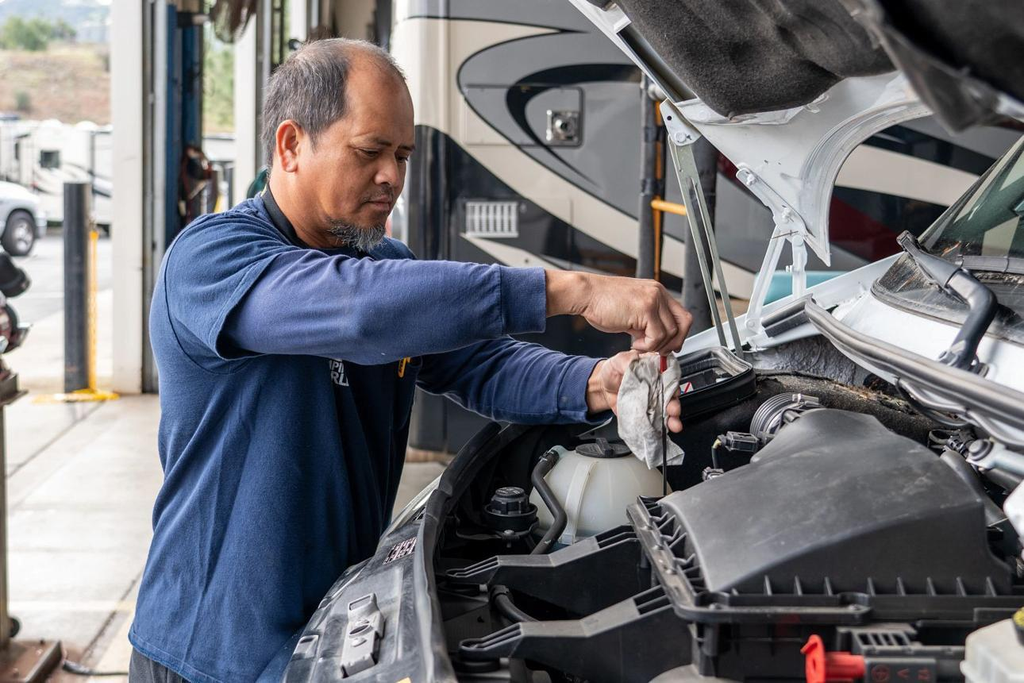
Before loading the RV with food and camping gear, take a few minutes to check the mechanical basics.
Depending on your RV, this can include:
- Engine oil
- Coolant
- Brake fluid
- Windshield washer fluid
- Transmission fluid if applicable
- Battery condition
- Belts and hoses
- Signs of fluid leaks
You do not need to be a mechanic to notice something unusual. If you see a new leak, damaged hose, loose connection, or warning light, it is better to investigate it before leaving home.
The battery is another area I never like to overlook. If the RV has been sitting unused, check that the starting battery and house batteries are in good condition and charged appropriately for your setup.
A few minutes spent checking these areas can prevent you from discovering a problem several hours into your trip.
4. Check the RV Lights and Electrical Connections
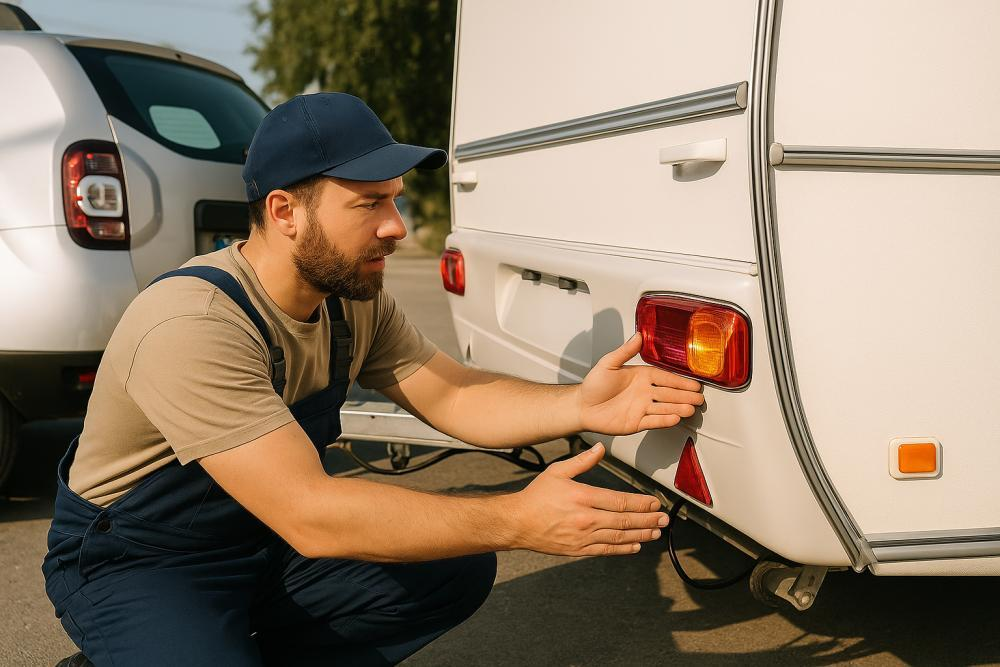
Walk around the RV and check the headlights, brake lights, turn signals, running lights, and any other exterior lights your RV uses.
If you are towing a trailer, check the trailer lights and make sure the electrical connection between the tow vehicle and trailer is secure.
Inside the RV, I also like to test the basic electrical equipment before leaving. Turn on a few lights and check outlets and appliances that you plan to use.
This is particularly useful if the RV has been sitting for a while. Finding out that something is not working at home is much easier than discovering it after arriving at your campsite.
5. Fill and Check Your Fresh Water System
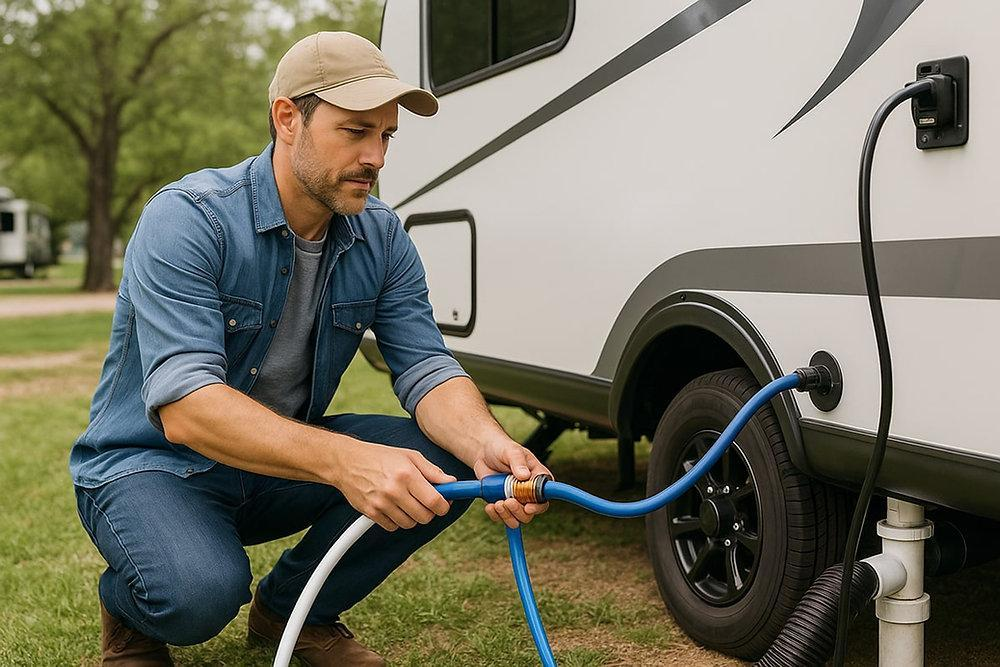
Water is another part of the RV setup that needs a little planning.
Before filling the fresh water tank, I check the tank, hose, connections, and fittings for leaks. Use a potable water hose intended for drinking water rather than an ordinary garden hose.
How much water you carry depends on your RV, destination, campground facilities, and how long you plan to stay.
I do not automatically fill the tank completely for every trip. Fresh water is heavy, so carrying more than you need can add unnecessary weight while traveling. If I know I am heading somewhere with reliable water access, I can adjust how much I carry.
Also check your gray and black water tanks before leaving. Starting a trip with tanks already close to capacity can create unnecessary problems once you are on the road.
6. Secure Everything Inside the RV
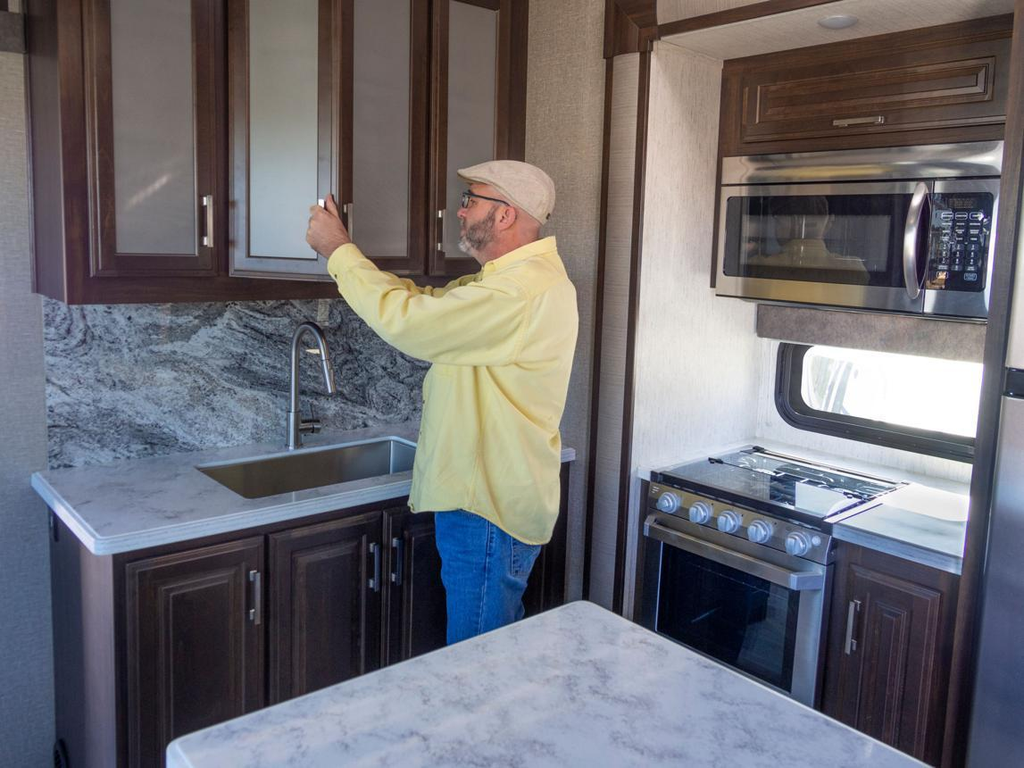
This is one of the steps that can make a surprisingly big difference.
Anything that can move while driving needs to be secured.
I check kitchen cabinets, drawers, refrigerator shelves, bathroom storage, countertop items, and anything sitting on open surfaces.
Heavy objects should be stored securely, preferably low and in places where they cannot shift around easily.
I also check cabinet latches by giving the doors a gentle pull. A cabinet that looks closed is not necessarily secure enough to handle several hours of road movement.
Before starting the engine, I like to do one final walk through the RV. Look at the counters, beds, bathroom, kitchen, and storage areas and ask yourself one simple question:
Could this move if I suddenly stopped?
If the answer is yes, secure it.
A Simple Pre Departure Routine
Once everything is ready, do one final walk around the RV rather than immediately getting behind the wheel.
Check:
- Tires
- Exterior lights
- Doors and storage compartments
- Awning
- Steps
- Windows
- Water connections
- Electrical connections
- Propane system
- Interior cabinets
- Refrigerator
- Loose items
- Hitch or towing connections if applicable
I find this final walkthrough useful because preparation happens in different stages, and it is easy to forget something you checked earlier.
Set Up the Inside of Your RV
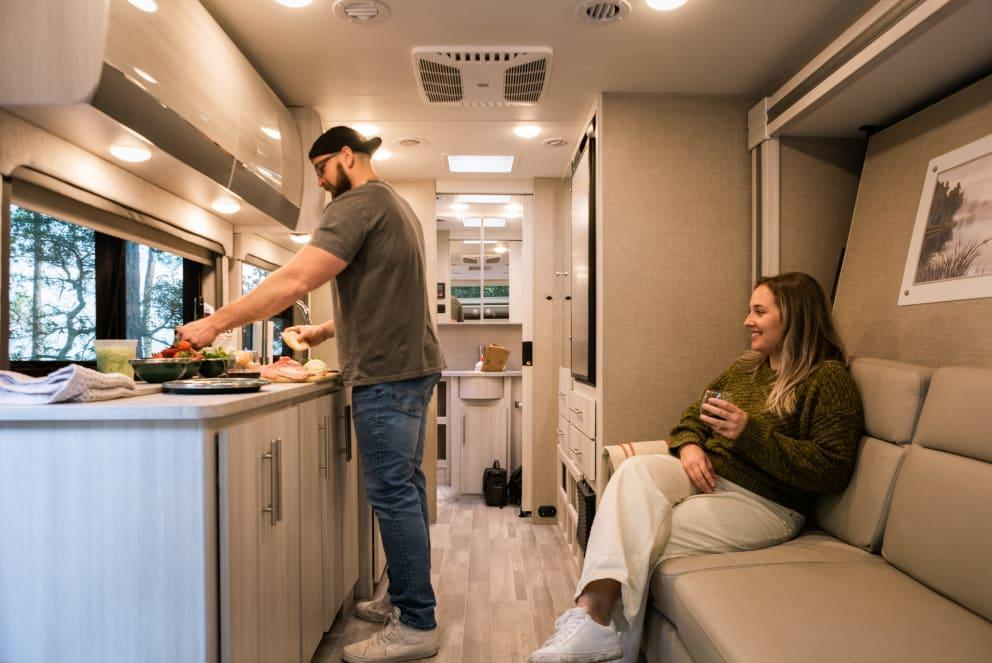
Once the mechanical checks are done, I move inside the RV and focus on making the living space practical for the trip. This is where I have found that good organization makes RV life much easier. You do not need to bring everything from home. You need the things you will actually use, stored where you can reach them easily.
7. Organize the RV Kitchen
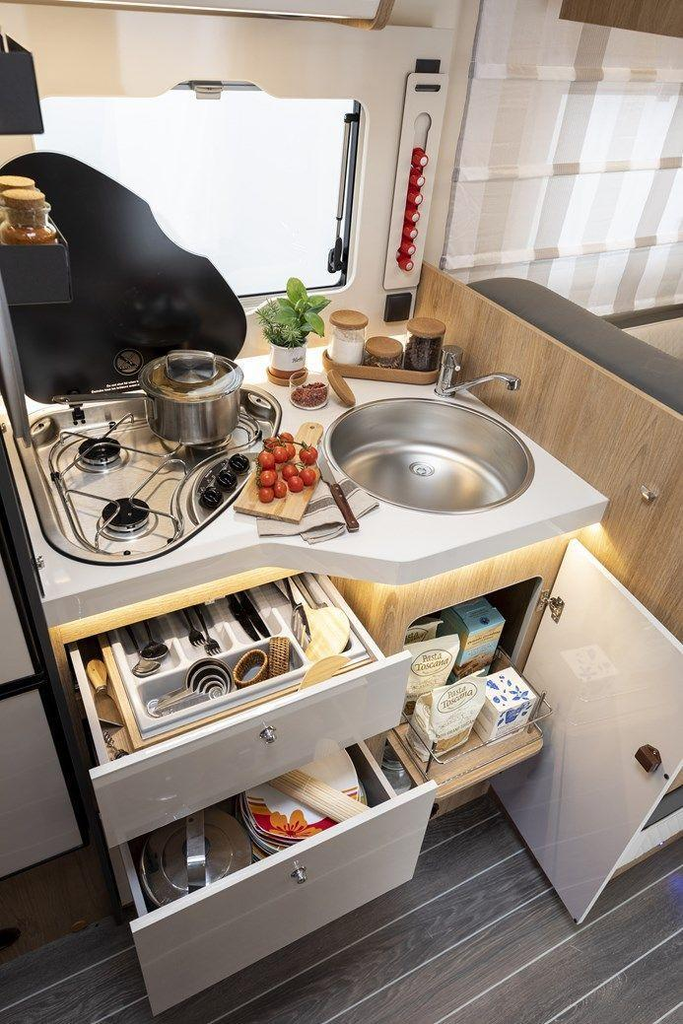
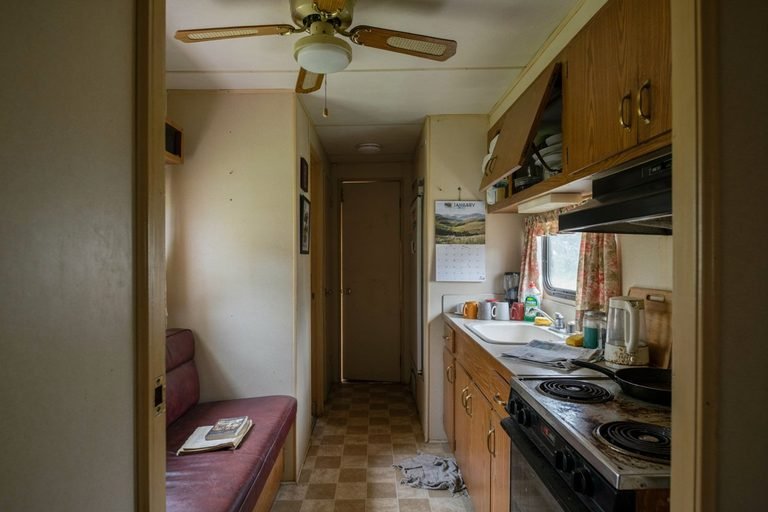
The kitchen is one of the areas I like to organize before anything else because it is easy to bring far more than you actually need.
I start with the basics I know I will use, including plates, bowls, cups, utensils, cooking pans, a cutting board, knives, and a few useful cooking tools.
Food should also be planned around the length of the trip. Instead of filling every cabinet with snacks and ingredients, I like to plan a few simple meals and pack accordingly.
Keep heavier kitchen items in lower cabinets where possible. Lightweight items can go into upper storage areas, but everything needs to be secure before driving.
I also recommend checking your refrigerator before leaving. Make sure it is working properly and that food is packed so containers cannot slide around while the RV is moving.
A little organization here makes cooking much easier once you arrive at camp.
8. Prepare the Bathroom
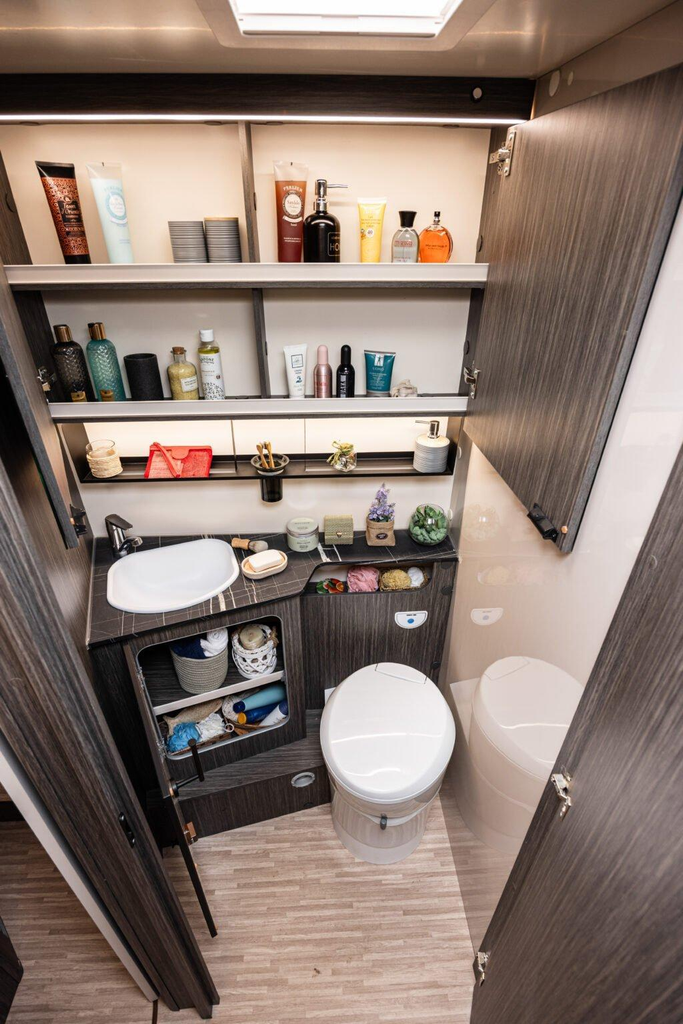
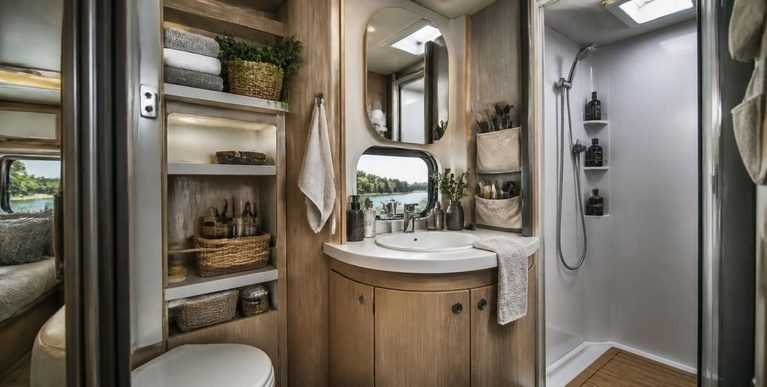
RV bathrooms are usually compact, so I try to keep this space simple.
Pack only the toiletries you actually need and use small containers when they make sense. Towels, toilet paper, soap, shampoo, toothbrushes, and other personal items should have a designated place.
Before leaving, check the bathroom fixtures and make sure there are no leaks around the sink, shower, or toilet.
If your RV has a separate toilet waste tank, make sure you understand how the system works before your trip. Knowing what can and cannot go into the toilet can save you from an unpleasant problem later.
I also secure anything sitting on shelves or counters because bathroom storage can become surprisingly messy after several hours of driving.
9. Make the Sleeping Area Ready
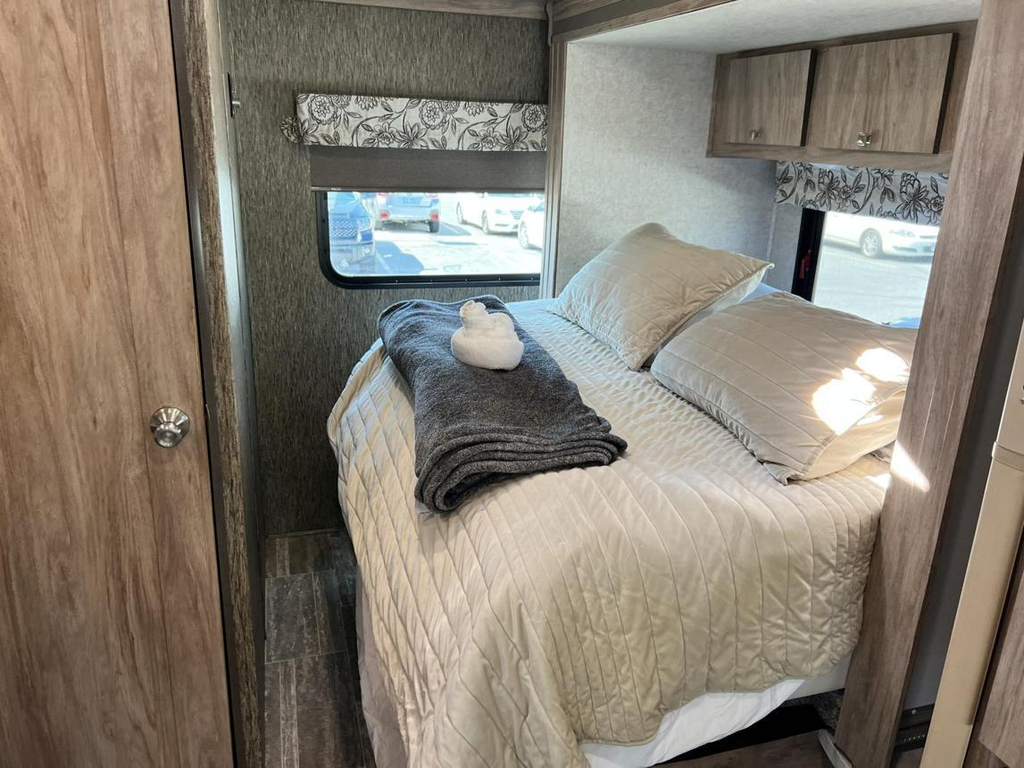
A comfortable sleeping area makes a big difference after a long day of driving.
Before leaving, I make sure the bedding is clean and ready rather than waiting until I arrive at the campground.
Depending on the season, this might include sheets, blankets, pillows, and an extra blanket for cooler nights.
I also keep the sleeping area free from unnecessary items. Anything left loose on a bed can become a problem when you need to convert the space or when items start moving during travel.
If your RV has a convertible dinette or sofa bed, practice converting it before the trip. It is much easier to figure out how everything works while parked at home.
10. Test Your RV’s Electrical System
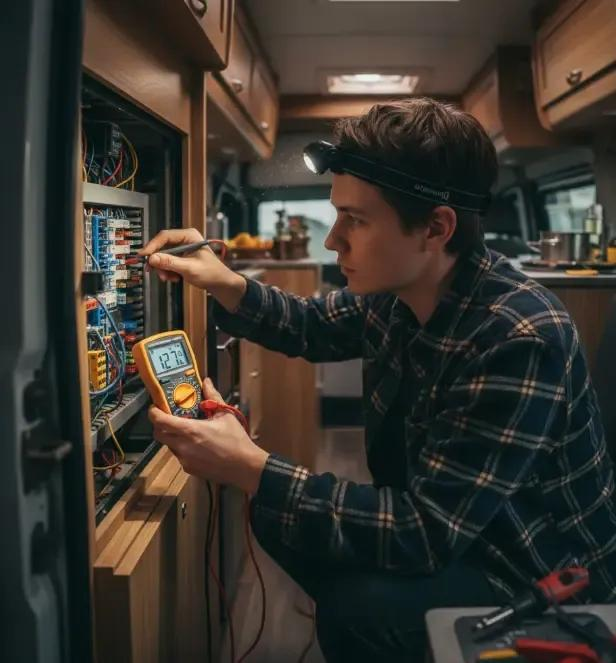
Understanding your RV’s electrical system before the trip can save a lot of confusion at the campground.
If your RV uses shore power, check the power cord and connections for visible damage. If you use an electrical management device or surge protection equipment, make sure it is ready to use.
Inside the RV, test the lights, outlets, and appliances you expect to use.
If your RV has a battery powered electrical system, check the battery level and understand what equipment can run from the batteries.
One mistake I try to avoid is assuming every appliance will work the same way regardless of whether the RV is connected to campground electricity, running from batteries, or using another power source.
Knowing the difference before leaving makes the setup process much less confusing.
11. Check the Propane System
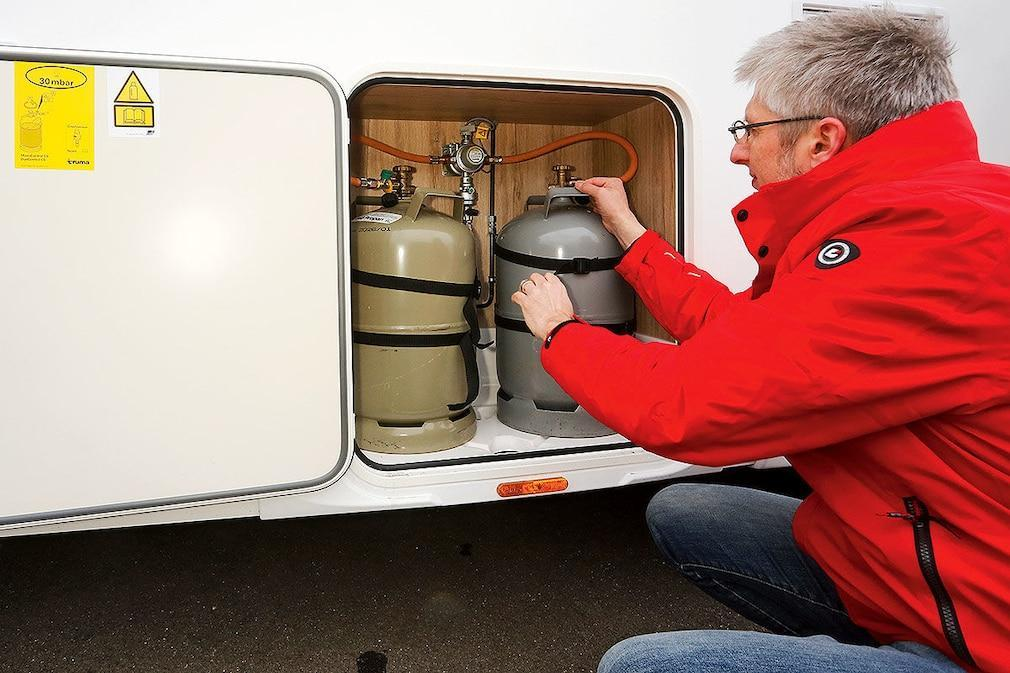
If your RV uses propane for cooking, heating, hot water, or refrigeration, check your propane supply before leaving.
Look at the tanks and connections and make sure everything appears to be in good condition. If you notice a propane smell or suspect a leak, do not ignore it. Have the system inspected by a qualified professional before using it.
I also like to know exactly which appliances depend on propane. That way I am not trying to figure things out at the campsite when I am already tired from the drive.
Keep propane cylinders secured according to your RV manufacturer’s instructions and campground rules.
12. Pack the Essential Camping Gear
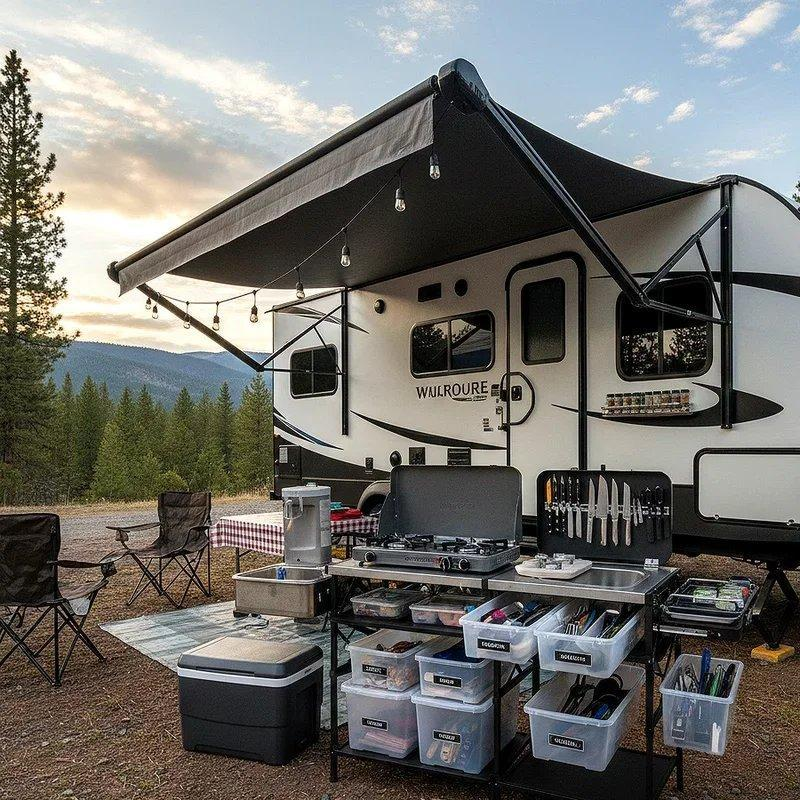
The temptation when preparing an RV is to keep adding things until every storage compartment is full.
I have found that a smaller collection of useful equipment is much easier to manage.
Some of the items I like to have available include:
- Fresh water hose
- Sewer hose and appropriate fittings
- Electrical hookup equipment
- Leveling blocks
- Wheel chocks
- Flashlight
- Basic tool kit
- Outdoor extension cord when appropriate
- Folding chairs
- Outdoor table
- Doormat
- Cleaning supplies
- First aid supplies
- Work gloves
The exact list will depend on your RV and the type of campground you are visiting.
For a full hookup campsite, you may need different equipment than you would for a basic campground without water, sewer, and electrical connections.
13. Create a Place for Everything
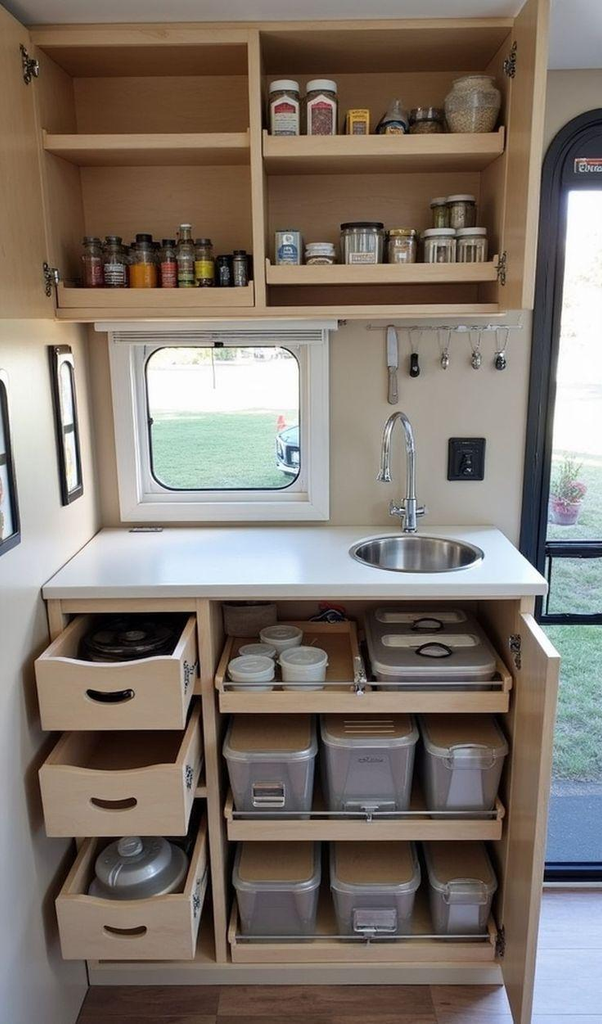
One of the best things you can do before your trip is give every frequently used item a home.
I do not want to search through several cabinets for a flashlight when I need it at night or empty half a storage compartment looking for a water connection.
Keep similar things together. Kitchen equipment stays in the kitchen, bathroom supplies stay in the bathroom, and outdoor setup equipment stays together where it can be reached easily.
Small storage bins can also help keep loose items from spreading throughout the RV.
You do not need an elaborate organization system. The important thing is being consistent so you know where things belong.
14. Do a Practice Setup Before the Trip
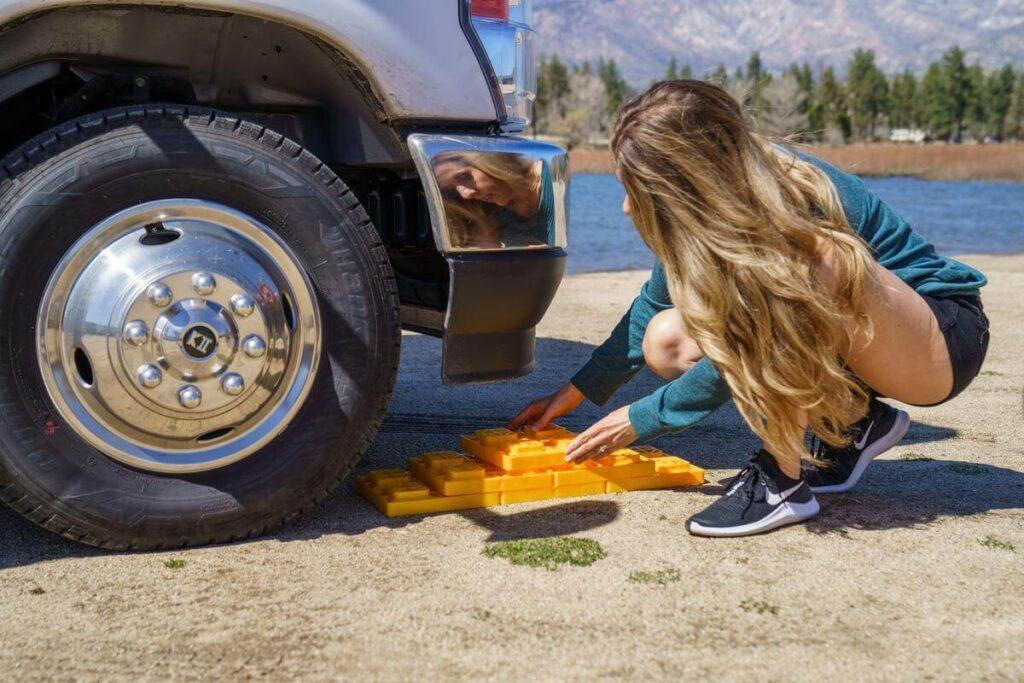
If you are unfamiliar with your RV, I strongly recommend doing a practice setup before the actual trip.
Park the RV somewhere suitable and practice the basic process.
Set up the leveling equipment, connect the water if appropriate, connect the electrical supply, test the appliances, open the awning, and arrange the inside of the RV.
If you are towing, practice the process involved with your trailer and tow vehicle in a safe area.
This practice run can reveal things you did not realize you needed to learn.
It also helps you develop a routine. Once you have practiced the same steps a few times, arriving at a campground feels much more manageable.
15. Do Not Overpack the RV
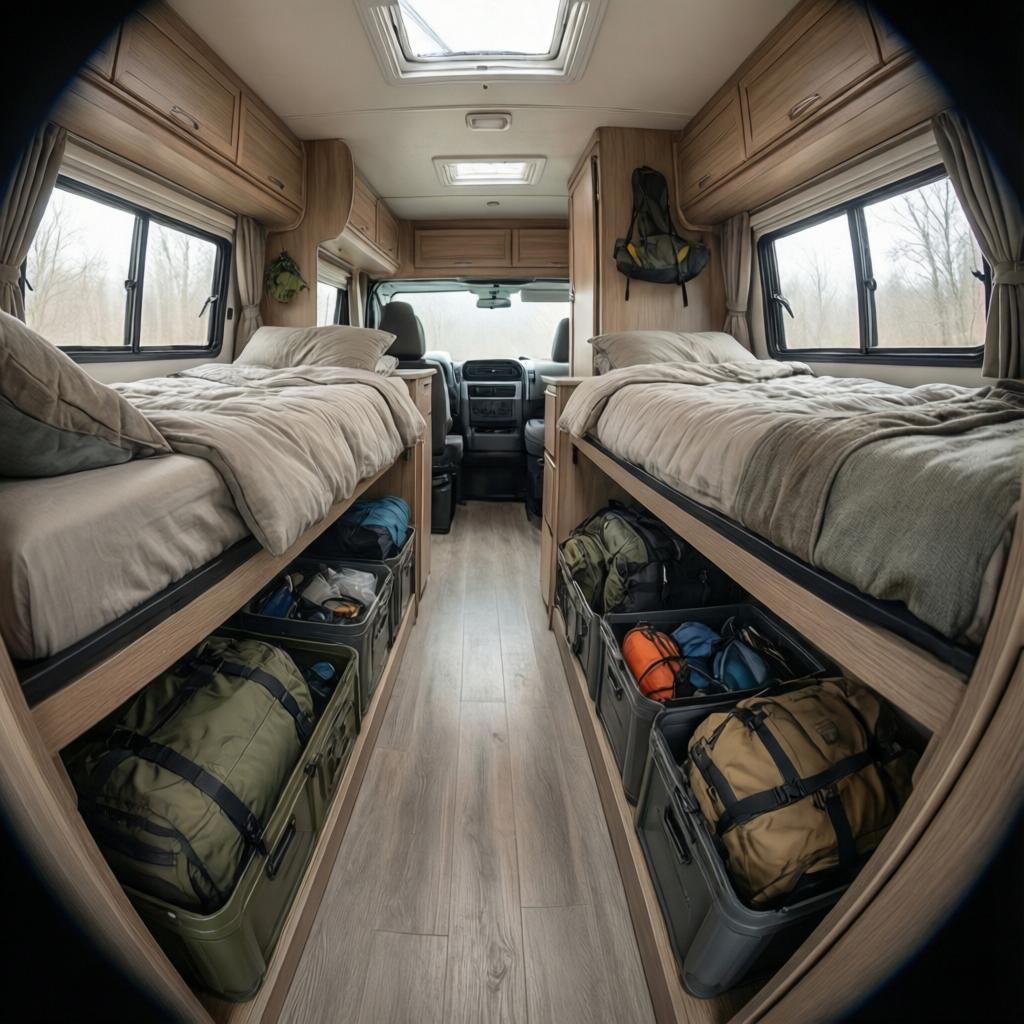
Packing an RV can feel completely different from packing a car because there is technically more storage available.
That does not mean every cabinet needs to be filled.
Extra items add weight and make it harder to find what you actually need. I prefer to start with the essentials and add things after I know they will genuinely be useful.
Think about the trip itself. A weekend at a campground with full hookups requires a different setup from a week of boondocking.
Before closing the final cabinet, ask yourself whether you really need each item.
That simple question can keep your RV lighter, cleaner, and easier to manage.
Final Checks, Arriving at the Campsite and Setting Up
Getting the RV ready at home is only half of the process. The next part is making sure everything stays secure during the drive and knowing exactly what to do when you arrive at the campground.
I have found that having a simple arrival routine makes RV setup much less stressful. Instead of immediately opening cabinets, extending slides, or connecting everything at once, I like to take a moment to look around the campsite and decide where the RV needs to go.
From there, I work through the setup in the same order each time. This keeps me from forgetting important details and helps me avoid having to redo something later.
16. Check the Campsite Before You Park
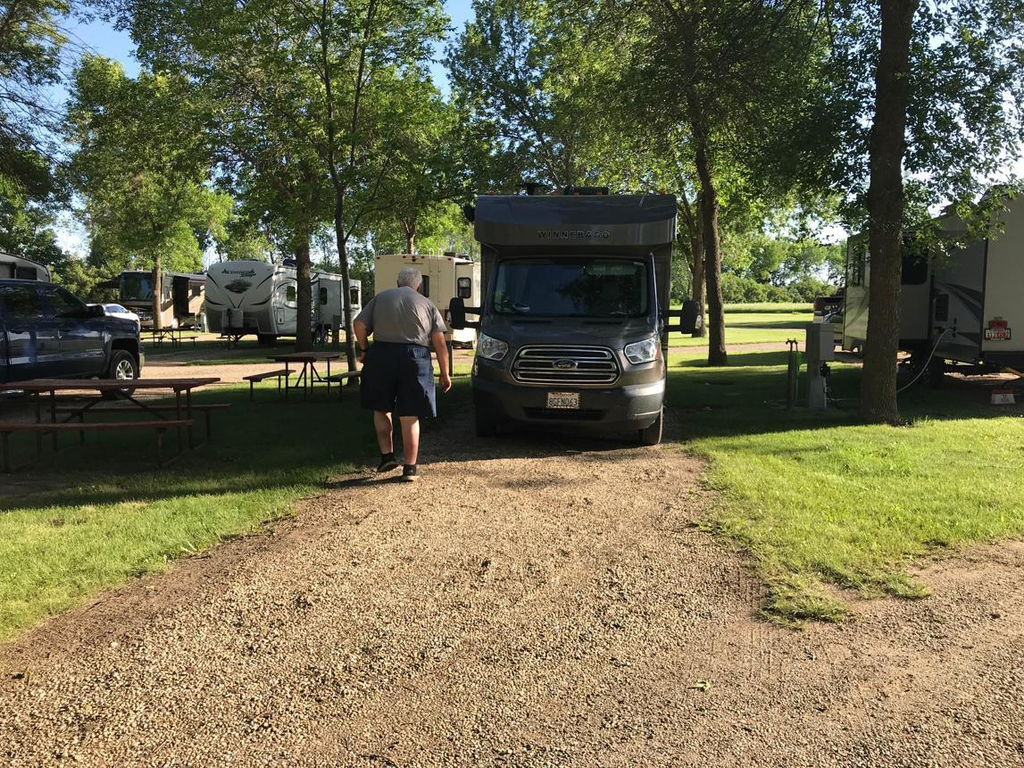
When you arrive at your campground, resist the urge to immediately pull into the site without looking around.
I like to walk around the campsite when possible and check the available space before positioning the RV. Look for low branches, posts, rocks, uneven ground, utility connections, and anything else that could interfere with the RV.
Pay attention to where the electrical pedestal, water connection, and sewer connection are located. Ideally, you want the RV positioned so your hookups can reach without stretching hoses and cables unnecessarily.
If you are towing a trailer, think about how you will leave the campsite before you finish parking. A little planning at the beginning can make departure much easier.
17. Level the RV Before Settling In
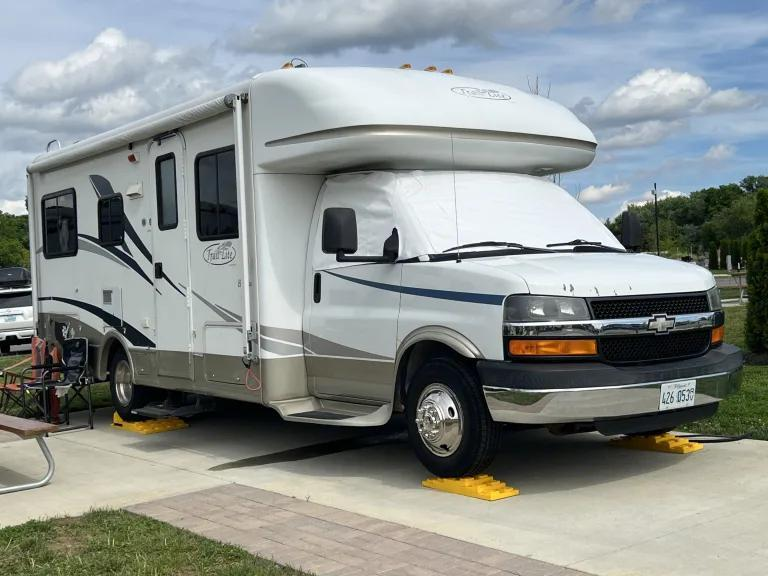
Once the RV is in position, leveling should be one of your priorities.
Use the leveling equipment appropriate for your RV and follow the manufacturer’s instructions. Wheel chocks are also important because they help prevent unwanted movement while the RV is parked.
I like to take my time with this step rather than trying to rush it.
A level RV is more comfortable, makes everyday tasks easier, and can help certain RV systems operate as intended.
If your RV has automatic leveling, still make sure you understand how the system works before relying on it.
18. Connect Your Campground Hookups
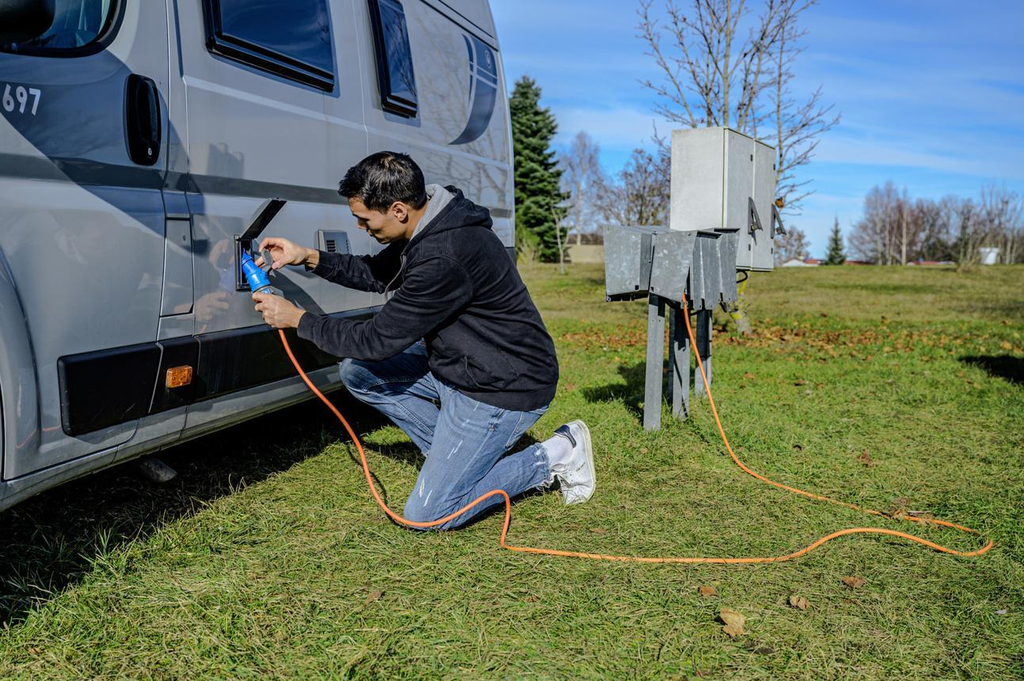
After the RV is safely positioned and leveled, you can connect the utilities your campsite provides.
Depending on the campground, you may have:
- Electricity
- Fresh water
- Sewer
- Cable or other site specific services
Take your time with each connection and make sure the fittings are secure.
For electrical hookups, use equipment that is appropriate for your RV and follow the RV and campground instructions.
For water, use a potable water hose and any appropriate pressure regulating equipment recommended for your setup.
For sewer connections, make sure the hose and fittings are properly secured before using the system.
I prefer to connect one utility at a time rather than trying to handle several hoses and cables at once.
19. Inspect the RV After the Drive
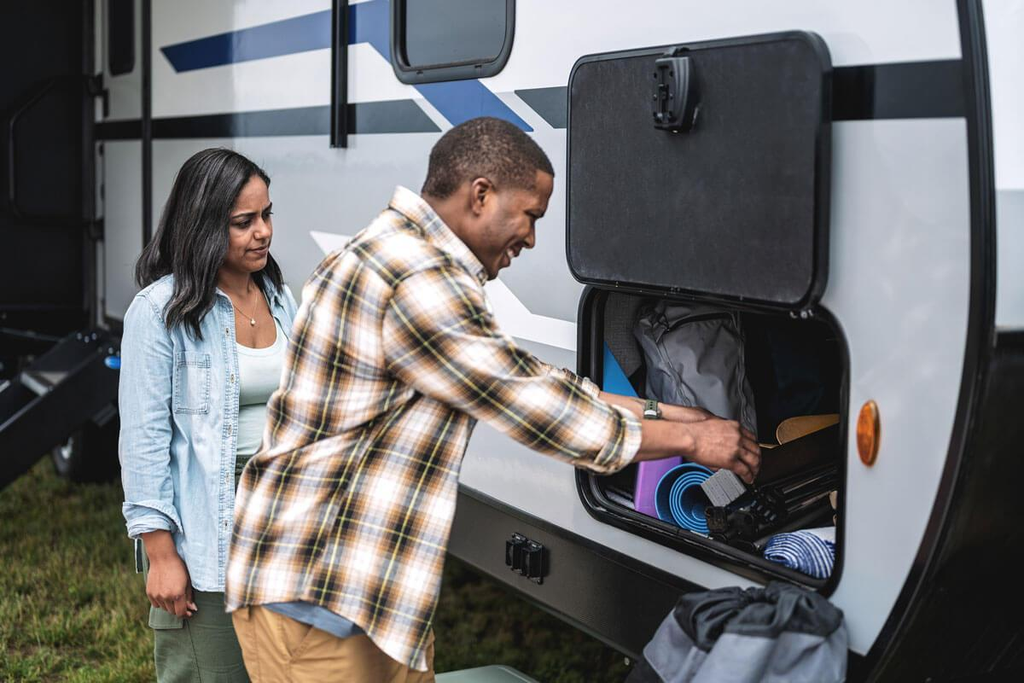
Even when everything was secure before leaving, it is worth doing another quick inspection after driving.
Walk around the outside and check the storage compartments, tires, doors, connections, and exterior equipment.
Inside, look through the cabinets and refrigerator to make sure nothing has shifted significantly.
This is also a good opportunity to check for anything that may have become loose during the journey.
I find this little inspection useful because the RV has just experienced hours of movement, bumps, turns, and braking. A quick look around gives me peace of mind before I start setting everything up.
20. Set Up the Interior Before the Outdoor Area
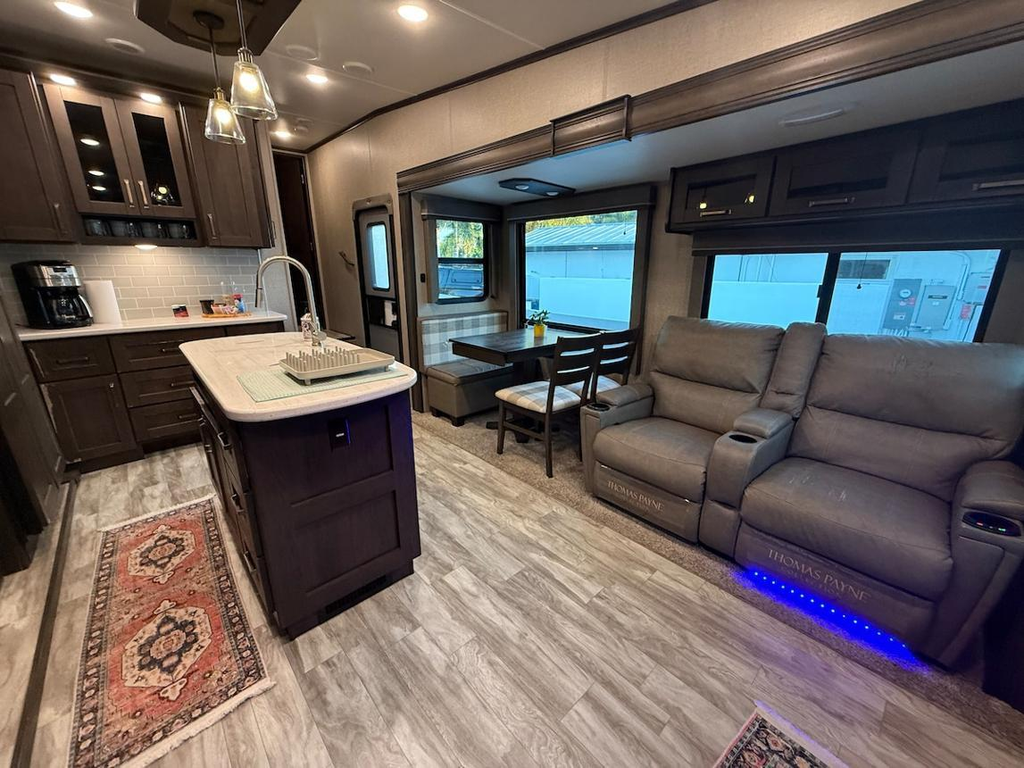
Once the RV is safely parked and connected, I like to make the inside comfortable before spending too much time outside.
Put away anything that needs to come out of storage, prepare the bed, organize the kitchen, and make sure the bathroom is ready to use.
If your RV has slide outs, make sure there is enough clearance around them before extending them.
Keep an eye on where people will walk through the RV. The goal is to create a setup that feels practical rather than filling every available surface with equipment.
21. Set Up the Outdoor Living Space
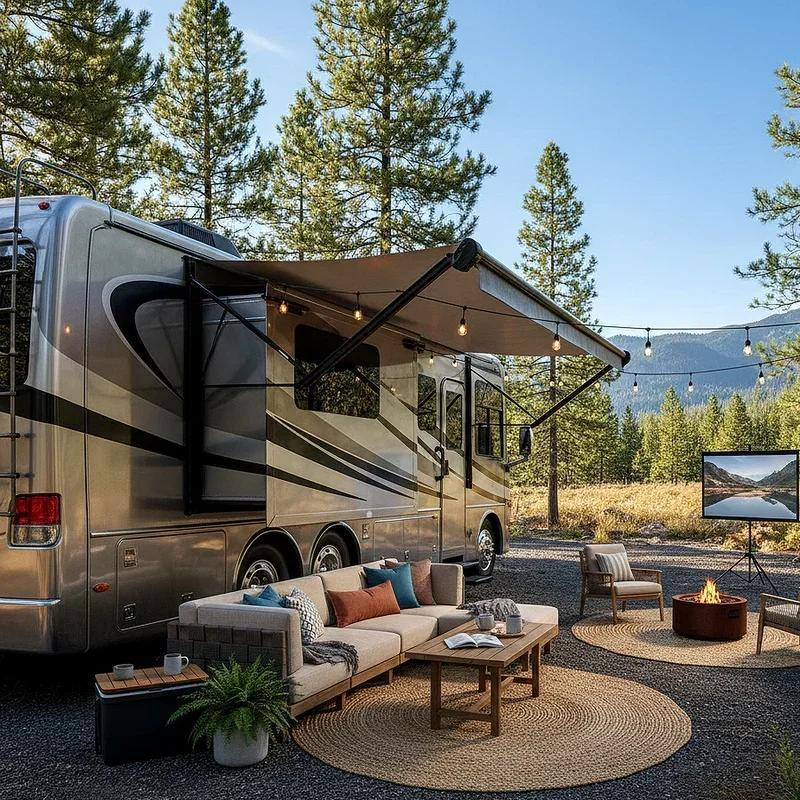
Once everything inside is ready, you can create your outdoor living area.
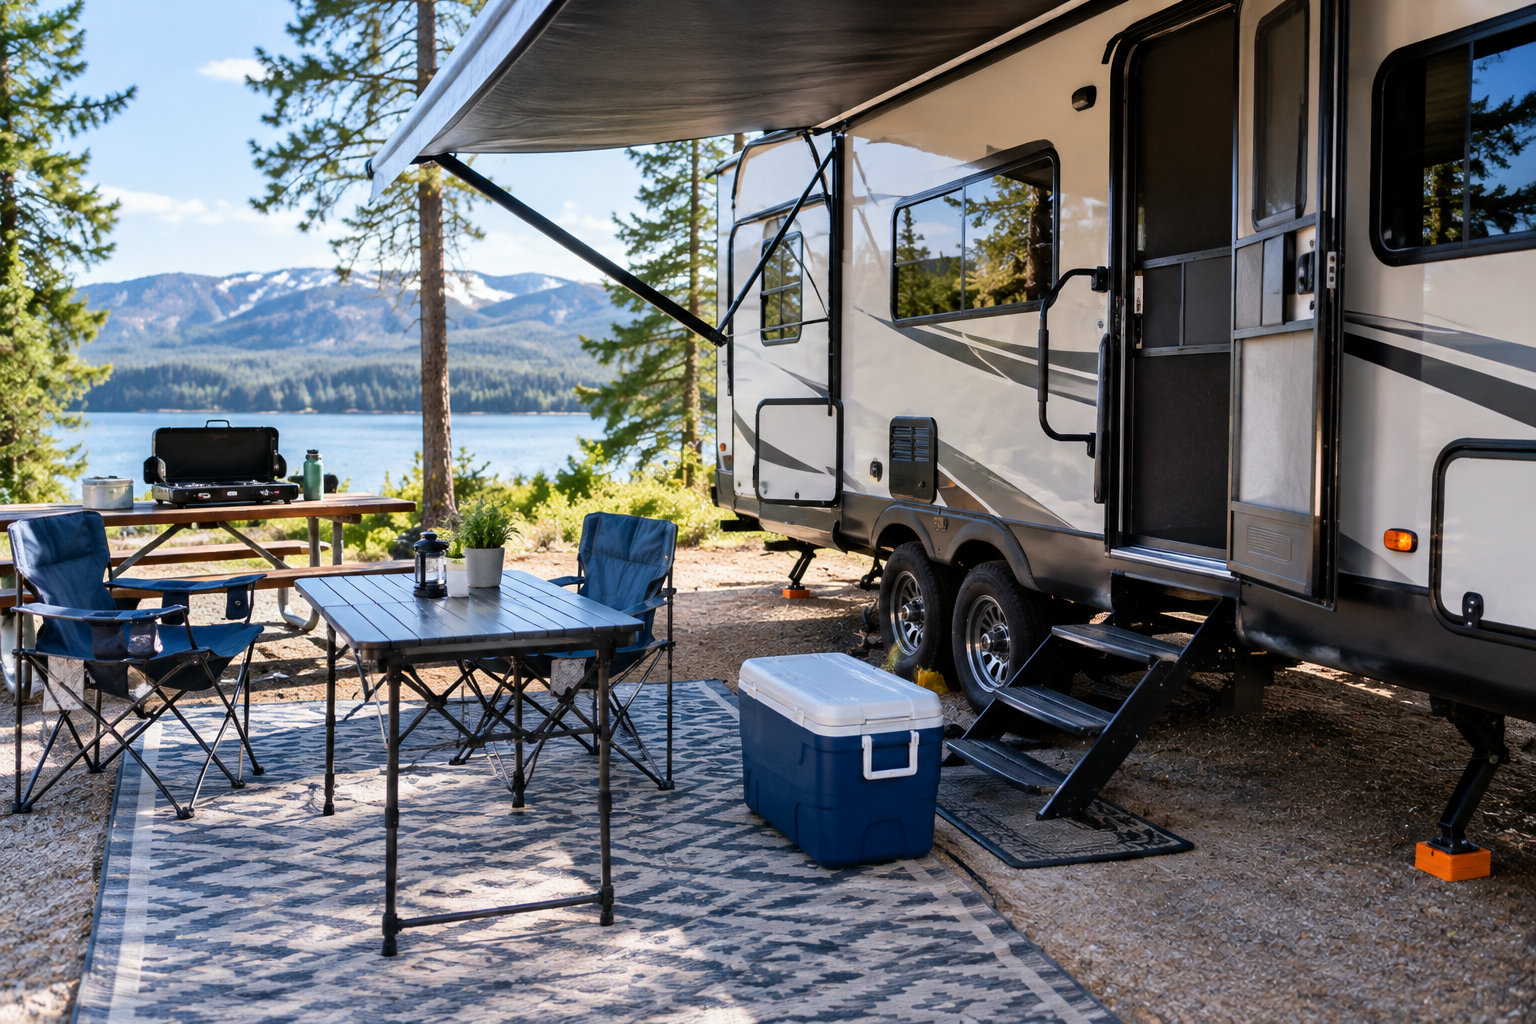
Depending on your campsite, this might include opening the awning, placing outdoor chairs, setting up a small table, and putting down a doormat.
Before opening the awning, always check the surroundings. Look for tree branches and other obstacles that could interfere with it.
Weather matters too. If strong wind or severe weather is expected, follow your awning manufacturer’s guidance and consider keeping it retracted.
I like keeping the outdoor setup simple. A couple of comfortable chairs and a small table can be enough to make the campsite feel like an extension of the RV without creating a huge amount of equipment to pack away later.
22. Do a Final Safety Walk Around
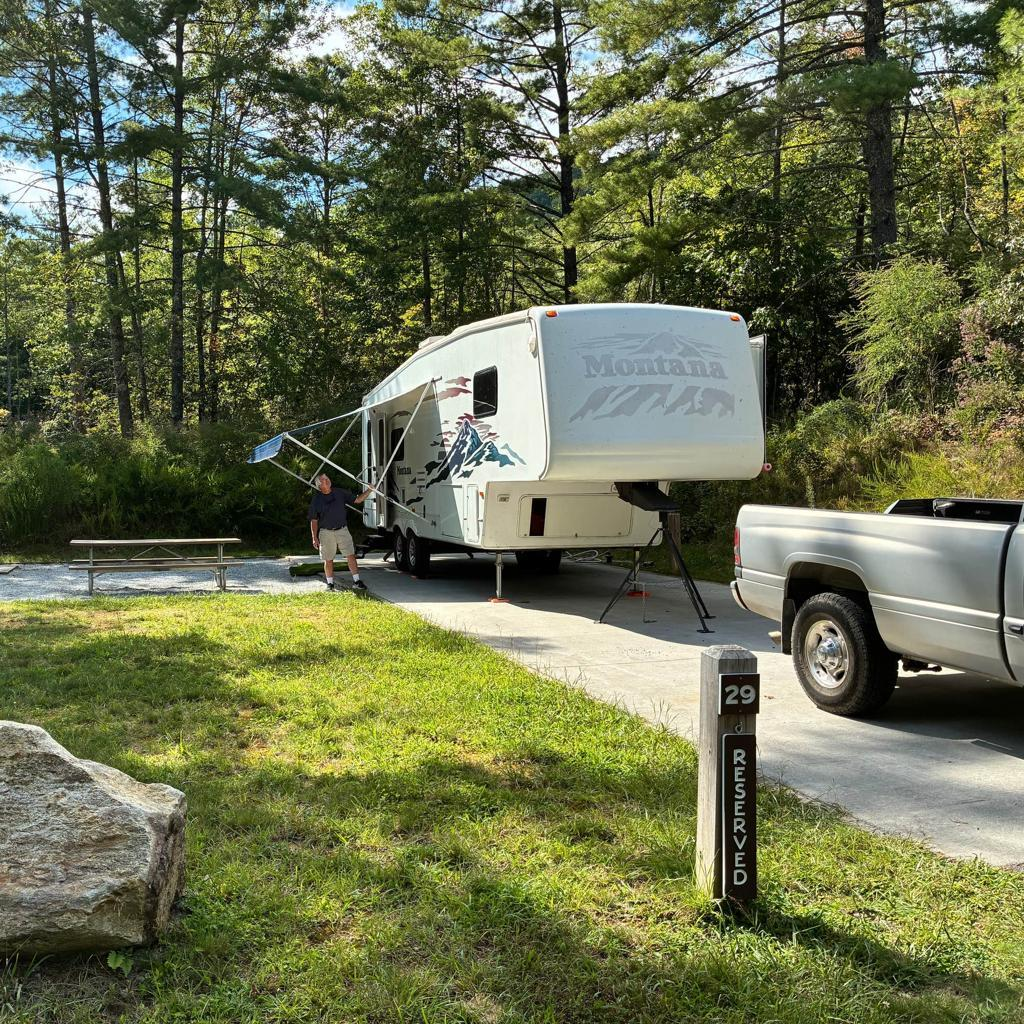
Before settling down, do one final walk around the RV.
Check that:
- The RV is stable and properly positioned
- Wheel chocks are in place
- Utility connections are secure
- Storage compartments are closed
- Electrical cables are positioned safely
- Water connections are not leaking
- Sewer connections are secure
- Awning has adequate clearance
- Steps are stable
- Nothing creates a trip hazard around the campsite
This only takes a few minutes, but it can catch small problems before they become bigger ones.
23. Common RV Setup Mistakes to Avoid
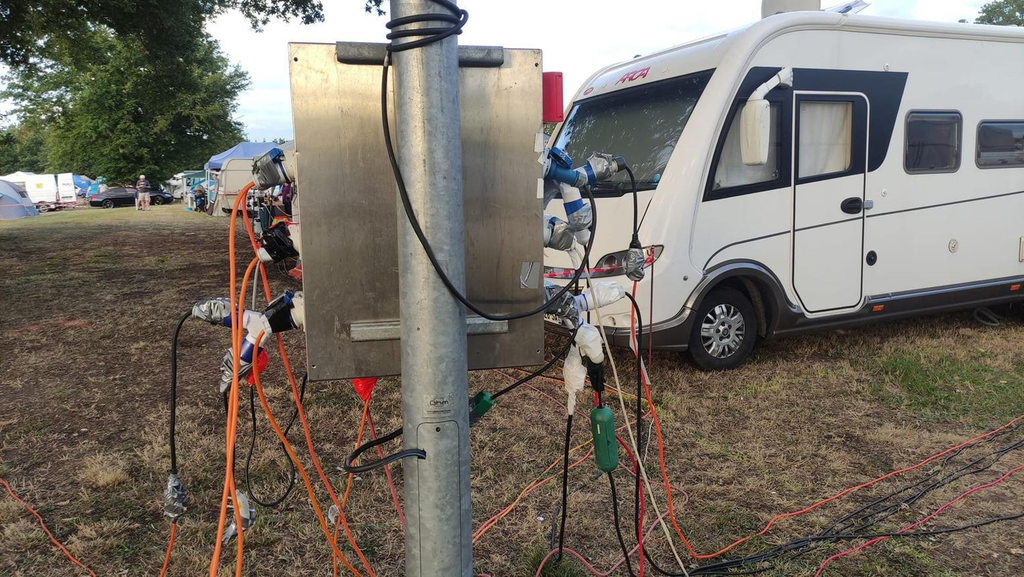
There are a few mistakes that are particularly easy to make when you are still learning your RV.
Forgetting to Check Overhead Clearance
Low branches can cause expensive damage to an RV. Always look above the RV when entering and positioning your campsite.
Forgetting to Secure Interior Items
A cabinet that looks closed can still open while driving. Check your latches and secure loose belongings before departure.
Carrying Too Much Water
Water is heavy. Carry an appropriate amount for your trip and consider the availability of water at your destination.
Skipping the Tire Check
Do not assume your tires are fine because they looked fine on the last trip. Make tire inspection part of your departure routine.
Arriving Without Knowing Your RV Systems
Spend time learning the basics of your water, electrical, propane, refrigerator, waste, and leveling systems before your trip.
Setting Up Too Quickly
There is no prize for finishing campsite setup in the shortest amount of time. Slow down and follow the same sequence each time.
24. Keep an RV Setup Checklist in the RV
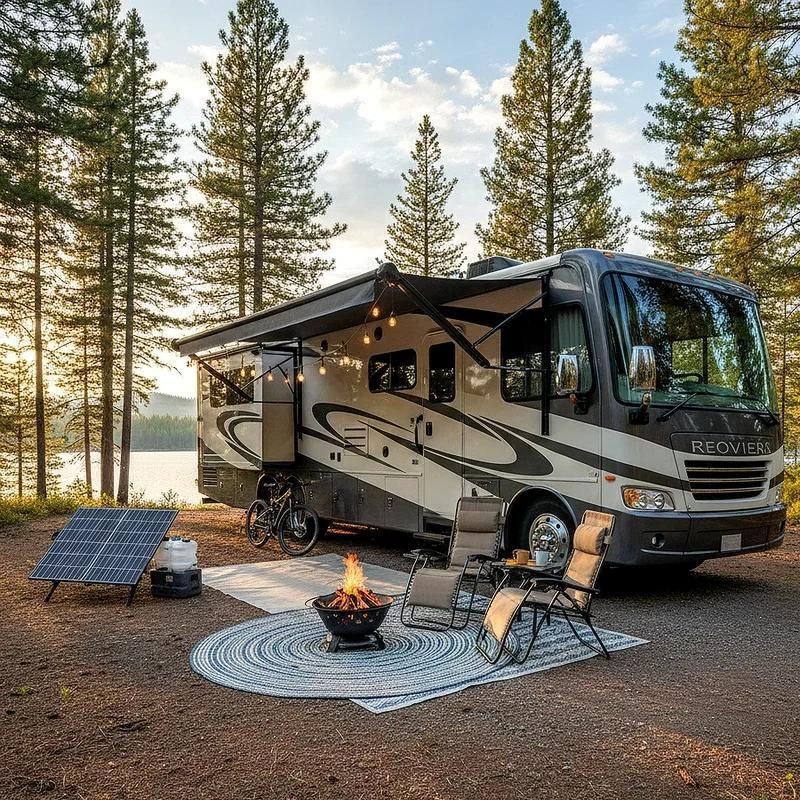
One of the simplest things you can do is keep a printed checklist inside the RV.
After a few trips, you will develop your own routine, but a checklist is still useful because even experienced RV travelers can forget something when they are distracted or in a hurry.
I would divide the checklist into three sections:
Before Leaving
Tires, fluids, lights, batteries, water, propane, storage compartments, interior cabinets, refrigerator, hitch, and exterior equipment.
At the Campsite
Position the RV, level it, secure it, connect utilities, check slides, inspect the surroundings, and set up the interior.
Before Leaving the Campsite
Retract the awning, bring in slides, disconnect utilities, secure cabinets, remove wheel chocks when appropriate, close storage compartments, inspect the campsite, and walk around the RV before driving away.
Keeping these steps in one place makes the entire process easier.
25. Make Your RV Setup Routine Your Own
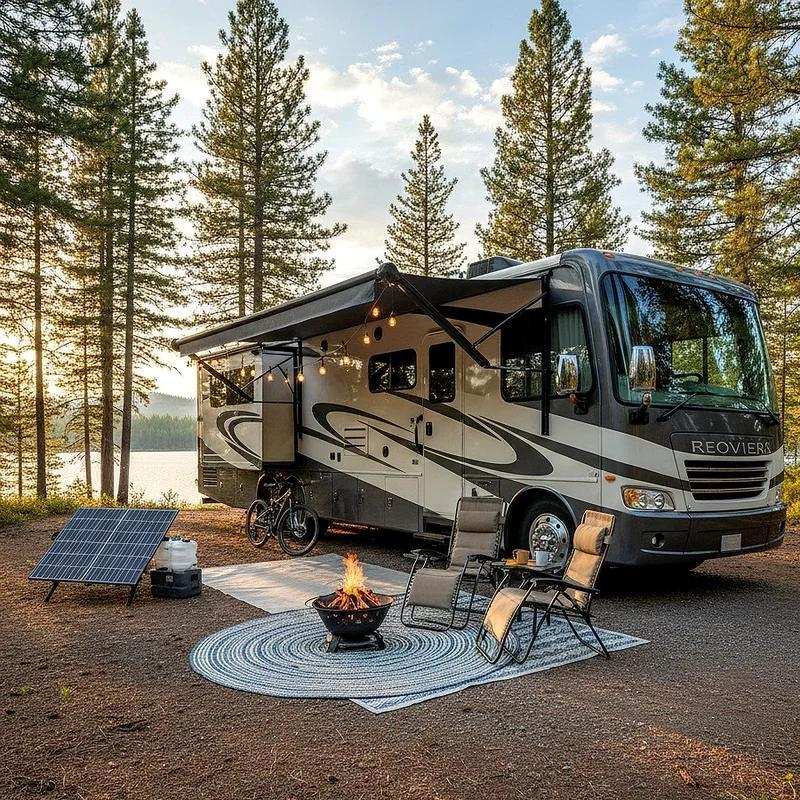
The more trips you take, the more naturally your RV setup routine will develop.
I have found that the best system is not necessarily the one with the most equipment or the most complicated organization. It is the system that makes sense for the way you actually travel.
Keep frequently used items accessible, give everything a designated place, and use the same basic setup order each time.
Most importantly, give yourself enough time. Rushing through an RV setup is when small details are most likely to be missed.
Your first trip does not need to be perfect. What matters is learning how your RV works, paying attention to what makes the trip easier, and adjusting your setup after every journey.
With a little preparation, your RV can become much more comfortable and manageable, and the process of getting ready for each trip becomes easier every time.
Frequently Asked Questions About Setting Up an RV for the First Trip
What should I check before taking my RV on its first trip?
Check the tires, engine fluids, battery, lights, water system, propane, electrical connections, storage compartments, appliances, and towing or hitch connections if applicable. It is also a good idea to do a complete walk around the RV before leaving.
How early should I prepare my RV before a trip?
I recommend starting at least a day or two before departure when possible. This gives you time to organize the RV, buy anything you are missing, test the systems, and deal with unexpected problems without rushing.
Should I fill the RV water tank before traveling?
It depends on your destination and RV. Fresh water is heavy, so you may not need a completely full tank if you know you will have reliable water access at the campground. Carry enough for your needs while staying within your RV’s weight limits.
What should I bring on my first RV trip?
Useful basics include a potable water hose, sewer hose and fittings, electrical hookup equipment, leveling blocks, wheel chocks, flashlight, basic tools, cleaning supplies, first aid supplies, kitchen essentials, bedding, toiletries, and outdoor chairs.
Should I practice setting up my RV before the first trip?
Yes. A practice setup at home can help you learn how to level the RV, connect utilities, operate the slides and awning, use the appliances, and organize your campsite equipment before you are dealing with an unfamiliar campground.
How do I know where to park my RV at a campsite?
Look at the available space, overhead branches, ground conditions, utility connections, and the position of nearby obstacles. Think about how you will connect your hookups and how you will eventually leave the site before deciding exactly where to position the RV.
What should I do when I arrive at the campground?
Position the RV carefully, level it, secure it with wheel chocks, connect the appropriate utilities, check your slides and awning for clearance, organize the interior, and then set up your outdoor area.
What is the biggest mistake to avoid when setting up an RV?
Rushing is one of the easiest mistakes to make. Taking a few extra minutes to inspect the campsite, secure your belongings, check your connections, and follow a consistent setup routine can prevent many avoidable problems.
Final Thoughts
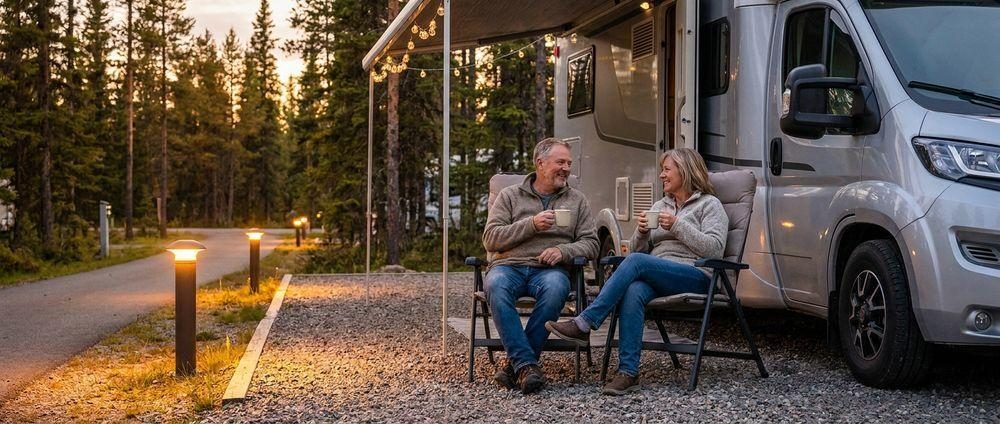
Setting up an RV for a trip becomes much easier once you have a routine that works for you. I have found that the biggest difference comes from slowing down, checking the important things before leaving, and keeping the RV organized so everything has a purpose and a place.
You do not need to pack every piece of camping equipment you own or have a complicated setup. Focus on the essentials, learn how your RV systems work, and give yourself enough time to prepare without rushing.
Before you leave home, check the RV. When you arrive, check the campsite. Before you drive away again, walk around the RV one more time.
Those simple habits can make your trips more comfortable and help you feel much more confident each time you head out on the road.