DIY Camper Makeover Ideas for Beginners: Transform Your Camper on a Budget
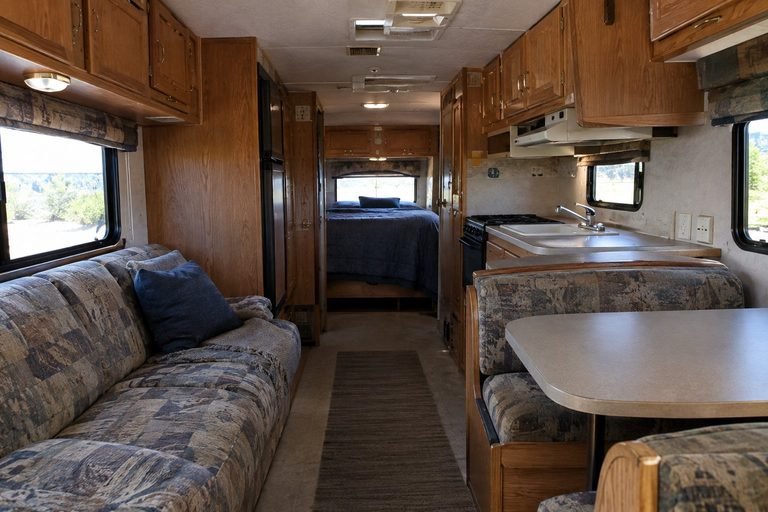
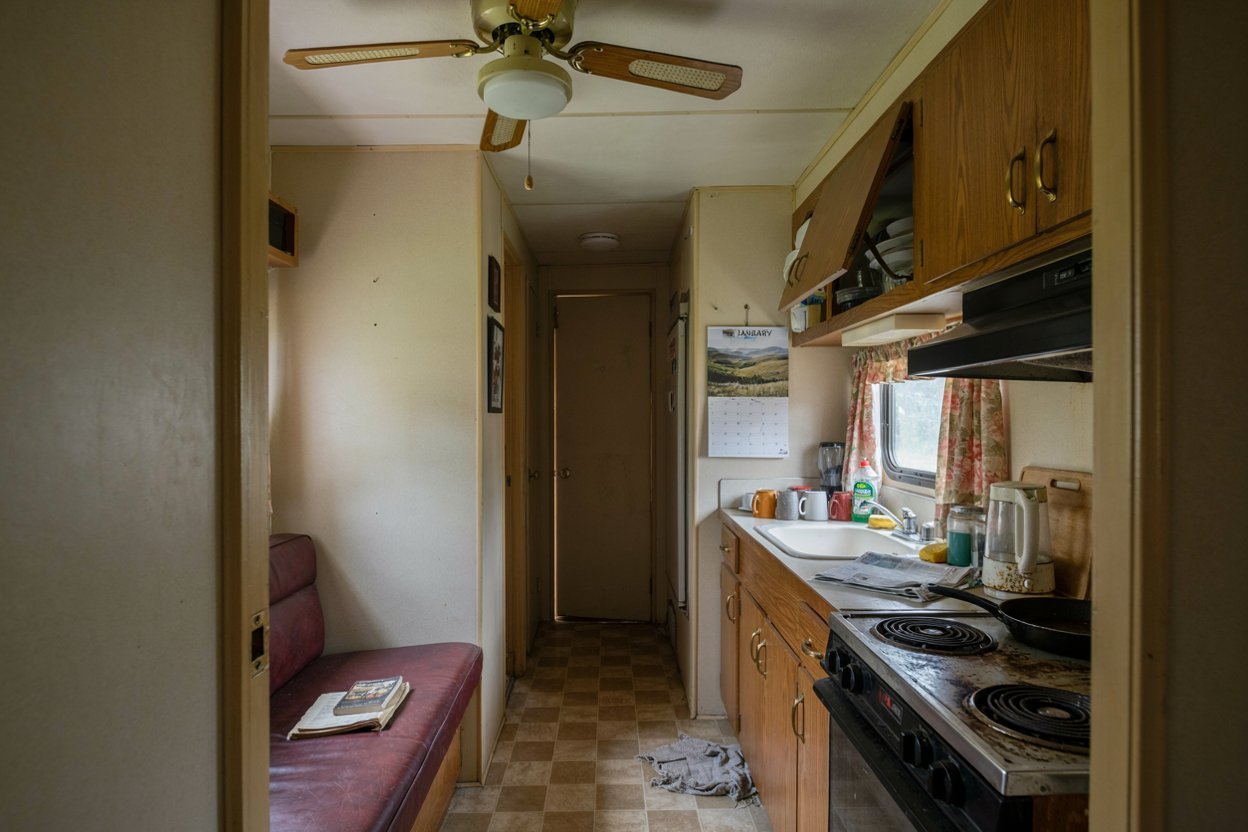
Walking into an older camper for the first time after buying it can be a little deflating. The cabinets look dated, the upholstery is worn, the interior feels dark, storage is limited, and the whole layout just doesn’t feel like somewhere you want to spend a weekend, let alone a summer.
The good news is that you do not need a professional renovation or a huge budget to change how a camper feels.
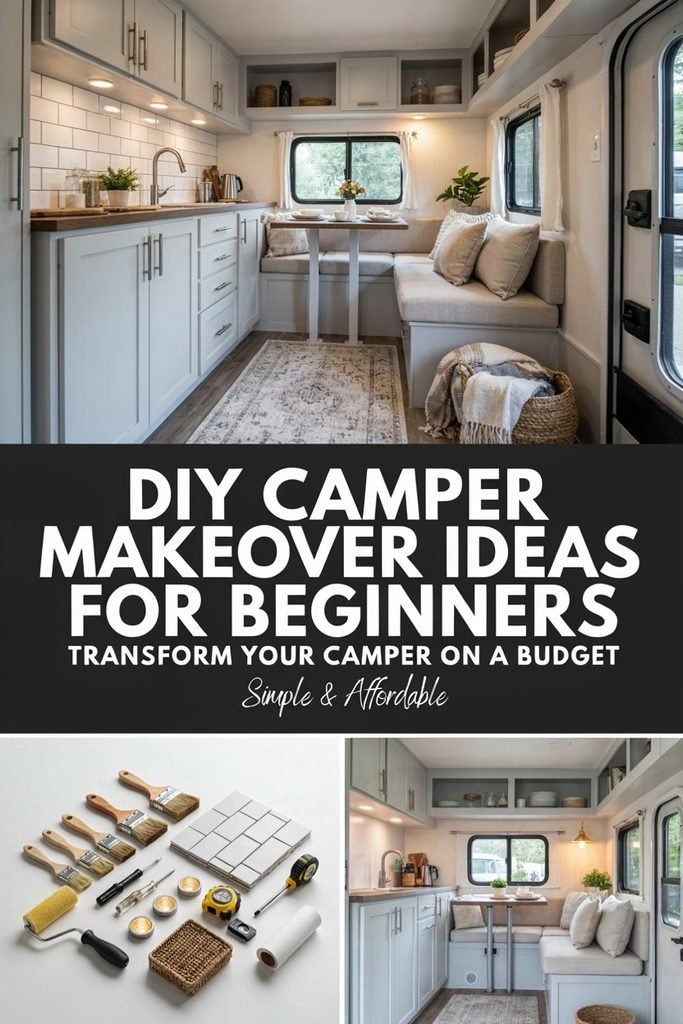
A handful of strategic updates, done in the right order, can make a surprisingly big difference. This guide covers beginner friendly camper makeover ideas, affordable RV upgrades, small camper decorating, camper organization, and DIY projects you can complete without advanced construction skills.
Every idea below includes not just what to do, but exactly how to do it, so you can start working the same day you read this.
Before You Start Your Camper Makeover
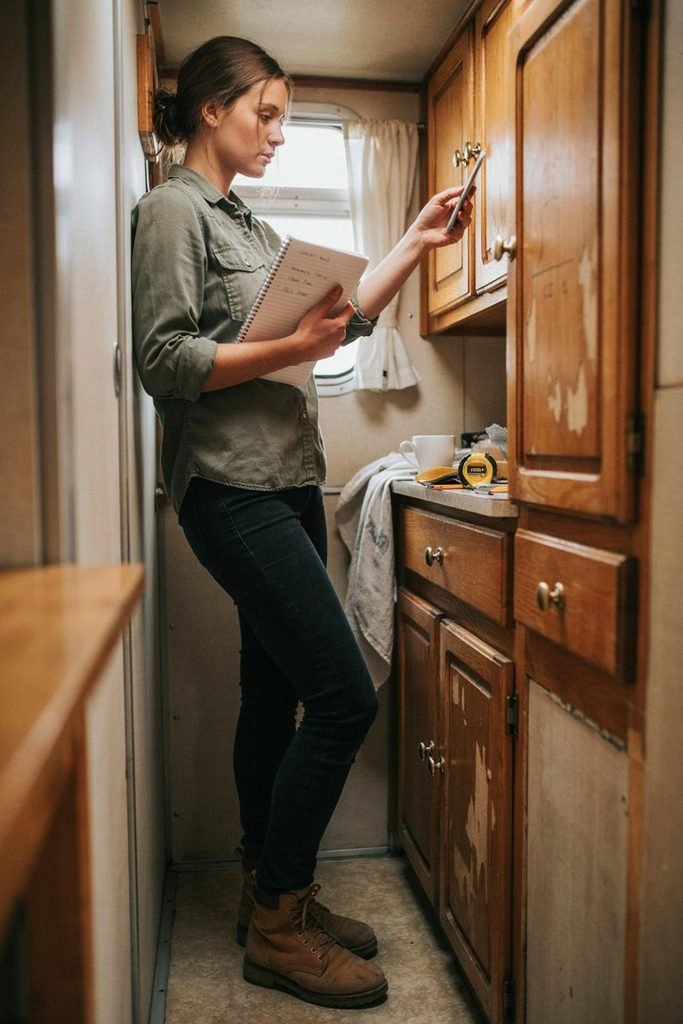
Before buying a single throw pillow or a can of paint, walk through your camper slowly and take stock. Bring a notebook or your phone and go room by room, or in the case of a camper, wall by wall. Look at each area and ask:
- What looks dated?
- What is damaged?
- What is difficult to use?
- Where is storage lacking?
- Which areas feel dark?
- What takes up too much space?
- What can be reused?
- What actually needs replacing?
How to do it. Take photos of every wall, cabinet, and surface as you go. Photos are more honest than memory, and they make it much easier to plan a color scheme or shopping list later without standing in the camper the entire time. Once you have your notes and photos, sort everything into three categories.
Must fix. Damaged flooring, leaks, broken hardware, unsafe electrical issues, and damaged seals. These come first, no exceptions. If you skip this step and paint over a problem, you will likely be redoing that work within a year.
High impact. Paint, lighting, curtains, bedding, cabinet hardware, backsplash, and storage. These are the changes that do the most to transform how the space looks and functions relative to their cost.
Nice to have. Decorative accessories, artwork, throw pillows, rugs, and other finishing touches. These come last, after the bones of the space are solid.
Sorting your ideas this way keeps you from spending five hundred dollars on decor while a real maintenance problem sits untouched underneath it.
How Much Does a DIY Camper Makeover Cost?
The honest answer is that it depends on your camper’s condition and how much you can reuse instead of replace. Rather than promising a full makeover for a fixed dollar amount, it helps to think in tiers.
| Makeover Level | What It Might Include |
|---|---|
| Small Refresh | Textiles, lighting, organization, decor |
| Budget Makeover | Paint, hardware, curtains, bedding, storage |
| Moderate Refresh | Flooring, backsplash, cabinet updates, lighting |
| Larger Renovation | Structural repairs, major flooring, appliances, electrical or plumbing work |
How to plan around this. Pick a tier based on your must fix list, not your wish list. If your must fix list is short, you can put most of your budget into a moderate refresh. If it is long, plan on a smaller cosmetic refresh this year and a larger renovation once repairs are handled.
The goal is not to spend as little as possible everywhere. It is to spend money on changes that improve how the camper looks and how it functions.
Camper Makeover Ideas
Each idea below includes why it works, what it involves, how to actually do it step by step, roughly how difficult it is for a beginner, and where you can save money.
1. Give the Interior a Fresh Coat of Paint
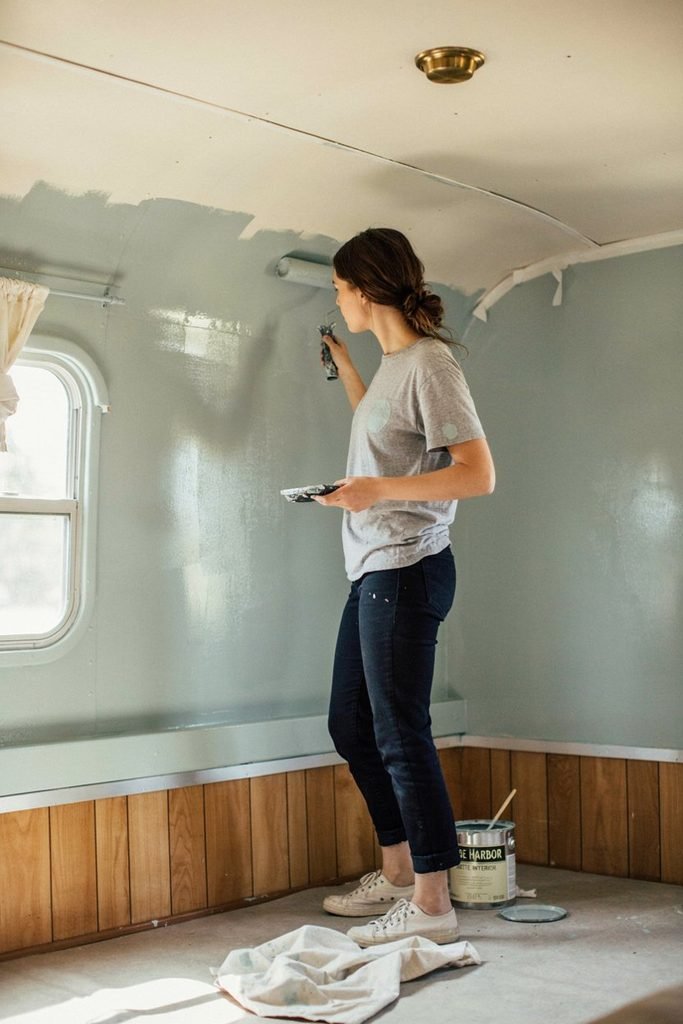
Painting is one of the highest impact changes you can make, and it is usually one of the first projects worth tackling.
Lighter colors make a compact camper feel brighter and more spacious, but “paint it white” is not the whole story.
Consider warm white, soft cream, light beige, muted sage, or pale gray depending on the mood you want.
Camper surfaces often have laminate, vinyl, or other finishes that need proper preparation, or the paint will not hold.
How to do it.
- Clear the area and cover the floor, counters, and any fixtures you are not painting.
- Remove hardware such as knobs, pulls, and switch plates where practical, and set the screws aside in a labeled bag.
- Clean the surface thoroughly with a degreaser or a mild cleaner suited to the material, then let it dry completely.
- Lightly scuff or prepare the surface according to the coating manufacturer’s instructions so the paint has something to grip.
- Apply a bonding primer designed for laminate or vinyl if your surface calls for it.
- Apply thin, even coats of paint, letting each coat dry fully before adding the next. Two to three thin coats usually look better than one thick one.
- Allow adequate drying and curing time before reattaching hardware or loading shelves, even if the paint feels dry to the touch.
Beginner difficulty: Moderate. Budget: Low to medium.
2. Update the Cabinet Hardware
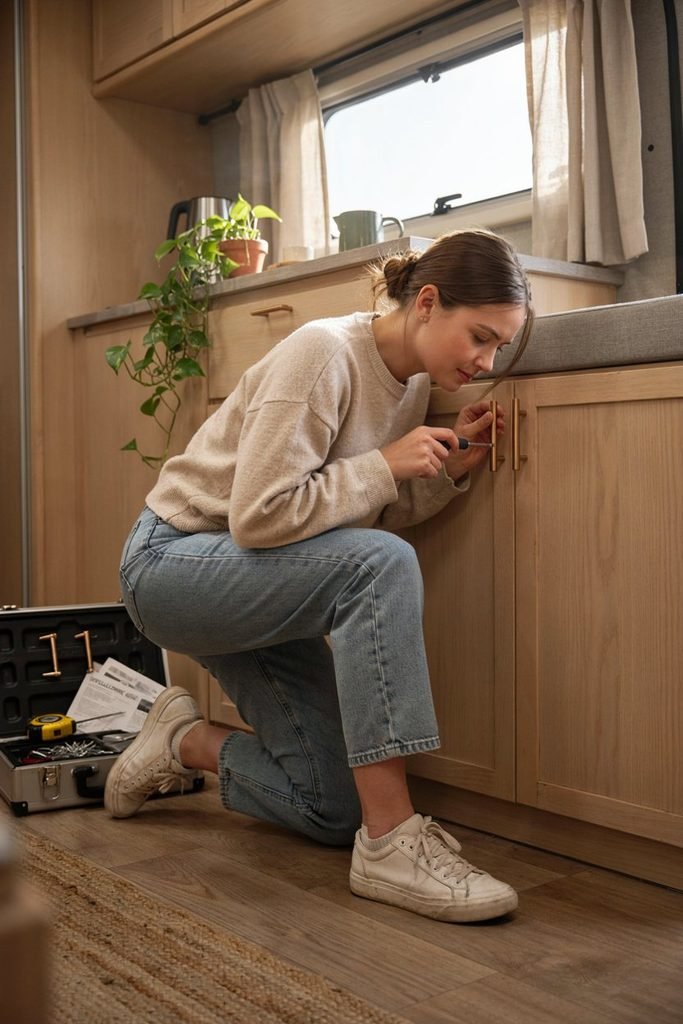
Swapping knobs, pulls, and handles is one of the best beginner projects in this entire list. It changes the look of a kitchen or storage wall for very little money and very little time.
How to do it.
- Remove one existing knob or pull and measure the distance between the screw holes, known as the hole spacing.
- Shop for replacement hardware that matches that spacing, or plan to fill and redrill if you want a different style.
- Remove all old hardware and set screws aside.
- Wipe down each cabinet surface where the old hardware sat, since these spots often collect grime.
- Install the new hardware, using a level or a paper template to keep everything lined up evenly across all the cabinets.
Beginner difficulty: Easy. Budget: Low.
3. Refresh the Cabinets Without Replacing Them
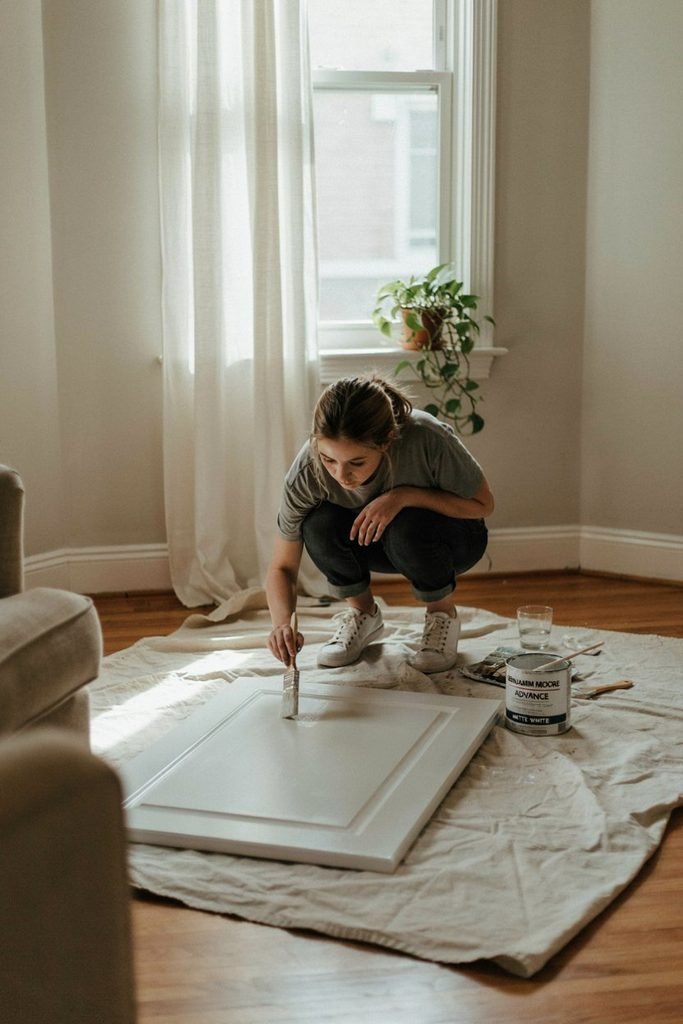
If hardware alone isn’t enough, cabinets themselves can often be refreshed rather than replaced. With proper cleaning, preparation, primer, and paint suited to the existing surface, tired cabinets can look new again.
How to do it.
- Remove cabinet doors and drawer fronts where possible and label them so you know where each one goes back.
- Clean thoroughly and let dry.
- Sand lightly or prepare the surface per the product instructions to help the primer adhere.
- Test your chosen primer and paint in an inconspicuous spot first, such as the inside of a door, and let it cure fully before judging the result.
- Prime, then paint in thin coats, working in a well ventilated area.
- Let everything cure for the full time recommended on the product before reinstalling doors and hardware, since cabinets get more daily contact than walls.
One important caveat: if cabinets are damaged by moisture, swelling, or structural deterioration, paint is cosmetic only. It will not fix the underlying problem, and that kind of damage belongs in the “must fix” category from earlier.
Beginner difficulty: Moderate. Budget: Low to medium.
4. Replace Old Curtains
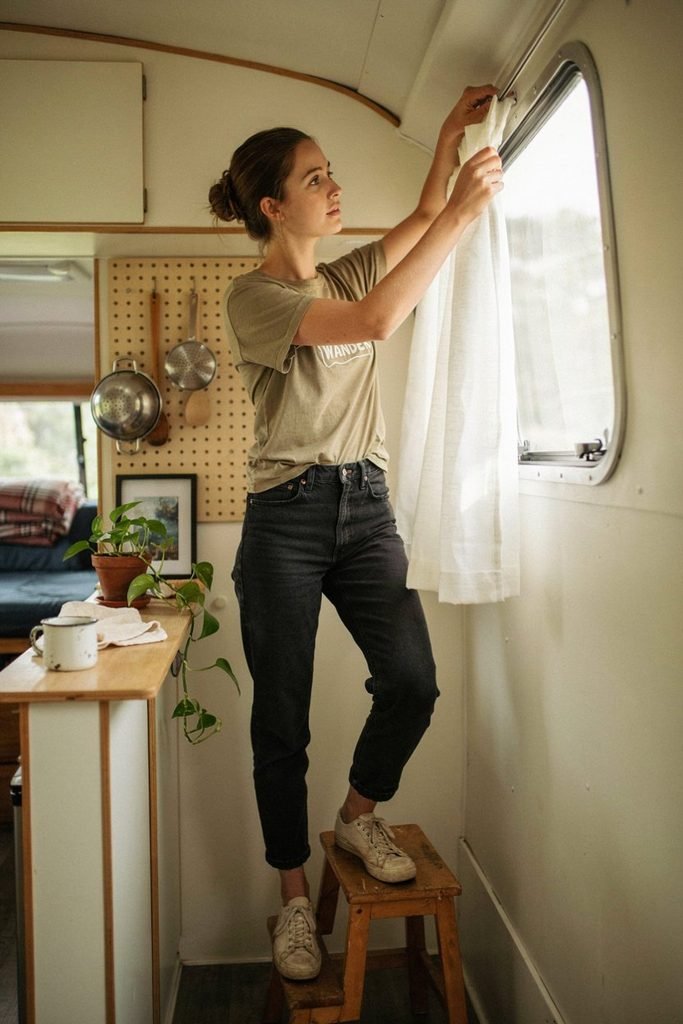
New curtains are an easy, fast visual transformation. Look for washable fabrics in light colors, blackout curtains for sleeping areas, and simple cafe style curtains for the kitchen.
How to do it.
- Measure each window’s width and height, and measure the mounting hardware or track that is already installed if you are reusing it.
- Decide on a fabric weight. Lightweight fabric suits kitchen and living areas, while a heavier or blackout lined fabric works better for sleeping areas.
- Either sew simple panels or purchase ready made curtains sized to your measurements, leaving a little extra width for fullness.
- Hang the curtains using the existing track, tension rod, or hooks, and check that they clear any vents, latches, or slide outs before finalizing.
Curtains add personality without taking up any floor space, which makes them one of the better value upgrades in a small camper.
Beginner difficulty: Easy. Budget: Low.
5. Upgrade the Camper Bedding
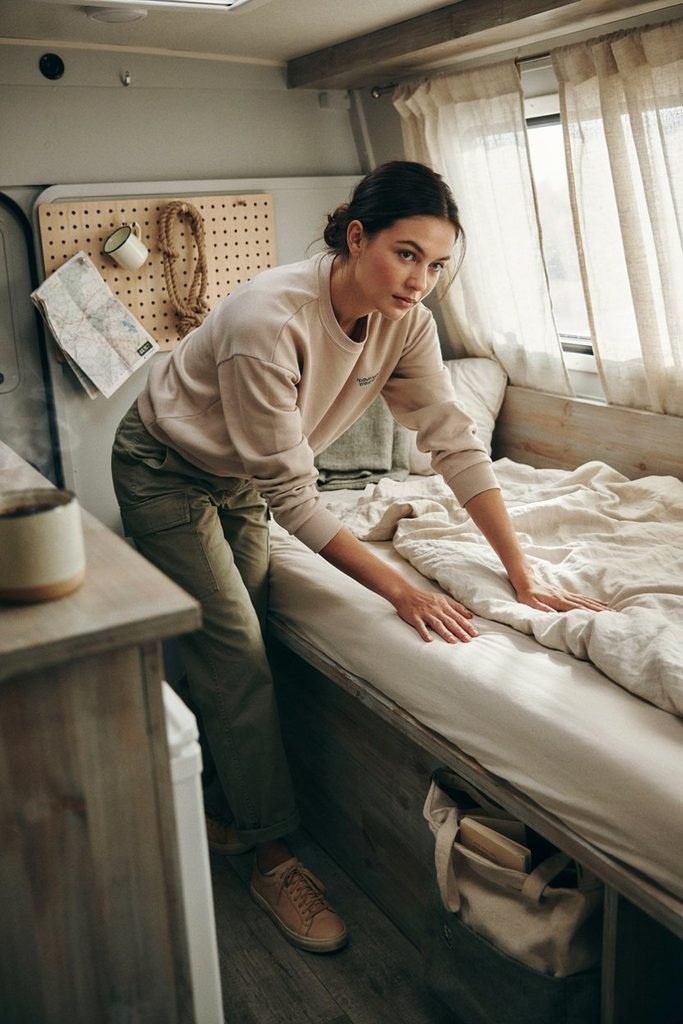
This is where the makeover starts to feel more like a lifestyle upgrade than a repair project.
How to do it.
- Measure your camper mattress exactly, since many camper mattresses are shorter or narrower than standard sizes.
- Choose a mattress topper if the existing mattress feels worn, prioritizing one that can be rolled or folded for storage if needed.
- Select breathable sheets sized to your actual mattress dimensions rather than assuming a standard size will fit.
- Add a washable duvet or comforter, since campers accumulate dust, sand, and moisture more than a house does.
- Layer in a couple of blankets and a few decorative pillows, keeping the total pillow count low so the bed is easy to make and unmake.
Function should still come first though. In a small camper, bedding needs to be easy to wash, store, and rearrange, not just pretty.
Beginner difficulty: Easy. Budget: Low to medium.
6. Add Warm, Practical Lighting
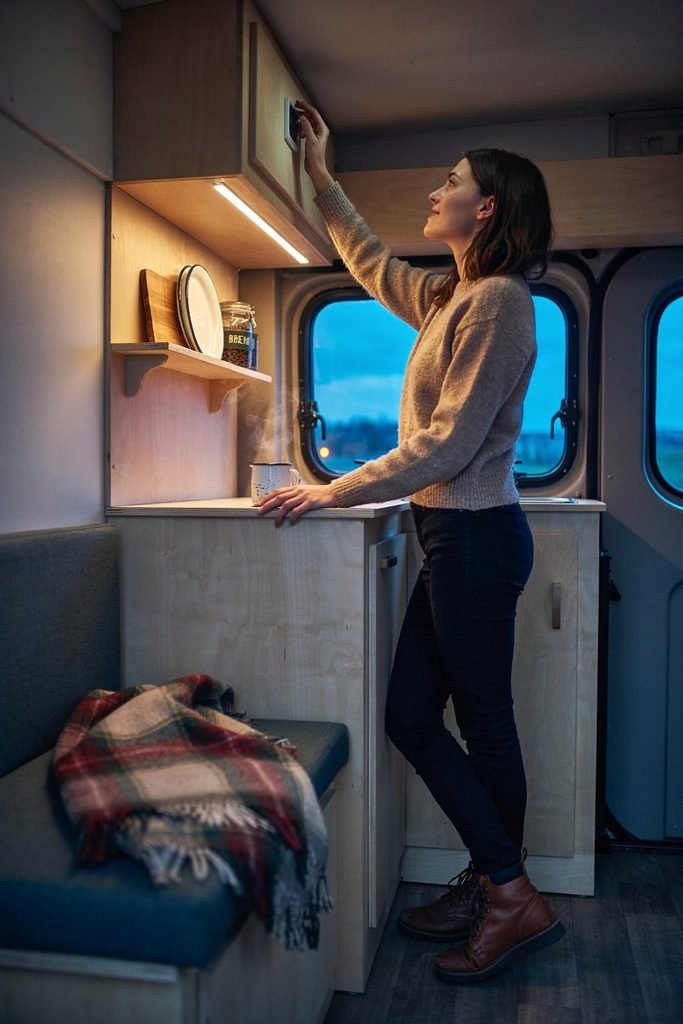
Good lighting is more than a strand of string lights. Think about three types: task lighting for cooking and reading, ambient lighting for relaxing in the evening, and accent lighting for atmosphere.
How to do it.
- Walk through the camper at night with just the existing lights on and note which areas are too dark to use comfortably.
- Choose battery powered or plug in LED fixtures for those spots rather than modifying the camper’s existing wiring, especially if you are a beginner. Electrical work is one area where it genuinely pays to be cautious.
- Install task lighting, such as an under cabinet light strip, near the kitchen counter and any reading areas.
- Add ambient lighting, such as a warm toned lamp or puck lights, to the main living space.
- Use accent lighting sparingly, such as a small string of warm white lights along a shelf, to avoid an overly busy look.
- Test bulb color temperature before committing. Warmer tones, generally listed around 2700K to 3000K, tend to feel cozier than cool white light in a small space.
Beginner difficulty: Easy to moderate. Budget: Low to medium.
7. Create a Simple Camper Kitchen Refresh
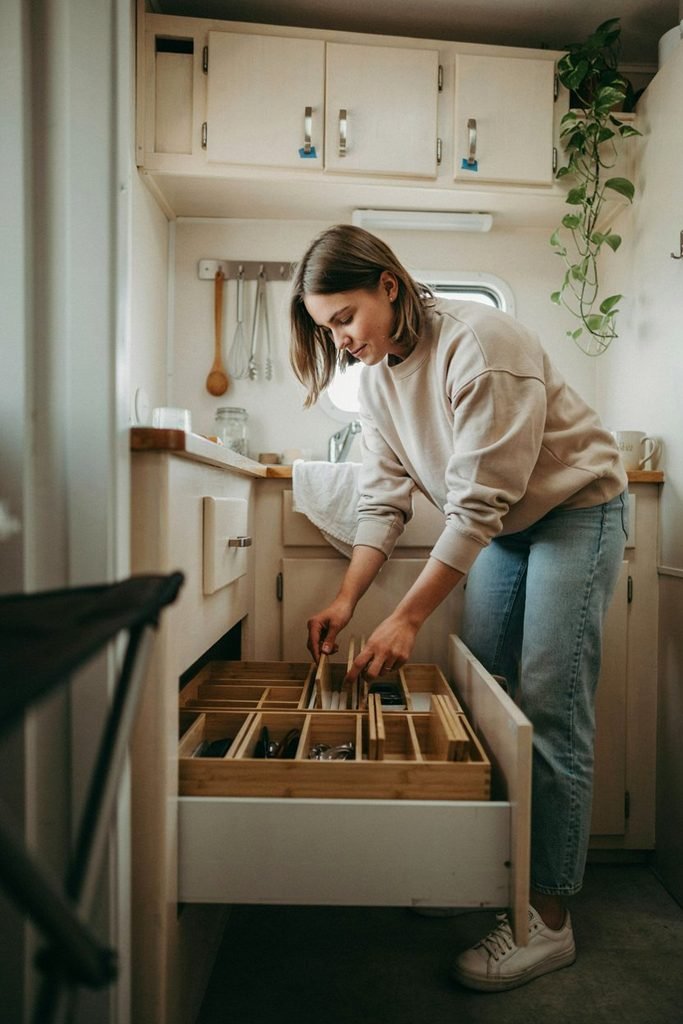
You don’t need to gut the kitchen to make it feel new.
How to do it.
- Empty every drawer and cabinet in the kitchen and sort contents into keep, donate, and toss piles.
- Install drawer organizers and magnetic storage strips sized to the space you actually have, not a generic kitchen size.
- Replace cabinet hardware following the steps in idea two.
- Add a removable backsplash following the steps in idea eight.
- Swap out kitchen textiles such as towels and a dish mat for a coordinated, washable set.
- Add a few attractive, stackable food containers to replace mismatched packaging, which frees up space and looks tidier.
The idea is to make visual and organizational changes rather than a full renovation.
Beginner difficulty: Easy to moderate. Budget: Low to medium.
8. Add a Peel and Stick Backsplash
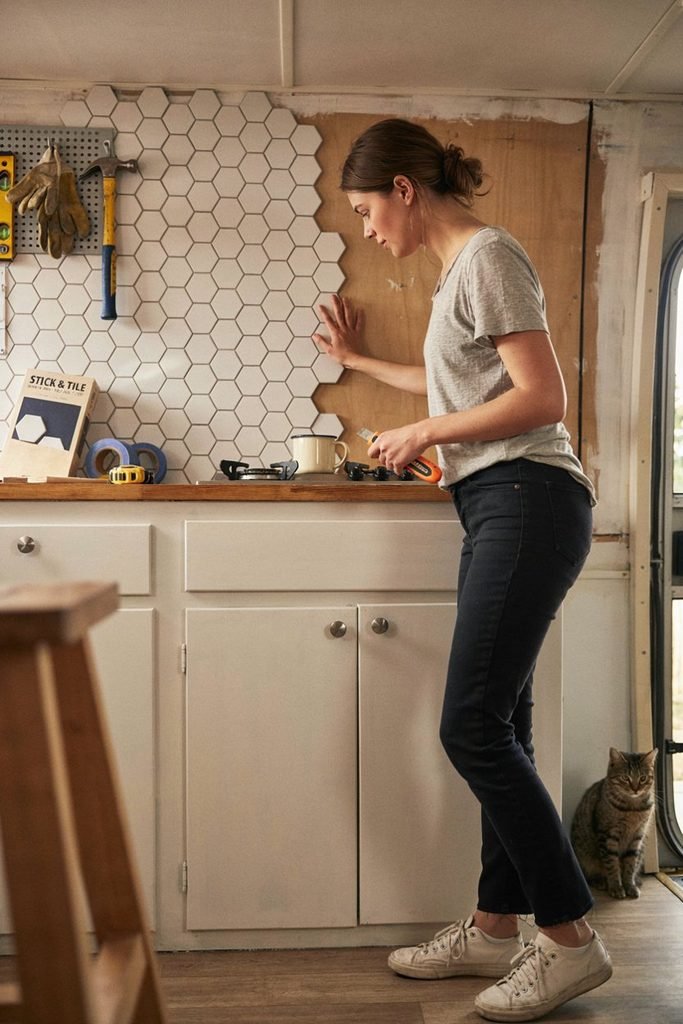
This is one of the most Pinterest friendly upgrades on the list, and it holds up in real life too.
How to do it.
- Measure the full backsplash area, including around outlets and switches.
- Clean the surface thoroughly and let it dry completely, since any grease or moisture will prevent adhesion.
- Confirm the specific product you’re using is rated for your surface material and for the temperature and moisture swings a camper experiences, since not all peel and stick products are.
- Dry fit the sheets or tiles first, laying them out without removing the backing, to plan your layout and pattern before committing.
- Starting from a corner or the most visible edge, remove the backing and apply the material slowly, smoothing outward from the center to avoid trapping air bubbles.
- Trim around outlets, switches, and edges with a sharp utility knife.
- Press firmly along all seams and edges, especially near heat sources like the stove.
Beginner difficulty: Moderate. Budget: Low.
9. Make Use of Vertical Wall Space
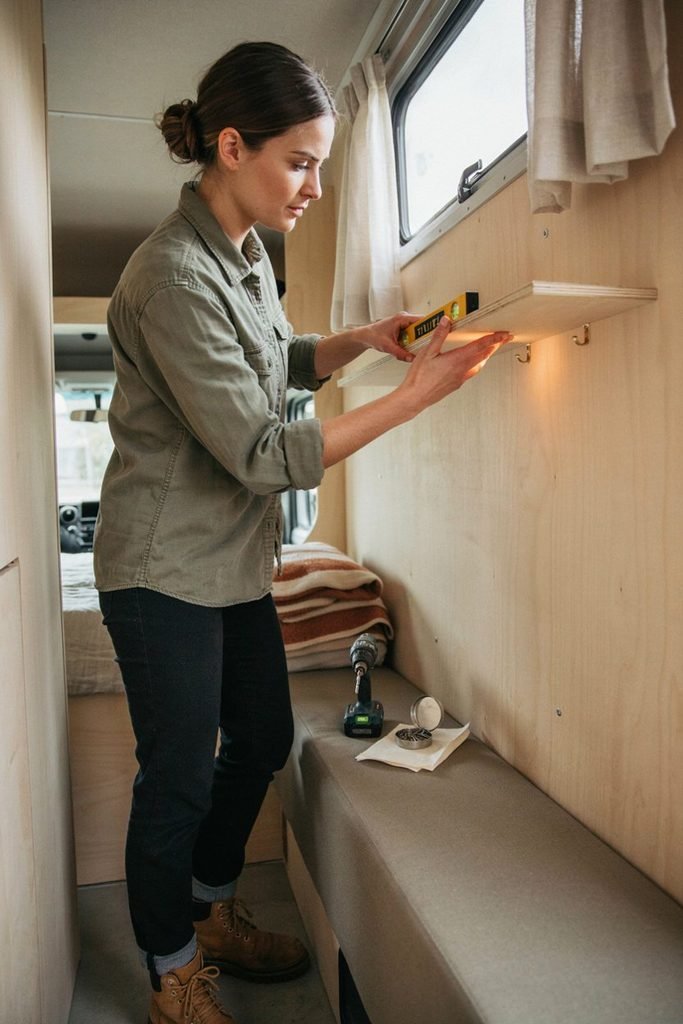
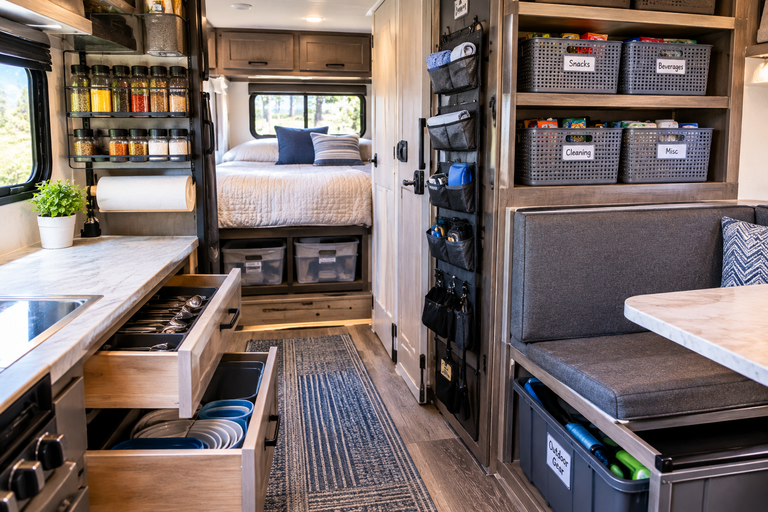
Vertical storage is one of the most useful ideas for a small camper, often more useful than adding another piece of furniture.
How to do it.
- Identify open wall sections that are not load bearing points for cabinets or slide outs.
- Choose lightweight solutions such as adhesive hooks, hanging fabric organizers, slim floating shelves, magnetic strips, or an over the door organizer.
- For adhesive products, clean the wall surface first and check the weight rating against what you plan to hang.
- For anything screwed in, locate a stud or solid backing where possible, since camper walls are often thinner than house walls.
- Test the security of each item by tugging on it before loading it up, and recheck after your first drive, since vibration can loosen adhesive mounts over time.
Beginner difficulty: Easy. Budget: Low.
10. Declutter Before Adding Storage
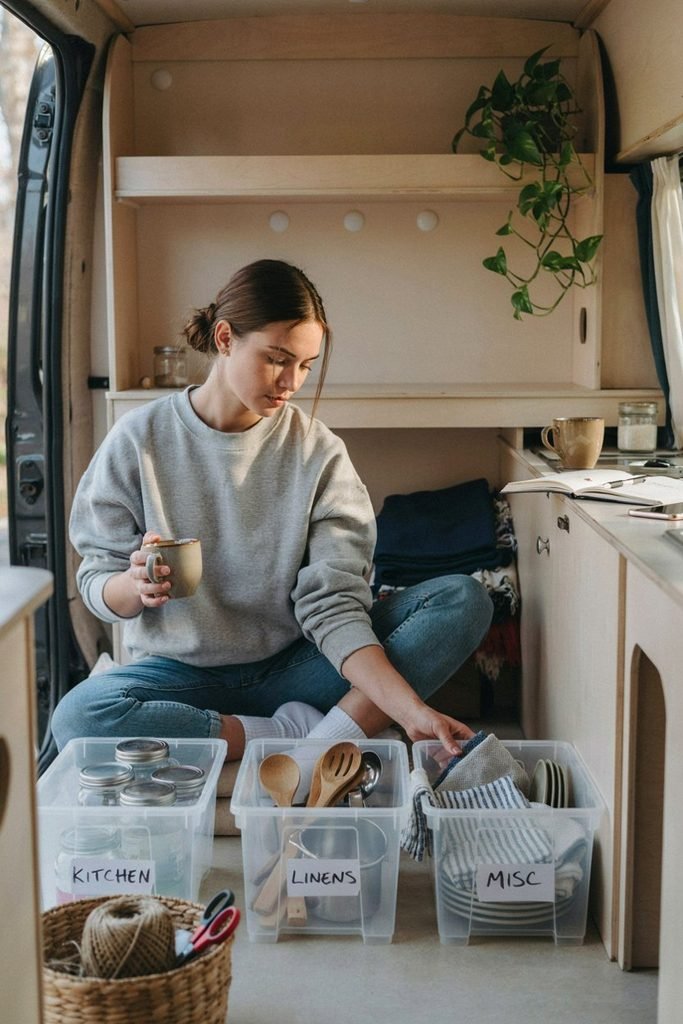
Many camper owners respond to clutter by buying more organizers, when the real fix is removing what doesn’t belong in the first place.
How to do it.
- Remove everything from a single area, such as one cabinet or one drawer, and lay it all out where you can see it.
- Group similar items together so you can see how much of each category you actually own.
- Measure the space you’re working with before buying any bins or organizers, so you don’t end up with containers that don’t fit.
- Organize the items back into the space by category, keeping the most frequently used items in the easiest to reach spots.
- Label bins, baskets, or shelves so the system stays organized after the first trip, not just on move in day.
For anything you’re unsure about, ask yourself whether you would actually use it on a camping trip. If the answer is no, it probably doesn’t need to live in the camper.
Beginner difficulty: Easy. Budget: Low.
11. Refresh the Floor
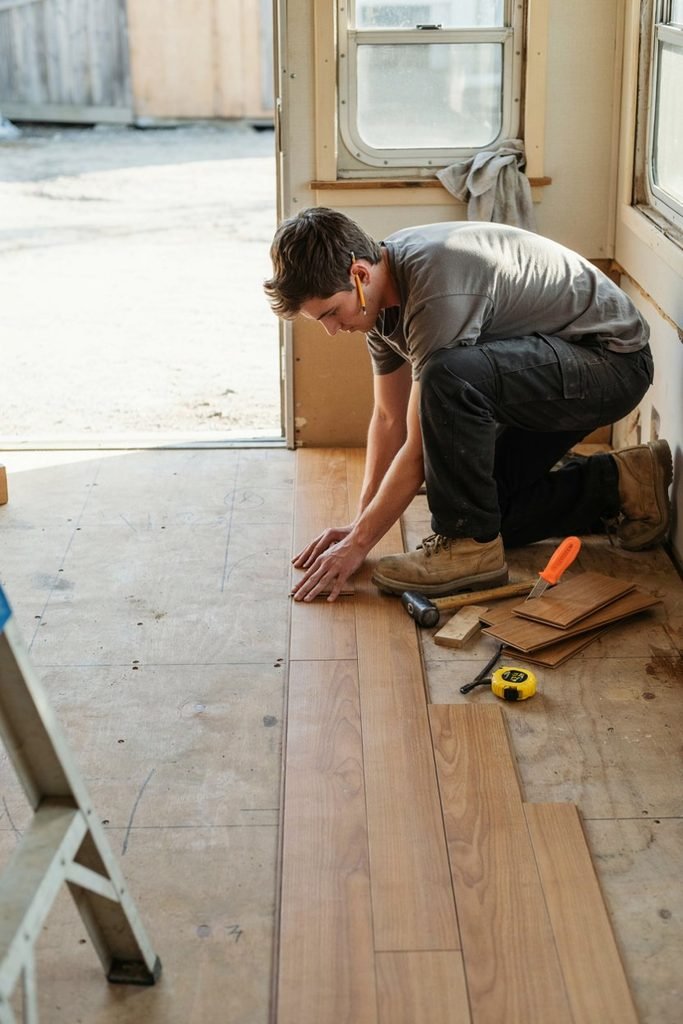
Flooring can change the entire feel of a camper’s interior, but it is not a five minute project.
How to do it.
- Remove furniture, rugs, and floor vents to see the full subfloor and check for soft spots, which can indicate water damage that needs to be addressed first.
- Measure the full square footage, accounting for slide outs and irregular shapes.
- Choose a material based on your subfloor condition and skill level. Durable vinyl sheet or plank flooring and click together flooring are common beginner friendly choices, while removable flooring products work well for renters or those who want a non-permanent option.
- Cut a template out of paper or cardboard for irregular areas before cutting your actual flooring material, to avoid costly mistakes.
- Install according to the specific product’s instructions, paying close attention to expansion gaps near walls, since campers experience more temperature swings than houses.
- Reinstall floor vents, trim, and furniture once the flooring has fully set.
Before committing to a material, think through moisture exposure, uneven subfloors, door clearance, added weight, and how difficult the installation will actually be.
Beginner difficulty: Moderate to advanced. Budget: Medium.
12. Add a Small Rug
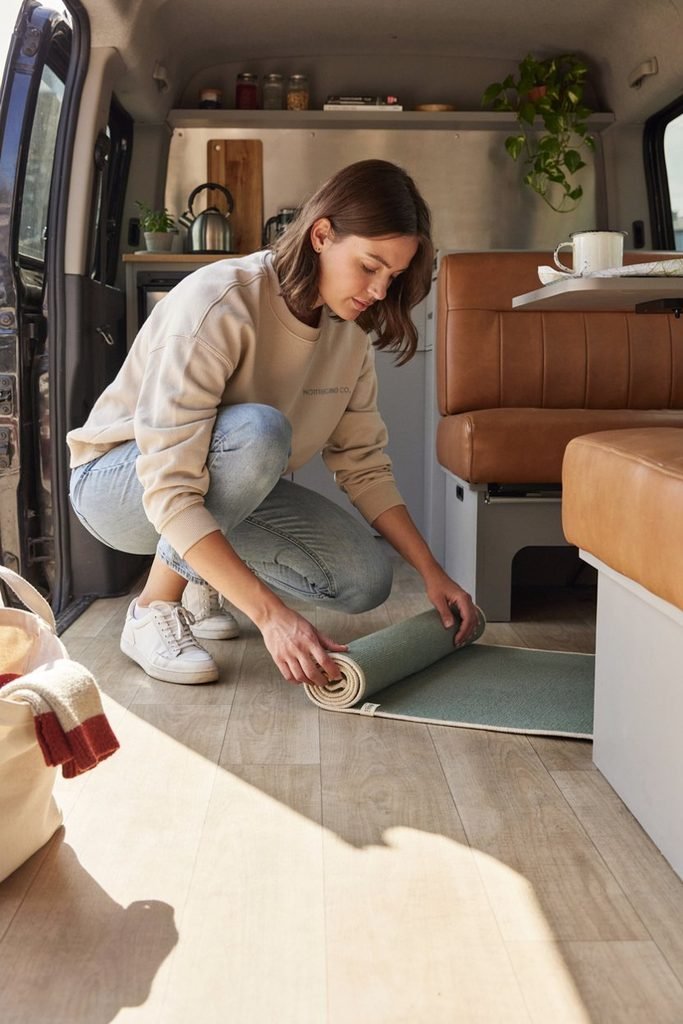
A rug is a low effort way to soften a space that can otherwise feel hard and utilitarian.
How to do it.
- Measure the open floor area where you want the rug and choose a size that leaves a small margin around it rather than one that touches every wall.
- Choose a washable, low pile rug that can handle dirt, sand, and spills.
- Use rug tape, a non-slip pad, or corner grippers to secure it so it doesn’t slide or bunch up while you’re driving or walking around.
- Shake it out or vacuum it regularly, since campers track in more debris than a typical home entryway.
A well placed rug can visually define a living area without making the space feel more crowded.
Beginner difficulty: Easy. Budget: Low.
13. Create a More Functional Entryway
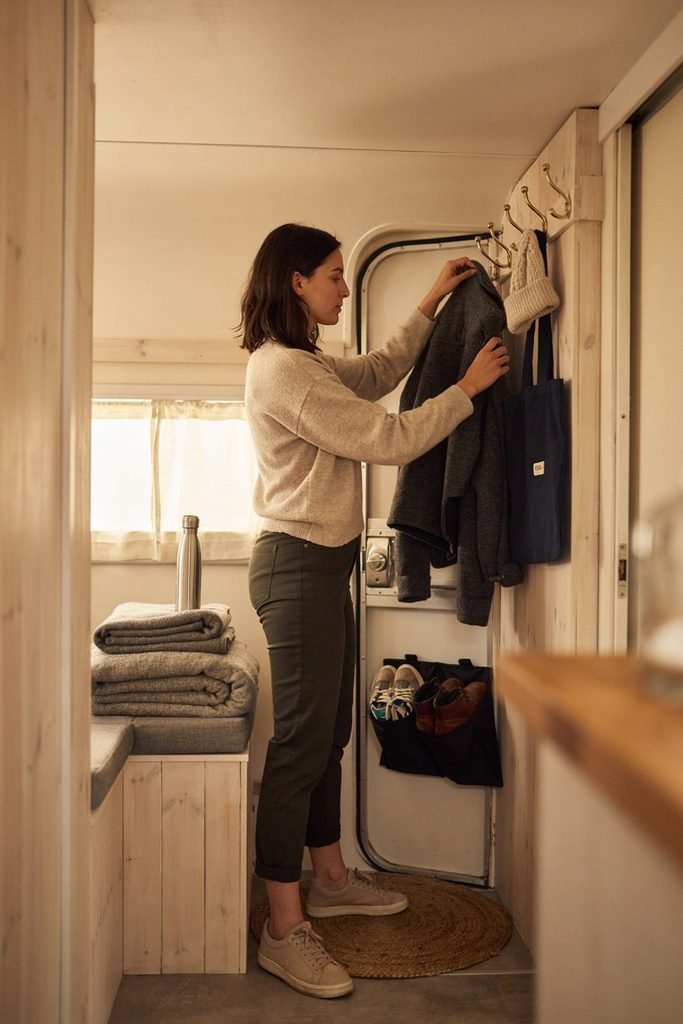
The entrance is where shoes, jackets, bags, and outdoor gear tend to pile up.
How to do it.
- Stand at the entry door and note everything that currently gets dropped there out of habit.
- Install a row of hooks at a height that’s easy to reach from the doorway for jackets, leashes, or bags.
- Add a narrow shoe organizer or a small tray that fits the footprint of the entry area without blocking the door swing.
- Place a small washable mat just inside the door to catch dirt before it spreads through the camper.
- Set up a small basket or dish specifically for keys and other small essentials, so they have one consistent home.
The goal is to give frequently used items a home before they become clutter on the floor.
Beginner difficulty: Easy. Budget: Low.
14. Turn Awkward Spaces Into Storage
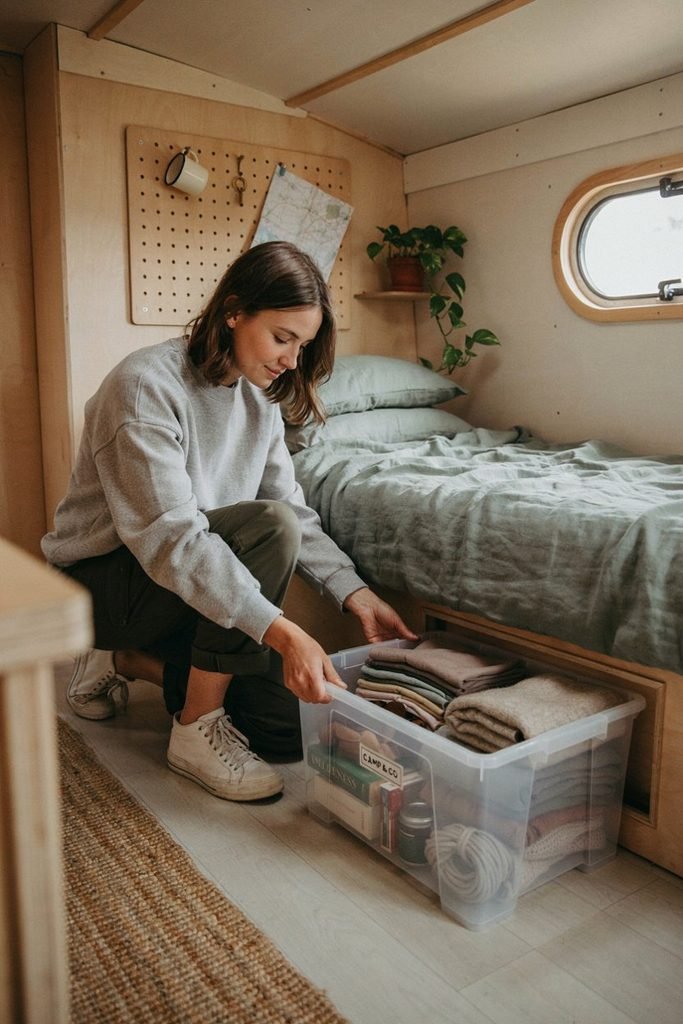
Every camper has a few dead zones.
How to do it.
- Walk through the camper specifically looking for unused cabinet corners, space underneath seating, areas beside the bed, empty wall sections, the backs of cabinet doors, and space beneath tables.
- Measure each space carefully, including height, width, and depth.
- Choose storage solutions sized to fit, such as slim under bed bins, over the door pocket organizers, or a fitted riser that creates storage beneath a dinette seat.
- Install or place each solution, checking that nothing blocks doors, drawers, or slide outs from opening fully.
The best storage solutions usually come from using space that already exists rather than adding new furniture that takes up floor area.
Beginner difficulty: Easy to moderate. Budget: Low.
15. Give the Dining Area a Simple Refresh
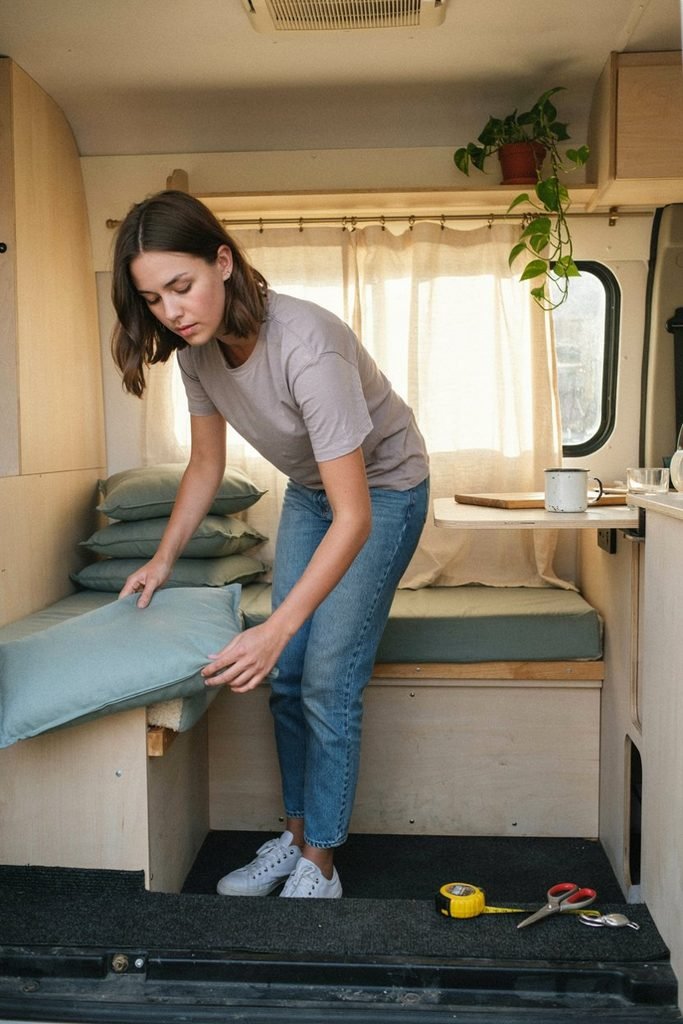
Instead of replacing a dinette entirely, focus on smaller updates.
How to do it.
- Assess the current cushions. If the foam is still in good shape but the fabric is worn, plan on new covers rather than full replacement.
- Measure the cushions carefully if you’re having covers made or sewing your own, and choose a washable, durable fabric.
- Swap the curtains and add a small wall print nearby, following the steps in ideas four and eighteen.
- Choose a lightweight table centerpiece, such as a small tray or a battery lantern, that can be quickly moved or stored while driving.
- Add a compact storage basket underneath or beside the seating for napkins, place mats, or games.
If cushions are worn but the seating itself is fine, having new covers made is often cheaper and easier than replacing the whole setup.
Beginner difficulty: Easy. Budget: Low to medium.
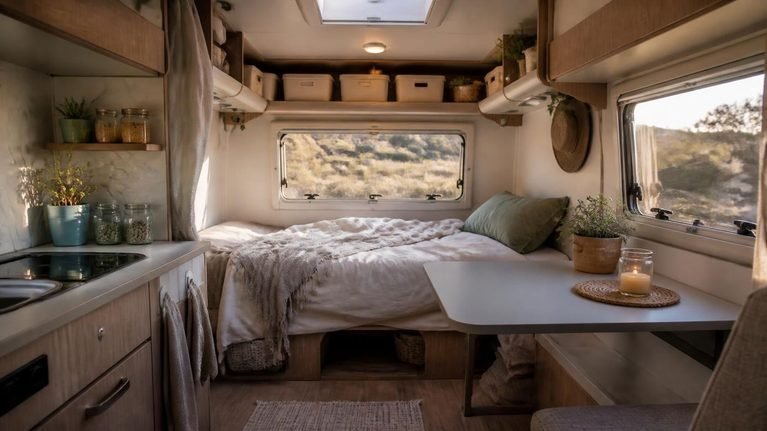
16. Create a Cozy Sleeping Nook
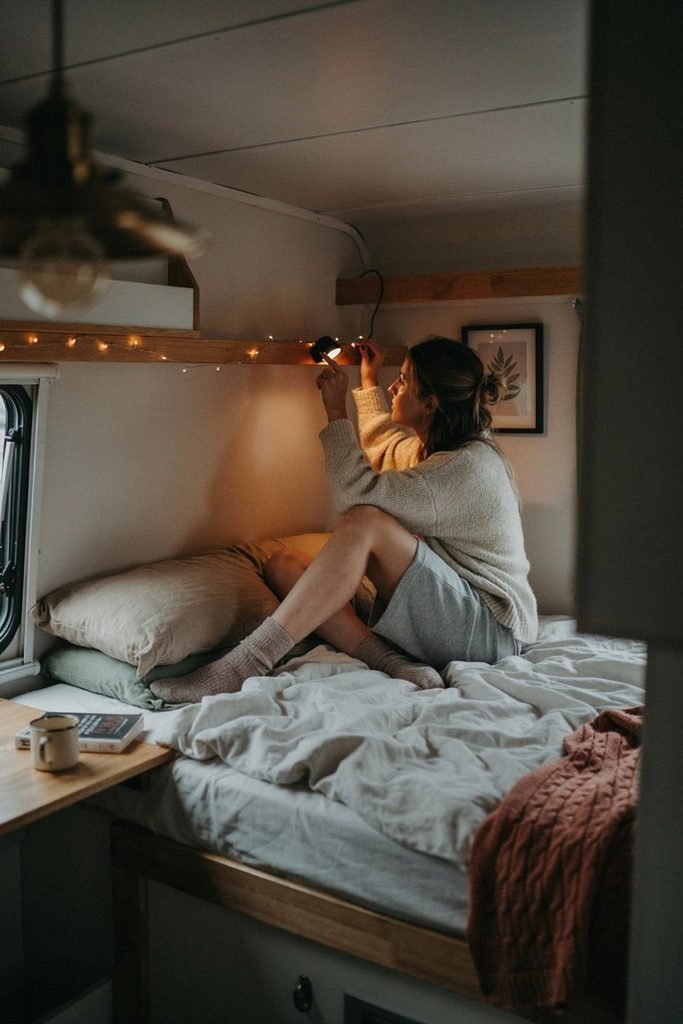
Make the sleeping area feel intentional rather than like an afterthought.
How to do it.
- Start with coordinated bedding, following the steps in idea five.
- Add a small clip on or battery powered reading light within arm’s reach of the pillow.
- Install a compact bedside organizer, such as a hanging pocket caddy, for glasses, a phone, or a book.
- Layer in a few pillows and a lightweight blanket, but stop before the space feels overloaded.
- Consider soft, warm lighting nearby rather than a bright overhead fixture for the last hour before bed.
Resist the urge to add too many accessories here. A cramped sleeping area quickly becomes an impractical one.
Beginner difficulty: Easy. Budget: Low.
17. Use Mirrors to Make the Camper Feel Larger
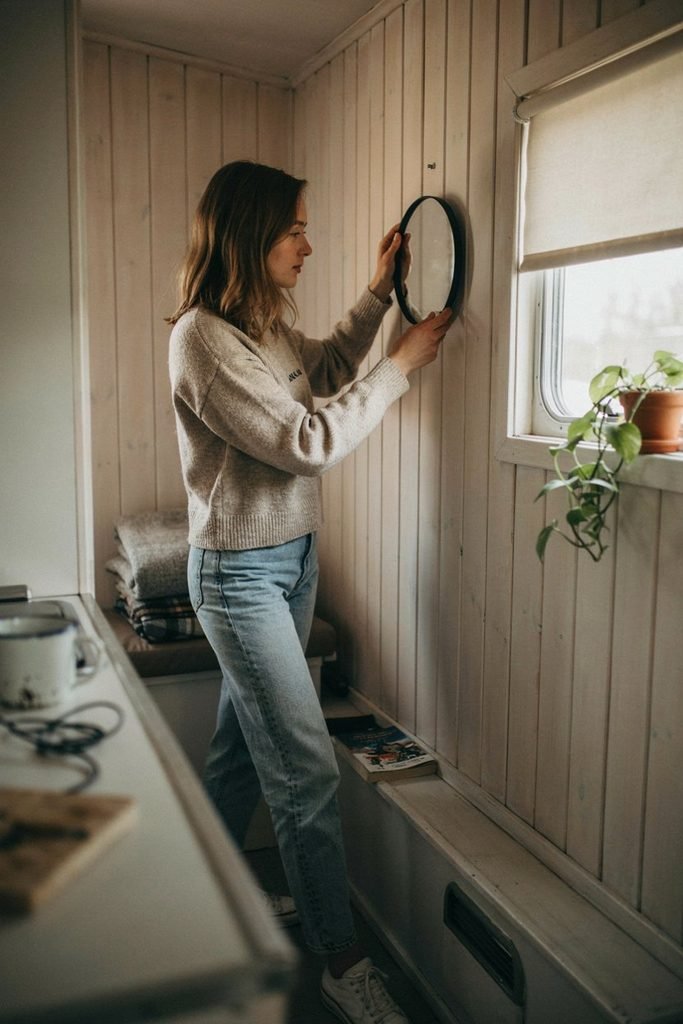
A strategically placed mirror bounces light around a compact interior and can make the whole space feel more open.
How to do it.
- Choose a lightweight mirror, ideally with a shatter resistant backing or acrylic construction, since campers vibrate and shift during travel.
- Decide on placement across from a window or light source, so the mirror actively reflects light into the room rather than facing a wall.
- Use mounting hardware rated for the mirror’s weight, and locate a stud or solid backing where possible rather than relying on adhesive alone for anything heavier than a very light decorative piece.
- Check the mount again after your first trip, since vibration can loosen fasteners over time.
Since campers move, anything mounted to the wall needs to be secured properly, not just hung the way you would in a house.
Beginner difficulty: Easy to moderate. Budget: Low.
18. Add Personality With Removable Decor
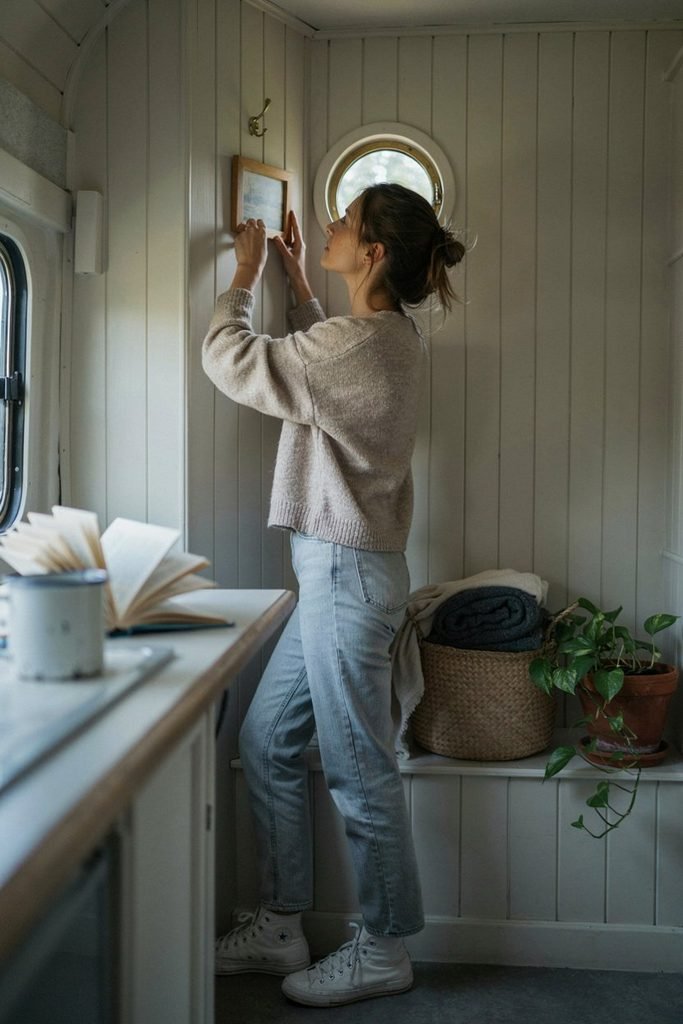
This is where the camper starts to feel like yours.
How to do it.
- Choose one cohesive color palette before you buy anything, so individual pieces work together instead of competing.
- Select a small number of intentional items: framed travel photos, small artwork, decorative cushions, plants suited to the environment, woven baskets, or simple textiles.
- Use removable, camper safe adhesive for anything hung on the wall, including removable wallpaper if you want a bigger visual change without a permanent one.
- Place items gradually rather than all at once, stepping back after each addition to see if the space still feels open rather than cluttered.
Choosing one cohesive color palette instead of buying random pieces will make the final result look intentional rather than thrown together.
Beginner difficulty: Easy. Budget: Low to medium.
19. Give the Camper Exterior a Small Refresh
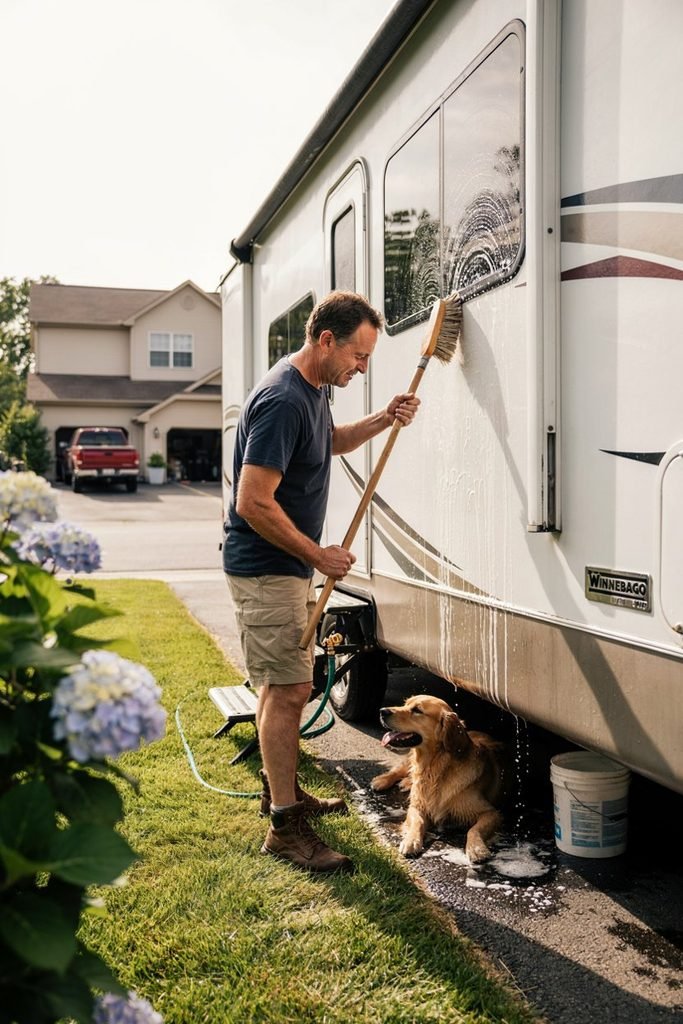
Don’t limit the makeover to the inside.
How to do it.
- Wash the exterior thoroughly with a cleaner appropriate for your camper’s siding material, working from top to bottom.
- Clean and, if needed, refresh the entry steps, checking for rust, wear, or loose hardware while you’re at it.
- Replace a worn outdoor mat with a new one sized to your entry area.
- Set up a bin or bag specifically for organizing camping gear, such as hoses, chairs, or leveling blocks, so they have a consistent spot.
- Add a small rug or seating improvement to the area right outside the door, since this is the space you’ll actually use most at a campsite.
The exterior is part of the camping experience too.
Beginner difficulty: Easy. Budget: Low.
20. Create a Simple Outdoor Living Area
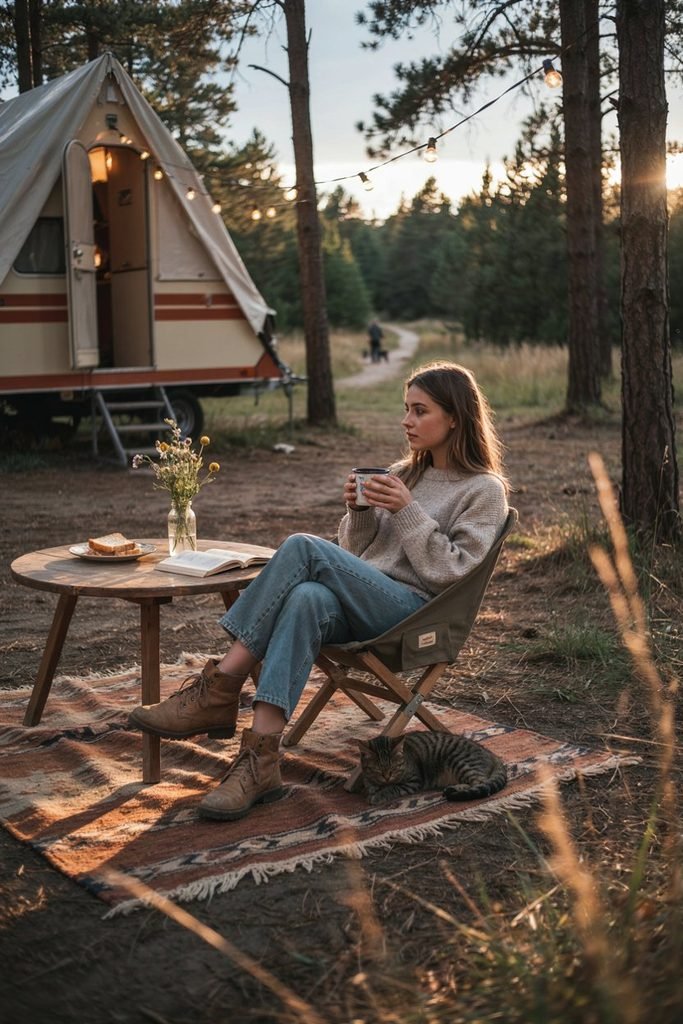
A strong final project is expanding your living space outward.
How to do it.
- Measure the flat, level ground space typically available at your usual campsites so you know how much room you’re working with.
- Choose compact, foldable furniture such as chairs and a folding table that pack down easily for travel.
- Add an outdoor rug to define the seating area and keep dirt down.
- Set up battery powered lanterns or string lights for evening use.
- Store cushions and other soft goods in a weatherproof bin or bag so they can go straight from the campsite back into storage without damage.
The point is to expand the usable living area without permanently modifying the camper itself.
Beginner difficulty: Easy. Budget: Low to medium.
If You Only Have One Weekend
If you want a realistic plan rather than just a list of ideas, here is one way to sequence a weekend makeover.
Saturday morning. Declutter and deep clean the whole camper following the process in idea ten.
Saturday afternoon. Update cabinet hardware and begin painting, working through the steps in ideas one and two.
Saturday evening. Add lighting and textiles, including curtains and any bedding swaps.
Sunday morning. Finish paint touch ups and organize storage using the vertical space and awkward space ideas.
Sunday afternoon. Style the camper with decor and set up the outdoor living area.
This order matters because it front loads the messiest, most disruptive work, like painting and decluttering, so that by Sunday afternoon you’re doing the enjoyable part: styling a space that already looks and functions better.
Where to Save vs. Where to Spend
Save money on: decor, throw pillows, baskets, artwork, hardware, simple organizers, secondhand furniture, and curtains. These items are easy to replace later if you change your mind, and the price difference between a budget option and a premium one is often mostly aesthetic.
Spend more carefully on: safety related repairs, water damage, structural problems, electrical problems, plumbing issues, a quality mattress, durable flooring, and anything that needs to withstand frequent use. Cutting corners here tends to cost more in the long run, either through repeat repairs or through discomfort you’ll notice every time you use the camper.
This distinction matters more than any single project on this list. Cosmetic upgrades are forgiving if you get them slightly wrong. Structural and safety related work is not.
Camper Makeover Mistakes to Avoid
Painting without properly preparing the surface first. Skipping cleaning or priming often leads to peeling within months.
Buying furniture before measuring the space. Camper dimensions are unforgiving, and returns can be a hassle.
Adding too much decor to a small area. A few well chosen pieces read as intentional. Too many read as cluttered.
Ignoring storage until clutter becomes a problem. It’s easier to plan storage as you go than to retrofit it later.
Choosing heavy materials that add unnecessary weight. Extra weight affects towing, fuel economy, and how the camper handles.
Using products that aren’t suited to camper surfaces or conditions. Not every paint, adhesive, or flooring product is rated for the temperature swings and vibration a camper experiences.
Starting cosmetic work before fixing leaks or existing damage. New paint over a hidden leak just hides the problem until it gets worse.
Forgetting about ventilation. Especially relevant when painting, gluing, or installing flooring in an enclosed space.
Spending the entire budget on appearance and none on function. A beautiful camper that’s hard to live in still feels unfinished.
Attempting electrical or structural work without the necessary knowledge. These are the two areas where it’s worth bringing in someone experienced rather than learning by trial and error.
DIY Camper Makeover Shopping List
Painting: cleaner, painter’s tape, appropriate primer, paint, brushes and rollers.
Organization: hooks, baskets, drawer organizers, magnetic storage, slim shelves.
Decor: curtains, bedding, rug, cushions, artwork.
Hardware: cabinet knobs, pulls, screws, measuring tape.
Keep this list on your phone while you shop so you’re not making separate trips for small items you forgot.
Frequently Asked Questions
What is the easiest way to makeover a camper? Start with the changes that require the least skill but have the biggest visual impact: cabinet hardware, curtains, lighting, and decluttering. These take little time and make the space feel noticeably different right away.
How can I update an old camper on a small budget? Focus on high impact, low cost changes first, such as paint, hardware, and textiles, and save larger expenses for repairs that actually affect safety or function. Reusing and refreshing what you already have goes further than replacing it outright.
What should I remodel first in a camper? Anything in the “must fix” category, such as leaks, damaged flooring, or electrical issues, should always come before cosmetic work. After that, move on to high impact changes like paint and lighting.
Can I paint camper cabinets? Yes, as long as they are properly cleaned, prepared, and primed for the specific surface, and as long as the cabinets aren’t damaged by moisture or structural issues. Test any product in a small, hidden area first.
How can I make a small camper look bigger? Light paint colors, mirrors, good lighting, and minimal clutter all help a small space feel larger. Vertical storage also keeps furniture and floor clutter to a minimum, which makes a real visual difference.
What are the best storage ideas for a small camper? Vertical storage such as hooks, slim shelves, and hanging organizers tends to offer the most value. Using awkward or unused spaces, like the area under seating or beside the bed, is often more effective than adding new furniture.
How can I decorate a camper without making it feel cluttered? Stick to one cohesive color palette, choose a smaller number of intentional pieces, and prioritize function over volume. Decluttering before decorating makes a bigger difference than most people expect.
What camper renovations should beginners avoid? Structural work, electrical modifications, and major plumbing changes are best left to someone with experience unless you already have the relevant skills. Beginners get the best results focusing on cosmetic and organizational updates first.
Final Thoughts
You do not need a full renovation to make an old camper feel fresh, comfortable, and like your own. Start by identifying what actually needs fixing, set a realistic budget, and prioritize the changes that affect both appearance and function. Work through the projects in an order that makes sense, tackling the messiest and most disruptive tasks first so the enjoyable, decorative work comes last. A few well chosen updates, done properly and in the right sequence, often make a bigger difference than a complete overhaul ever could.