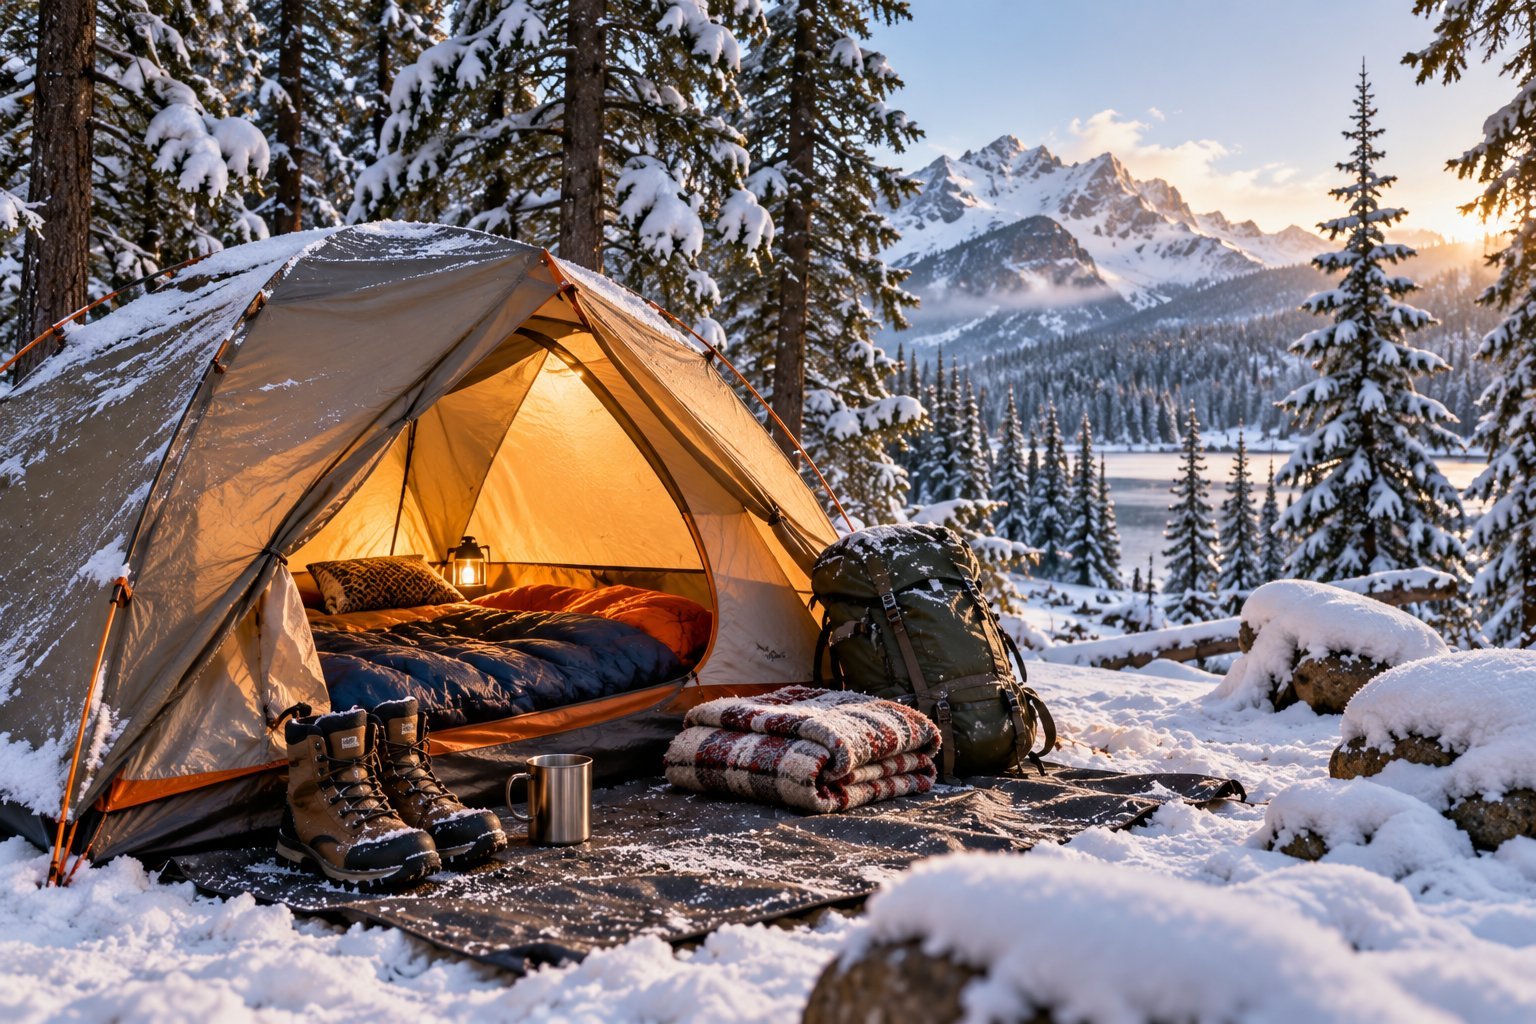
Winter Camping Hacks You Need to Know
Winter camping can be peaceful, beautiful, and surprisingly comfortable when you prepare for the cold properly. Snow-covered trees, quiet campsites, crisp morning air, and cozy evenings inside a tent or camper can make a winter trip feel completely different from camping in warmer weather.
The challenge is keeping yourself warm, managing moisture, protecting your gear, and making everyday camping tasks easier when temperatures drop.
The little things matter more during cold-weather camping. A sleeping bag that feels warm enough at home might not provide the comfort you need outdoors, damp clothing can quickly become uncomfortable, and a simple task like putting on your boots can feel frustrating when everything is cold.
Fortunately, you do not need to spend a fortune on expensive equipment to make your trip more enjoyable.
These winter camping hacks focus on practical ways to stay warm, organize your supplies, make your campsite more comfortable, and avoid common cold-weather problems.
Whether you are camping in a tent, traveling in an RV, or spending a few nights at a snowy campground, these ideas can help you prepare for winter conditions and enjoy your time outdoors with fewer surprises.
Why Winter Camping Requires a Little Extra Preparation
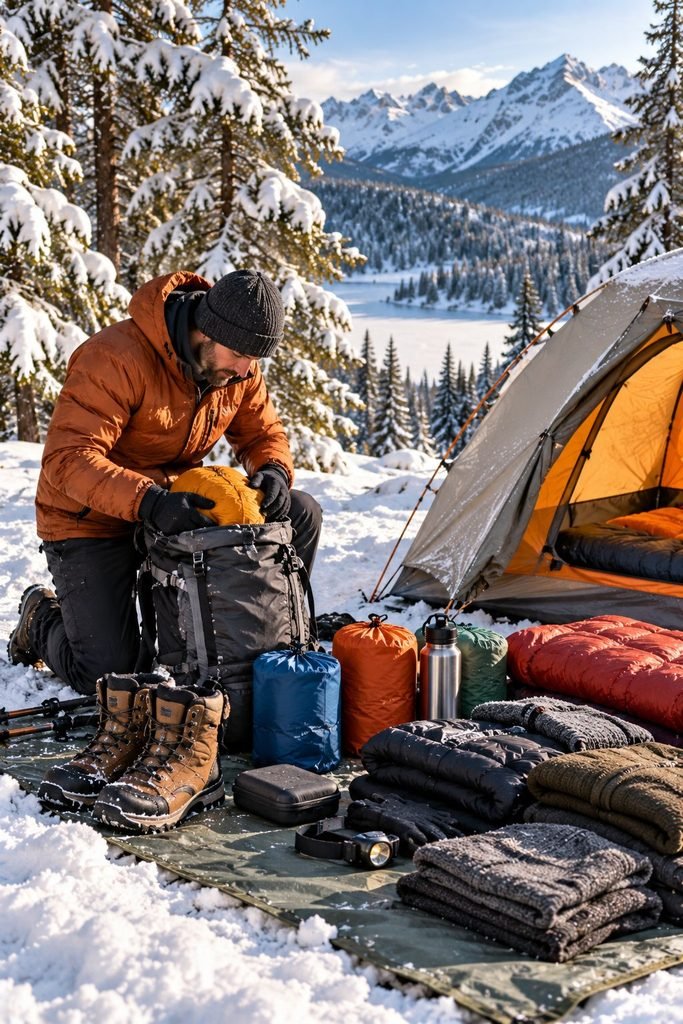
Cold weather changes how you sleep, dress, cook, store equipment, and manage your campsite.
Moisture becomes a bigger concern because sweat, condensation, melting snow, and wet boots can make your clothing and sleeping gear damp.
Shorter daylight hours also mean you have less time to set up camp, prepare meals, and organize everything before temperatures fall.
Preparation does not have to mean packing your entire house. The goal is to choose the right equipment, keep essential items easy to reach, and establish a simple routine that works in cold conditions.
Before leaving home, check the forecast for your campsite, including overnight lows, wind, precipitation, and any winter weather warnings.
Make sure your sleeping system is suitable for the expected temperatures, and have a backup plan if conditions become unsafe.
A few thoughtful preparations can make the difference between spending the evening comfortably outdoors and wishing you had stayed home.
1. Use a Sleeping Pad to Insulate Yourself From the Cold Ground

One of the most useful winter camping hacks is improving the insulation beneath your sleeping bag.
Many campers concentrate on buying a warmer sleeping bag but overlook how much heat can escape into the cold ground beneath them.
Even a thick sleeping bag can feel disappointing when the ground pulls heat away from your body. This is especially noticeable when camping on frozen soil, snow, or a cold tent floor.
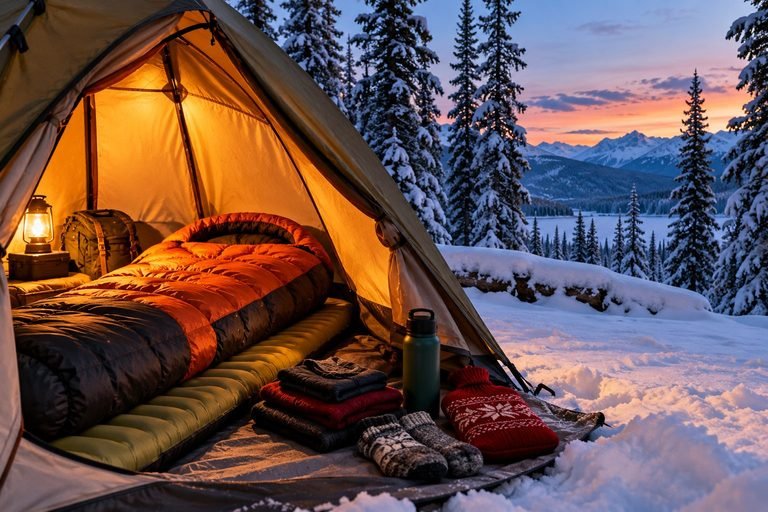
A sleeping pad with an appropriate insulation rating helps create a barrier between your body and the ground. For winter conditions, check the pad’s R-value, which indicates its resistance to heat flow.
Higher R-values generally provide more insulation. In genuinely cold conditions, a suitable insulated air pad combined with a closed-cell foam pad can offer additional protection.
Choose your sleeping setup based on the lowest temperatures you expect rather than the daytime forecast. Also, make sure your pad is long and wide enough to support you comfortably throughout the night.
Before bedtime, inspect the pad for leaks and position it on a dry, reasonably level surface. If you are sleeping in a tent, clear away sharp debris before setting up your sleeping area.
This small preparation can make your sleeping bag feel much more effective and help you rest comfortably through a cold night.
2. Warm Your Sleeping Bag Before Getting Inside
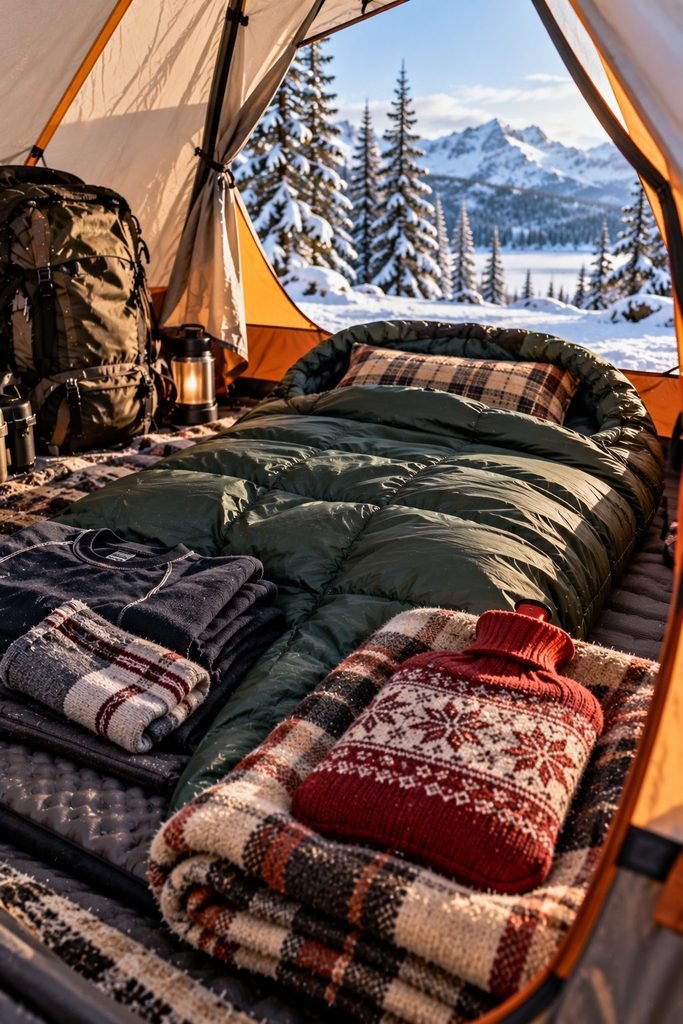
Climbing into a cold sleeping bag at the end of the day can be uncomfortable, especially when your hands and feet are already chilly. A simple trick is to warm the inside of your sleeping bag before settling down for the night.
A camping-safe hot water bottle can work well for this purpose. Fill it according to the manufacturer’s instructions, close the lid securely, and check carefully for leaks before placing it inside your sleeping bag. Keep it wrapped in a cover or spare clothing to prevent direct contact with your skin.
Place it near the foot of your sleeping bag while you prepare for bed. By the time you climb inside, the bedding may feel noticeably more inviting.
Avoid pouring boiling water directly into a bottle that is not designed for it, and never use a damaged container. Follow the product’s temperature guidance to reduce the risk of leaks and burns.
You can also help your sleeping bag stay warm by changing into dry sleepwear before bedtime. Clothing worn during the day may contain sweat or moisture, even when it does not feel particularly damp. Dry base layers help you start the night more comfortably.
Keep the hot water bottle away from exposed skin while sleeping, and remove it if it becomes uncomfortably hot. The aim is to create a warm sleeping environment, not to rely on intense heat to stay comfortable.
3. Pack Your Clothes in Separate Dry Bags

Keeping clothing dry is essential during winter camping. A little moisture can make a big difference when temperatures are low, particularly if you have limited opportunities to dry your gear.
Instead of putting every item of clothing into one large duffel bag, divide your supplies into separate waterproof or water-resistant dry bags. You could use one bag for base layers, another for spare socks, and a third for sleepwear. This makes it easier to find what you need without exposing the rest of your clothing to wet boots, melting snow, or damp equipment.
Keep at least one complete set of dry clothing reserved specifically for sleeping. Store it somewhere protected from moisture and avoid wearing those items around the campsite during the day.
A separate bag for hats, gloves, and neck coverings is also useful. These small items are easy to misplace when you are layering up or moving between your tent, vehicle, and cooking area.
For extra organization, label your bags or choose different colors for different categories. When the temperature drops and you need an extra layer quickly, you will not have to empty your entire pack to find it.
Remember that a dry bag only protects items when it is properly closed and in good condition. Keep wet clothing separate, and never pack damp gear together with your dry sleepwear.
4. Change Out of Damp Layers Before You Get Too Cold

Layering is one of the most effective ways to manage your body temperature during winter camping, but the system works best when you pay attention to moisture.
Walking uphill, carrying firewood, setting up a tent, or preparing camp can make you sweat even when the air is freezing. If you continue wearing damp base layers after activity, you may become chilled once you stop moving.
Try adjusting your layers before you begin strenuous tasks. Removing a midlayer or opening ventilation while you are active can help prevent excessive sweating. Once you finish, put on an insulating layer before your body cools down.
If your base layer becomes damp, change into dry clothing when practical. Merino wool and suitable synthetic fabrics are often useful because they manage moisture better than ordinary cotton.
Cotton clothing can hold moisture and take a long time to dry, making it a poor choice for the layers closest to your skin during cold-weather activities.
A practical winter clothing system usually includes a moisture-managing base layer, an insulating middle layer, and an outer layer that protects against wind and precipitation. The exact combination depends on the weather, activity level, and how easily you become cold.
Keep spare gloves and socks accessible rather than buried at the bottom of your bag. Dry hands and feet make everyday campsite tasks much more manageable.
5. Keep Your Boots and Socks Dry Overnight

Cold, damp feet can make an otherwise enjoyable camping trip miserable. Wet boots also take longer to dry in freezing weather, so preventing moisture from spreading through your gear is usually easier than trying to fix the problem the next morning.
When you return to camp, remove your boots and check whether your socks are damp from sweat, snow, or water. Change into dry socks if necessary, and keep the wet pair separate from your clean clothing.
If your boots are wet, loosen the laces and remove the insoles if the manufacturer recommends doing so. Let the boots dry in a sheltered, ventilated place away from direct heat. Avoid placing footwear close to an open flame, stove, or other intense heat source because materials can melt, crack, or catch fire.
For overnight storage, keep boots protected from snowfall and condensation. In very cold conditions, footwear may freeze, so consider storing it in a sheltered location where it remains accessible. If you keep boots inside a tent or vehicle, make sure they do not obstruct exits or create a tripping hazard.
Use winter-appropriate socks that fit comfortably without making your boots too tight. Overly thick socks can restrict circulation, which may leave your feet colder rather than warmer.
A spare pair of dry socks is a small item that can make a surprisingly large difference during a winter camping trip.
6. Prepare Hot Drinks and Easy Meals Before Temperatures Drop
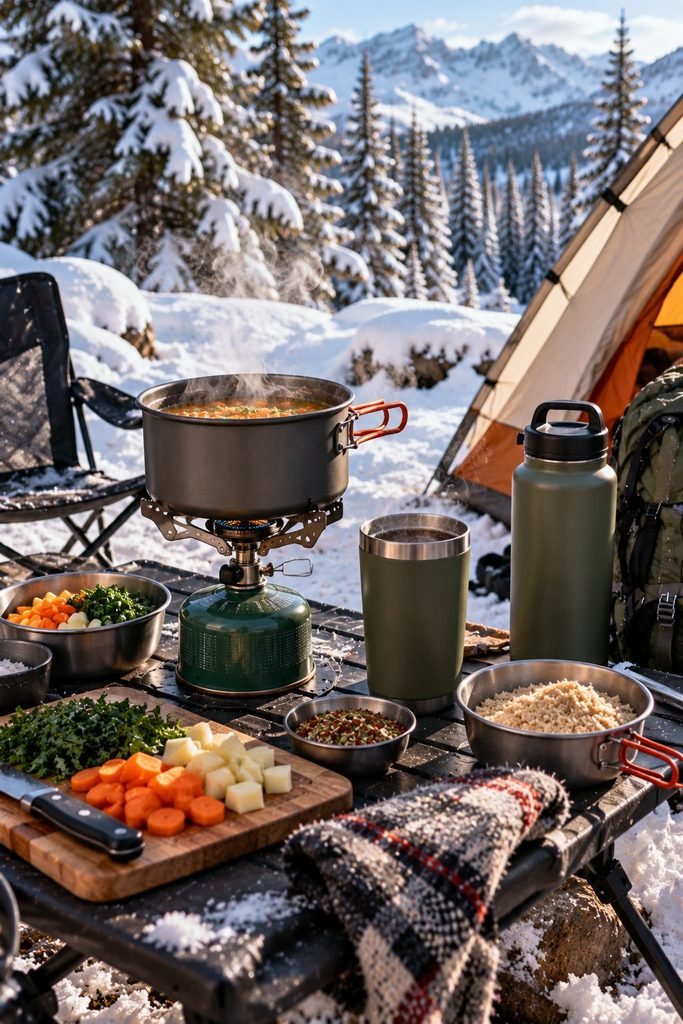
Cooking becomes more challenging when the sun sets early and your hands are cold. Water can take longer to heat in windy conditions, fuel performance may change in low temperatures, and complicated meals can leave you standing outside longer than necessary.
Make meal preparation easier by planning a few simple dishes before leaving home. Measure dry ingredients, portion snacks, and organize the supplies for each meal in separate bags or containers. This reduces the amount of preparation you need to do at the campsite.
Pack ingredients for quick breakfasts, warm lunches, and filling evening meals. Soup, oatmeal, instant rice dishes, and other easy-to-prepare foods can be convenient choices, depending on your equipment and dietary needs.
A well-insulated mug helps hot drinks stay warm for longer. Keep tea, coffee, cocoa, and other drink supplies together so you can prepare something warm without searching through multiple bags.
Check that your stove and fuel are suitable for the expected temperatures, and follow the manufacturer’s instructions for cold-weather use. Use camping stoves outdoors in a properly ventilated area, never inside a tent or enclosed vehicle, because carbon monoxide can be deadly.
Also, protect water containers from freezing. Insulated covers can help, but they do not guarantee that water will remain liquid in severe cold. Check your supplies regularly and keep a reliable method of obtaining safe drinking water.
7. Use a Headlamp to Make Dark Evenings Easier
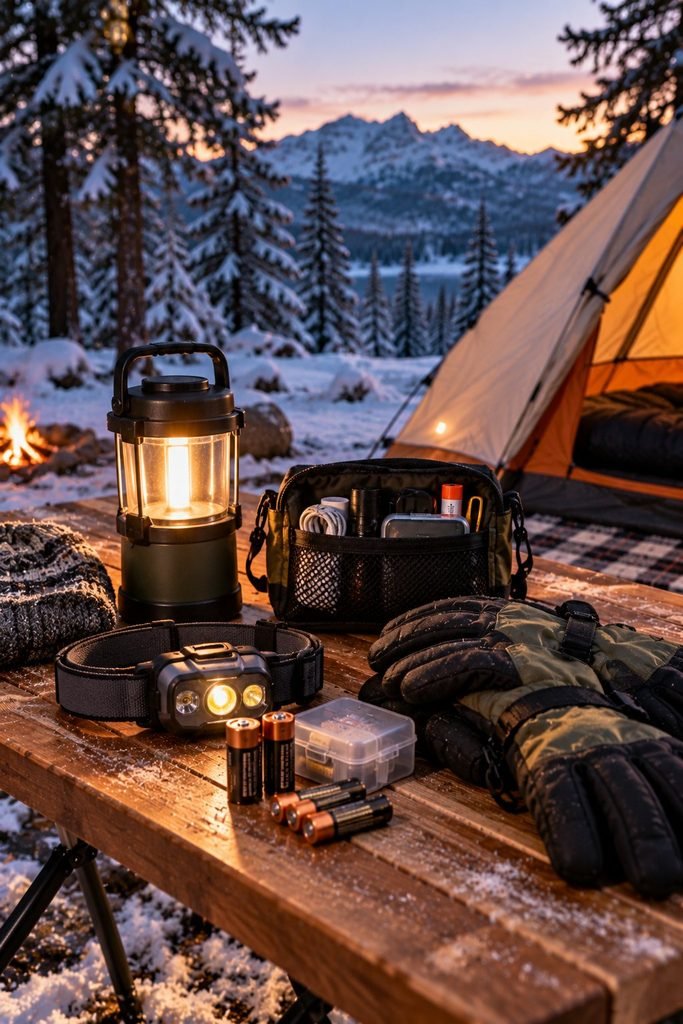
Winter days are shorter, which means you may find yourself setting up camp, cooking dinner, or organizing your sleeping area in the dark. A headlamp is one of the simplest items to make these tasks easier.
Unlike a handheld flashlight, a headlamp leaves both hands free. That is useful when you are securing tent lines, preparing a meal, finding a zipper, or changing into dry clothing.
Pack your headlamp somewhere easy to reach instead of leaving it buried in your main bag. Check the batteries before leaving home, and bring spare batteries or a charged backup light. Cold weather can reduce battery performance, so follow the manufacturer’s guidance for storing and using your lighting equipment in low temperatures.
A small lantern can provide additional light inside a tent or sheltered cooking area, provided it is designed for that use. Keep lights away from flammable materials and never use a fuel-burning lantern in an enclosed space unless it is specifically approved for that environment and all safety requirements are met.
For convenience, create a simple nighttime kit containing your headlamp, spare batteries, lip balm, gloves, and other items you commonly need after dark. Keep it in the same place each evening.
Once you establish this routine, you will spend less time searching for essentials and more time relaxing after a cold day outdoors.
8. Create a Small Entry Area for Wet Gear

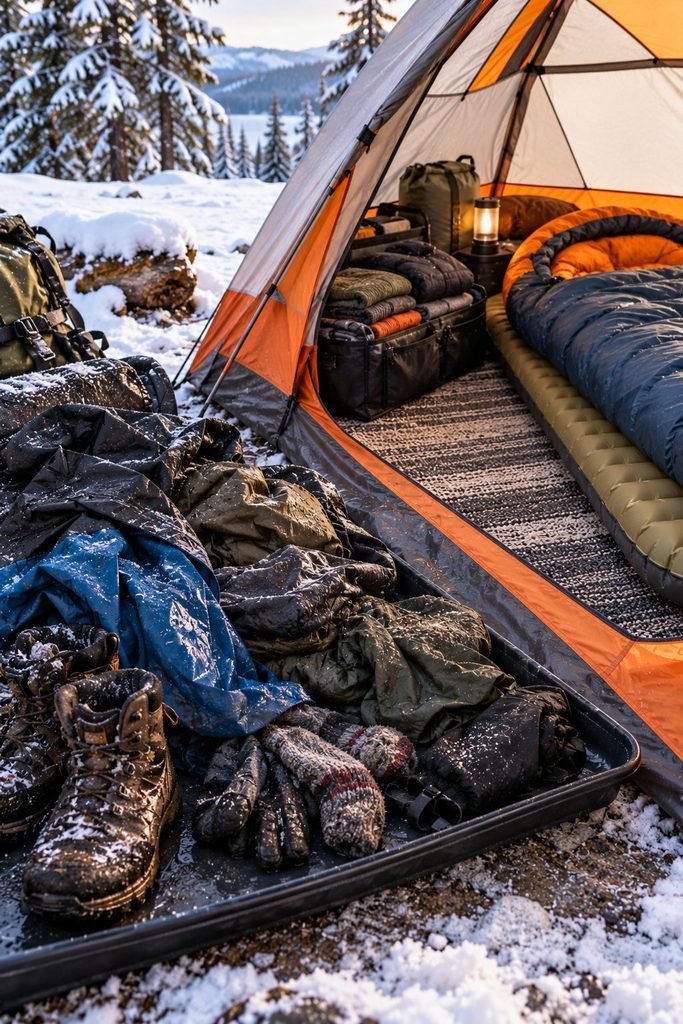
Snow, mud, and melting ice can quickly turn a tent entrance or camper doorway into a messy space. Wet boots, gloves, and outer layers can spread moisture across the floor and make the sleeping area uncomfortable.
Create a designated place for wet gear as soon as you arrive at camp. In a tent, use a suitable vestibule when available, keeping the sleeping area clear and dry. In an RV or camper, a washable mat near the entrance can help catch dirt and moisture before they spread.
A shallow tray or waterproof boot mat can keep melting snow from soaking the floor. Use a separate bag or container for wet gloves and hats, and hang damp outer layers where they can drain and dry without blocking an exit.
Keep walkways clear, particularly when camping with children or other people who may need to move around in low light. A cluttered entrance can become a slipping or tripping hazard when boots and equipment accumulate.
Avoid bringing large amounts of snow into the sleeping area, where it can melt into clothing and bedding. Brush snow from your footwear before entering, and keep a small cloth nearby for wiping up moisture.
If you are camping in a tent, do not compromise ventilation to keep the interior warmer. Condensation can build up when moisture has nowhere to escape. A little planning around your entrance can help protect your gear and keep your sleeping space more comfortable.
9. Use Hand Warmers Strategically on Extra-Cold Days

Hand warmers can be useful during winter camping, particularly when you are sitting still for long periods or dealing with cold fingers while preparing meals. Rather than opening several packets at once, keep a few available for the moments when you need extra warmth.
Disposable air-activated hand warmers are convenient, while reusable options can reduce waste over multiple trips. Check the instructions for the specific product you choose, including how it should be activated, stored, and disposed of.
Place hand warmers in pockets or use them according to the manufacturer’s directions. Do not put them directly against bare skin for extended periods, and never sleep with them pressed against your body. Prolonged heat exposure can cause burns, even when the warmth does not initially feel excessive.
For better results, combine hand warmers with insulated gloves or mittens. Mittens often retain heat more effectively than gloves because your fingers share a single space. Thin liner gloves can also help you handle small items without exposing your hands completely to the cold.
Remember that hand warmers are an extra comfort item, not a replacement for appropriate clothing. If your hands remain numb, unusually pale, or painful, move to a warmer sheltered location and address the cold exposure promptly.
10. Insulate Your Water Bottles to Prevent Freezing

Finding frozen drinking water in the morning is an unpleasant winter camping surprise. When temperatures drop below freezing, water containers can freeze from the outside inward, especially if they are exposed to wind overnight.
Start by using insulated bottle covers or sleeves designed for cold-weather use. Keep water bottles inside your pack when practical, or store them in a sheltered location rather than leaving them exposed on the ground.
Wide-mouth bottles can be easier to refill and clean, but they also need protection from freezing. Keep lids securely closed and check your water supply regularly throughout the day. Do not assume that an insulated container will prevent freezing indefinitely in severe conditions.
If you use a hydration reservoir, follow the manufacturer’s cold-weather recommendations. The drinking tube can freeze quickly, so an insulated tube cover may help. Some campers carry a separate bottle as a backup in case their reservoir becomes unusable.
For overnight storage, keep bottles protected from freezing temperatures as much as possible. If you use a hot water bottle to warm your sleeping bag, keep it separate from your drinking-water supply and ensure it is designed for hot water.
Plan enough water for drinking, cooking, and basic hygiene, and know how you will obtain more if your supply freezes. Never rely on eating snow as your primary source of hydration because it can lower body temperature and does not provide water as efficiently as drinking melted, safe water.
11. Pack a Small Repair Kit for Winter Emergencies
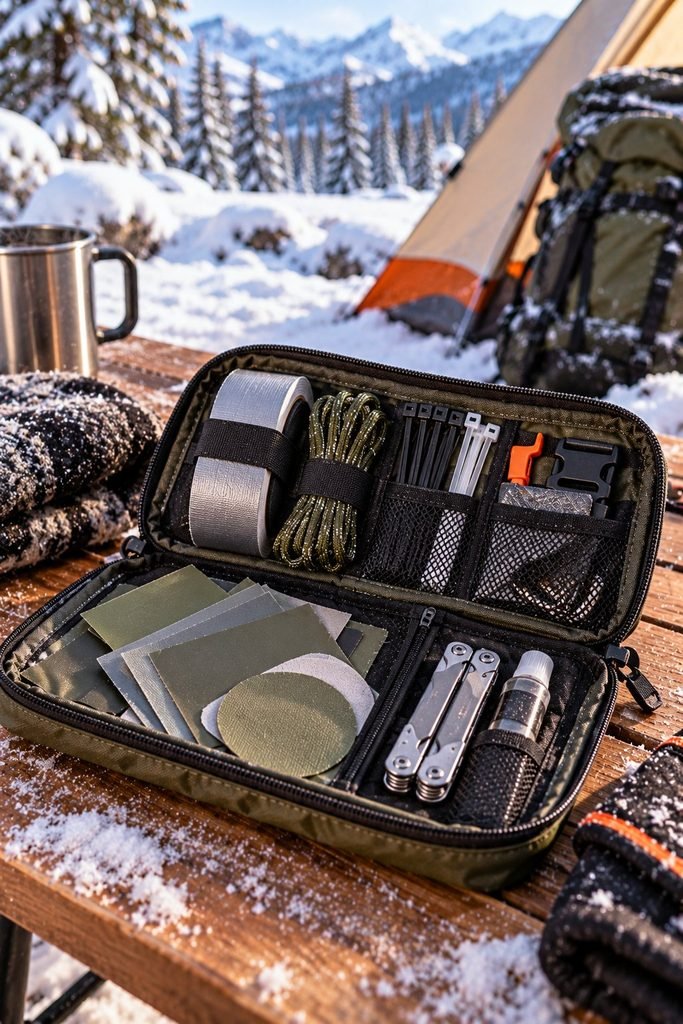
Cold weather can make minor equipment problems much more inconvenient. A broken zipper, loose tent line, damaged buckle, or torn glove can quickly become a bigger issue when you are far from your vehicle or the nearest store.
A compact repair kit helps you handle small problems before they interfere with your trip. The contents will depend on your equipment, but useful items may include repair tape, cord, a few zip ties, spare buckles that fit your gear, a small multitool, and a needle and thread suitable for basic fabric repairs.
For tent camping, bring patches compatible with your tent fabric and sleeping pad. Check the manufacturer’s guidance before applying adhesive patches, since not every repair product works on every material.
Store the kit in a waterproof pouch and keep it somewhere accessible. There is little benefit in carrying emergency supplies if you cannot find them when you need them.
Inspect important equipment before leaving home. Test tent zippers, check poles and guy lines, look for damage to sleeping pads, and make sure your stove works as intended. Repairs are usually easier to complete in a warm, well-lit space than outdoors in freezing conditions.
A repair kit cannot solve every emergency, but it can help you manage minor issues while preserving your time, warmth, and peace of mind.
12. Make Your Tent More Comfortable Without Blocking Ventilation

A tent can feel much more comfortable in winter when you organize the interior carefully. The goal is to reduce unnecessary drafts, keep your sleeping equipment dry, and make the available space work efficiently without creating dangerous conditions.
Choose a tent designed for the weather you expect. A suitable winter tent should provide adequate protection from wind and precipitation, with enough space for your occupants and equipment. A lightweight three-season tent may not be appropriate for heavy snow or severe winter storms.
Set up your tent in a location that follows campsite rules and avoids obvious hazards such as avalanche paths, unstable snow slopes, dead branches, and areas exposed to dangerous runoff. Secure the tent according to the manufacturer’s directions and use appropriate stakes or anchors for the ground conditions.
Inside, keep sleeping bags and spare clothing away from wet outerwear. Store small essentials in a designated pocket or bag so they do not get lost in the dark. A small foam mat beneath frequently used items can help keep them off cold or damp surfaces.
Ventilation remains important, even when it is cold outside. Your breathing and damp clothing release moisture that can collect on the tent walls and wet your gear. Keep the tent’s intended ventilation openings clear and avoid sealing every gap in an attempt to trap heat.
Never use a charcoal grill, campfire, fuel-burning heater, or cooking stove inside a tent. Carbon monoxide can build up rapidly, and flames or hot equipment can ignite tent materials. Choose appropriate sleeping insulation and clothing rather than relying on an open flame to heat your shelter.
13. Choose a Campsite That Offers Natural Protection From Wind
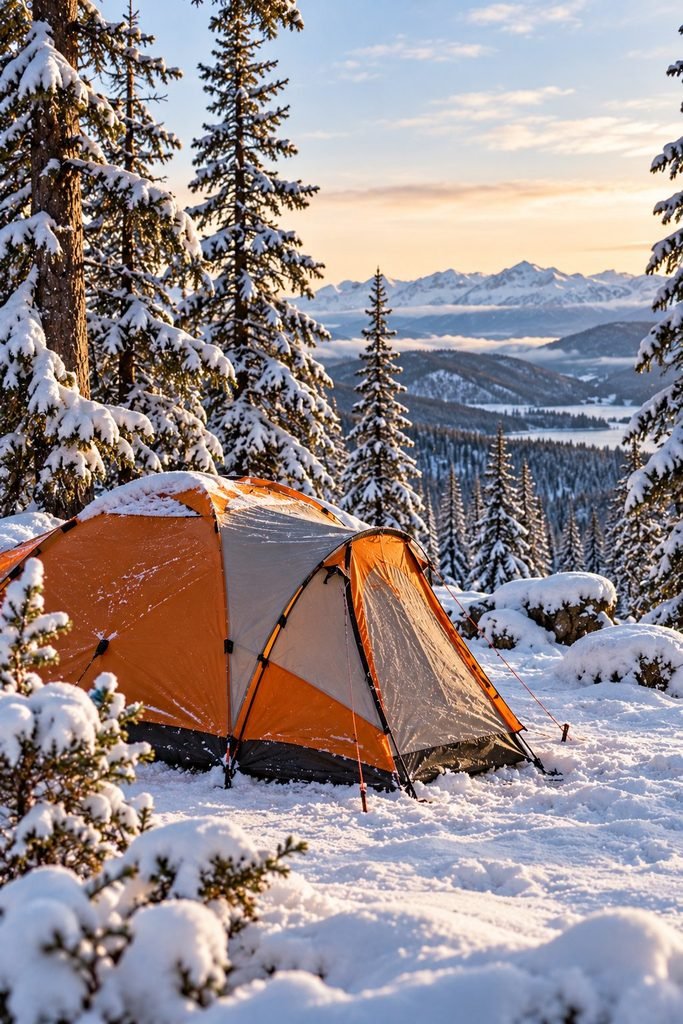
Wind can make winter camping feel significantly colder and can place additional stress on tents, tarps, and other equipment. Choosing a suitable campsite is one of the most effective ways to reduce these problems before you even unpack.
Where permitted and safe, look for a location with natural protection from strong winds, such as appropriate terrain or established shelter areas. Avoid exposed ridgelines during severe weather, but do not set up beneath dead trees, unstable branches, or other overhead hazards.
If you are camping in snowy terrain, be especially careful about slope angles, snow stability, and avalanche risk. A sheltered-looking spot is not automatically a safe spot. Check local conditions and official advisories before choosing your location.
Pay attention to drainage, too. A campsite that looks comfortable when the ground is frozen may become wet or muddy if snow begins to melt. Avoid low areas where water could collect, and follow the rules of the campground or designated camping area.
Once you select your site, orient your tent according to its design and the expected wind direction. Secure all guy lines and anchors properly rather than relying on the weight of your equipment to hold the shelter in place.
A well-chosen campsite will not eliminate harsh weather, but it can reduce exposure and make your shelter easier to manage throughout the night.
14. Keep a Dedicated Winter Camping Essentials Bag
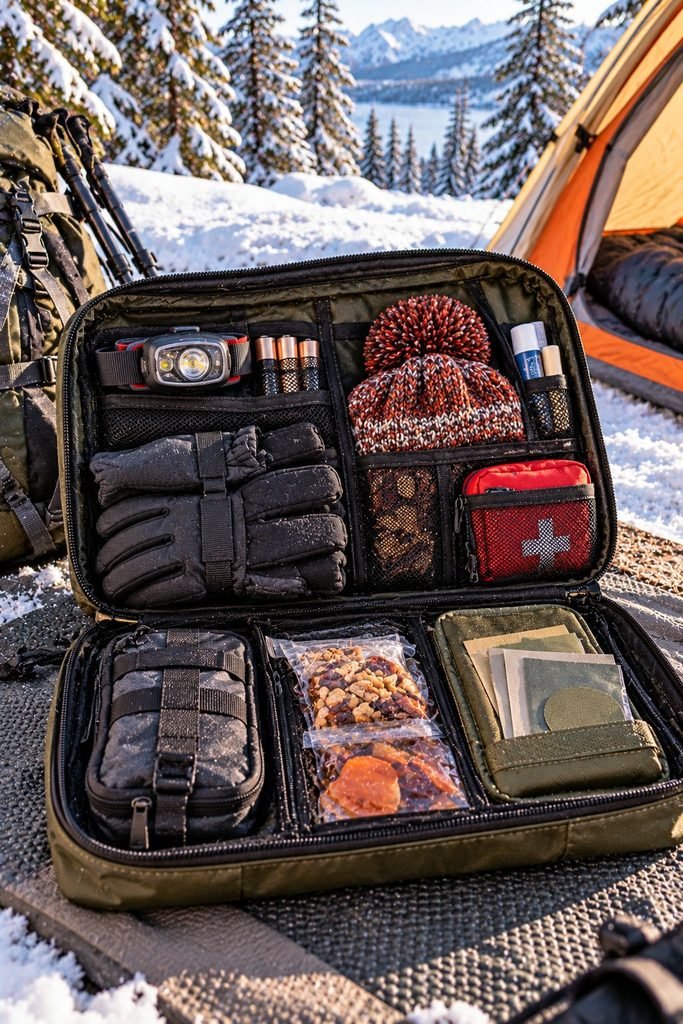
Searching through several bags for gloves, a lighter, a headlamp, or spare socks becomes especially frustrating when it is dark and cold. A dedicated winter essentials bag keeps the items you need most within easy reach.
Choose a small waterproof or water-resistant bag that fits comfortably inside your main pack, vehicle, or camper. Organize it around the tasks you commonly perform at camp rather than packing random items together.
Your essentials bag might contain a headlamp, spare batteries, gloves, a warm hat, lip balm, a compact first-aid kit, repair supplies, and a few emergency snacks. Adjust the contents to match your trip, the expected weather, and the other safety equipment you are carrying.
Keep larger safety essentials, including navigation equipment, emergency communication devices where needed, and appropriate cold-weather emergency supplies, accessible rather than buried beneath sleeping gear.
Before every trip, check the bag and replace anything that has been used or damaged. Test electronic devices, confirm that batteries are charged, and check expiration dates on relevant supplies.
The biggest benefit of this system is consistency. When every essential item has a predictable place, you can prepare for the night or respond to changing conditions without unpacking everything.
15. Plan Your Evening Routine Before It Gets Dark
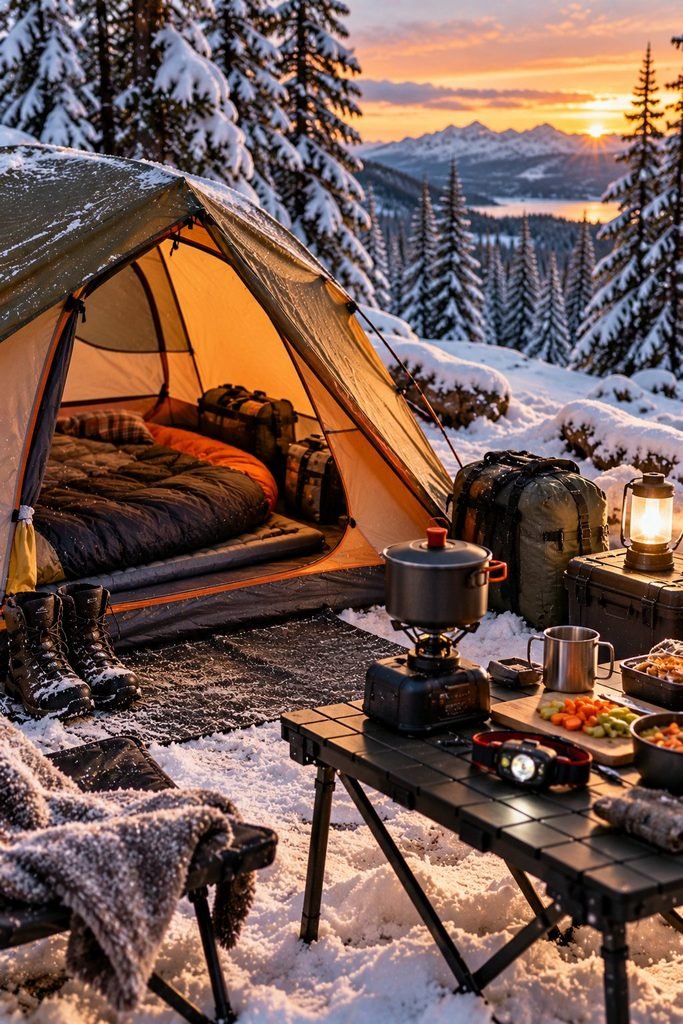
A little organization before sunset can make winter camping much easier. Once temperatures fall and daylight disappears, even basic jobs can take longer than expected.
Before evening arrives, finish tasks that are easier in daylight. Secure your shelter, organize your sleeping area, prepare water, gather the supplies you need for dinner, and put your dry sleepwear somewhere accessible.
Check the weather forecast again if conditions are changing, and make sure your tent, vehicle, or other shelter is prepared for the expected overnight weather. Keep your headlamp close and ensure everyone in your group knows where essential equipment is stored.
Prepare a simple nighttime kit with your water bottle, headlamp, warm layers, and personal items. This reduces the need to move around the campsite repeatedly after dark.
If you are camping with other people, divide tasks sensibly. One person can prepare the meal while another organizes sleeping equipment or checks the campsite. Avoid rushing, particularly when handling sharp tools, hot cookware, or equipment in low light.
Before getting into your sleeping bag, change into dry layers, eat enough food to support your activity level, and use the bathroom if practical. Keep water nearby so you do not have to leave your sleeping area unnecessarily.
A consistent routine helps you settle down earlier and gives you more time to relax instead of dealing with avoidable problems late at night.
Extra Winter Camping Tips for Staying Safe and Comfortable

The best winter camping setup is one that keeps you warm, dry, hydrated, and prepared for changing conditions. A few additional habits can make your trip easier without adding much weight to your pack.
Check your gear before departure. Test your stove, inspect your tent, check your sleeping pad for leaks, and confirm that your sleeping bag is suitable for the expected low temperatures.
Eat regular meals and drink enough water. Cold weather and physical activity increase your body’s demands. Pack convenient snacks and monitor your water supply throughout the day.
Protect exposed skin. Wind and cold can affect your face, ears, and hands. Use appropriate clothing and skin protection for the conditions, and avoid leaving wet skin exposed in freezing weather.
Keep your phone and essential batteries protected. Cold temperatures can reduce battery performance. Follow the manufacturer’s storage guidance and carry a reliable backup method for communication when the location or conditions require it.
Know when to change your plans. Severe weather, dangerous wind, heavy snowfall, equipment failure, and signs of cold-related illness may mean you need to leave or seek shelter.
A successful trip is not one where you push through every condition; it is one where you make sensible decisions.
Learn the warning signs of hypothermia and frostbite. Uncontrollable shivering, confusion, unusual drowsiness, loss of coordination, numbness, and changes in skin color can indicate serious cold injury. Get out of the cold, seek appropriate help, and follow emergency guidance if symptoms develop.
Common Winter Camping Mistakes to Avoid
Even experienced campers can make mistakes when conditions become colder than expected. Avoiding a few common problems can make your trip safer and more comfortable.
Relying on a sleeping bag without checking its temperature rating. Compare the bag’s ratings with the forecast and your personal needs. A warm sleeping bag still requires an appropriately insulated sleeping pad.
Wearing too many layers while doing strenuous activities. Excessive sweating can leave clothing damp. Adjust your layers before you become overheated, then add insulation when you stop.
Leaving wet gear mixed with dry clothing. Keep damp socks, gloves, and outerwear separate from the clothing reserved for sleeping.
Ignoring wind and changing weather. A campsite that feels comfortable in the afternoon may become exposed and unpleasant overnight. Check forecasts and prepare for the conditions you may actually encounter.
Trying to heat a tent with unsafe equipment. Never use a stove, charcoal grill, or open flame inside a tent. Carbon monoxide poisoning and fire are serious risks.
Waiting too long to deal with cold symptoms. Numbness, confusion, persistent shivering, or unusual fatigue should never be dismissed as normal winter discomfort. Take action early and seek emergency assistance when necessary.
Frequently Asked Questions
What is the best way to stay warm while winter camping?
Use a sleeping bag rated for the expected temperatures, an adequately insulated sleeping pad, dry base layers, and appropriate insulating clothing. Eat regularly, stay hydrated, and avoid letting sweat or wet clothing accumulate.
How do I keep my sleeping bag dry during winter camping?
Store your sleeping bag in a waterproof stuff sack or dry bag while traveling. Keep wet clothing separate, maintain appropriate tent ventilation, and protect your sleeping area from melting snow and condensation.
How can I stop water from freezing while camping?
Use an insulated bottle cover, keep bottles sheltered from wind, and check your supply regularly. In very cold conditions, insulation may only delay freezing, so carry a backup plan for accessing safe drinking water.
Is winter camping safe for beginners?
Winter camping can be safe when beginners choose suitable conditions, use appropriate equipment, understand the local hazards, and have a realistic backup plan. Starting with an established campground or a mild winter forecast is generally more manageable than attempting remote camping during severe weather.
What should I never do when winter camping?
Never use a cooking stove, charcoal grill, or open flame inside a tent. Do not ignore symptoms of hypothermia or frostbite, rely on unsuitable sleeping equipment, or continue into dangerous weather simply to complete a planned trip.
Final Thoughts
Winter camping becomes much more manageable when you focus on the details that protect your warmth and keep your gear organized.
An insulated sleeping pad, dry clothing, protected water, easy meals, and a reliable evening routine can make a noticeable difference during a cold-weather trip.
You do not need to purchase every winter camping accessory at once. Start with the essentials that match your destination and expected temperatures, then add useful items as you learn what works best for your camping style.
Most importantly, prepare for the conditions rather than the season alone. Winter weather can change quickly, so check local forecasts, use equipment appropriate for the environment, and be willing to adjust your plans when safety requires it.
With thoughtful preparation and a few practical hacks, you can spend less time dealing with cold-weather frustrations and more time enjoying the quiet beauty of winter outdoors.