6 Quick & Easy Remodel Projects That Transformed Our RV Into a Home
An RV can have everything needed for comfortable travel and still feel surprisingly impersonal inside. That was exactly how I felt about our RV before we started making a few changes.
The layout worked, the storage was useful, and everything had its place, but it did not really feel like a space we wanted to spend long periods in.
I wanted it to feel warmer, more organized, and more like a home without taking on an expensive full renovation.
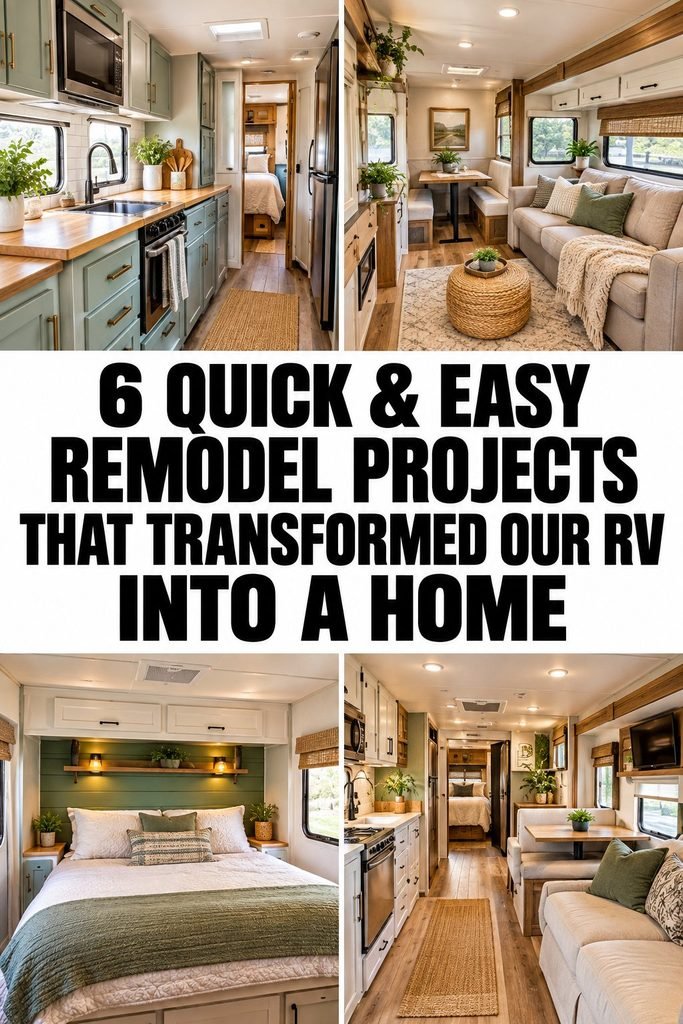
The good thing about remodeling an RV is that small projects can make a surprisingly big difference. I learned that changing a few visible details, improving storage, and making better use of the existing space could completely change how the interior felt.
These six projects are the ones that made the biggest difference for us. They were manageable without turning the RV into a never ending construction project, and each one gave us something practical as well as improving the overall look.
Disclaimer
This post may contain affiliate links. As an Amazon Associate, I earn from qualifying purchases at no additional cost to you. I only recommend RV renovation supplies and home improvement products that I genuinely find useful for making a camper feel more comfortable and inviting. Measure your RV carefully, check product compatibility, and follow manufacturer instructions before starting any renovation project.
Amazon Shopping List You Need
- Peel and Stick Wallpaper – I love using this to give RV walls a fresh look without a major renovation.
- Peel and Stick Vinyl Flooring – I use this to refresh worn-looking floors and create a cleaner, more modern interior.
- LED Puck Lights – I love adding these to dark corners and cabinets for cozy lighting.
- Cabinet Hardware Set – I use new handles and knobs to give old RV cabinets a quick, stylish makeover.
- RV Storage Organizer Bins – I always use compact organizers to keep small spaces tidy and functional.
- Water Based Cabinet Paint – I use this to update dated cabinets with a fresh color, after confirming the surface and paint are suitable.
- Non Slip Shelf Liner – I always add this to cabinets and drawers to help keep dishes and everyday essentials from sliding around while traveling.
What I Considered Before Starting Our RV Remodel
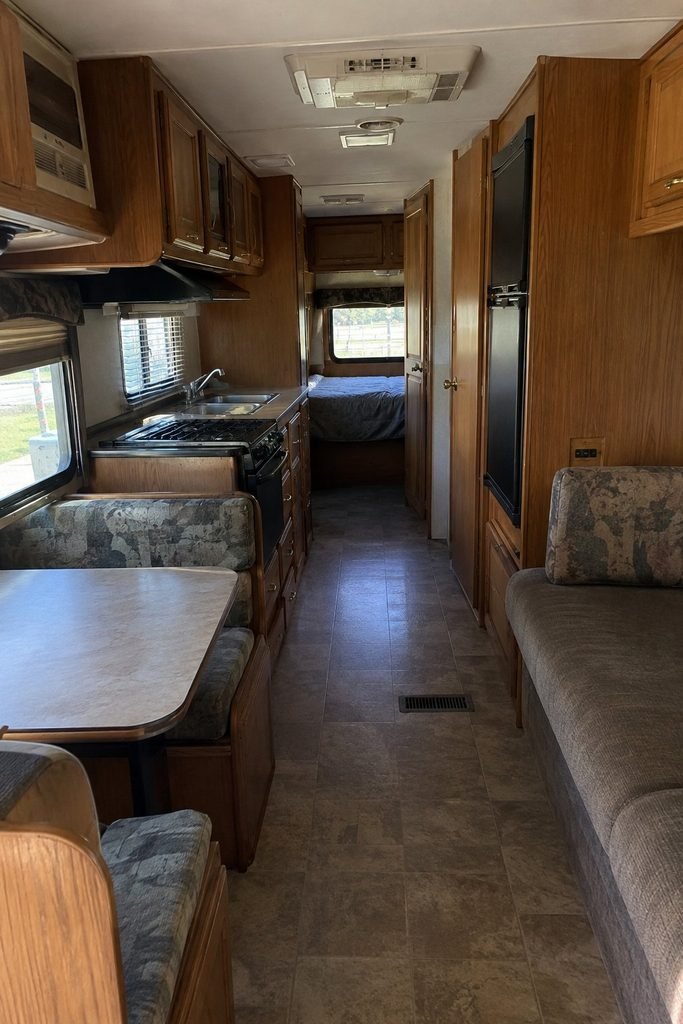
Before buying paint, hardware, or decorative pieces, I spent time looking at how we actually used the RV. That helped me avoid making changes simply because they looked good in photos.
An RV has very different needs from a traditional house. Every inch matters, weight needs to be considered, and anything added to the walls or cabinets needs to hold up while the RV is moving.
I also wanted the remodel to feel consistent rather than like a collection of unrelated upgrades. I focused on projects that could make the RV feel brighter, more comfortable, and easier to keep organized.
Another important lesson was to work with the existing layout whenever possible. Moving major components can quickly turn a simple RV refresh into a much larger and more expensive project.
Instead, I looked for areas where a relatively small change could create a noticeable improvement.
That approach made the entire process much less overwhelming.
1. We Gave the Interior a Fresh Coat of Paint
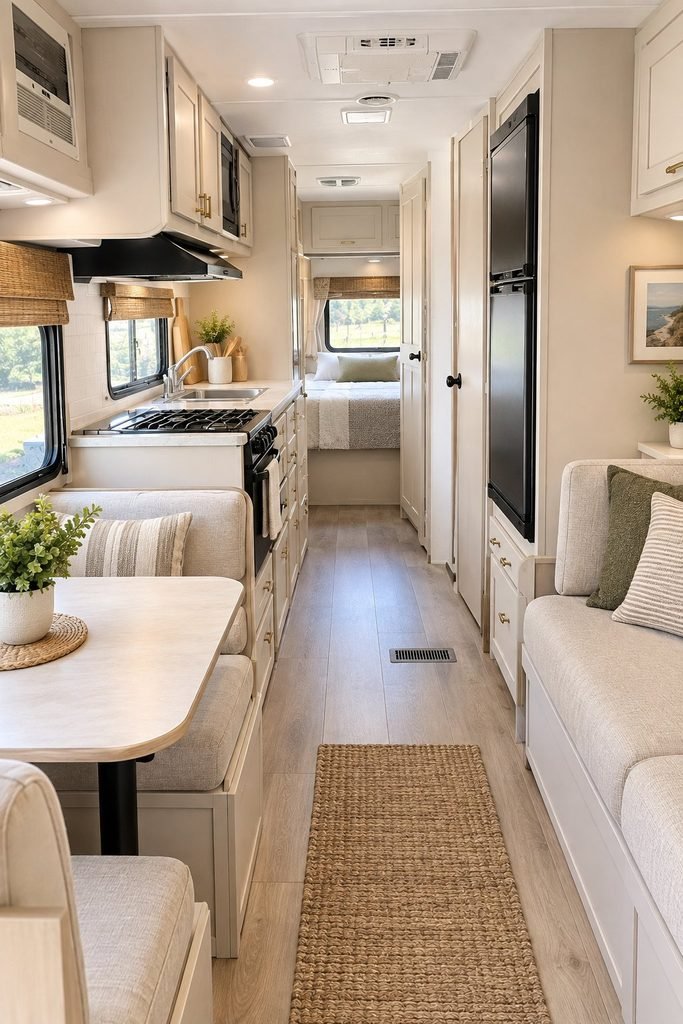
Paint made one of the most noticeable differences in our RV.
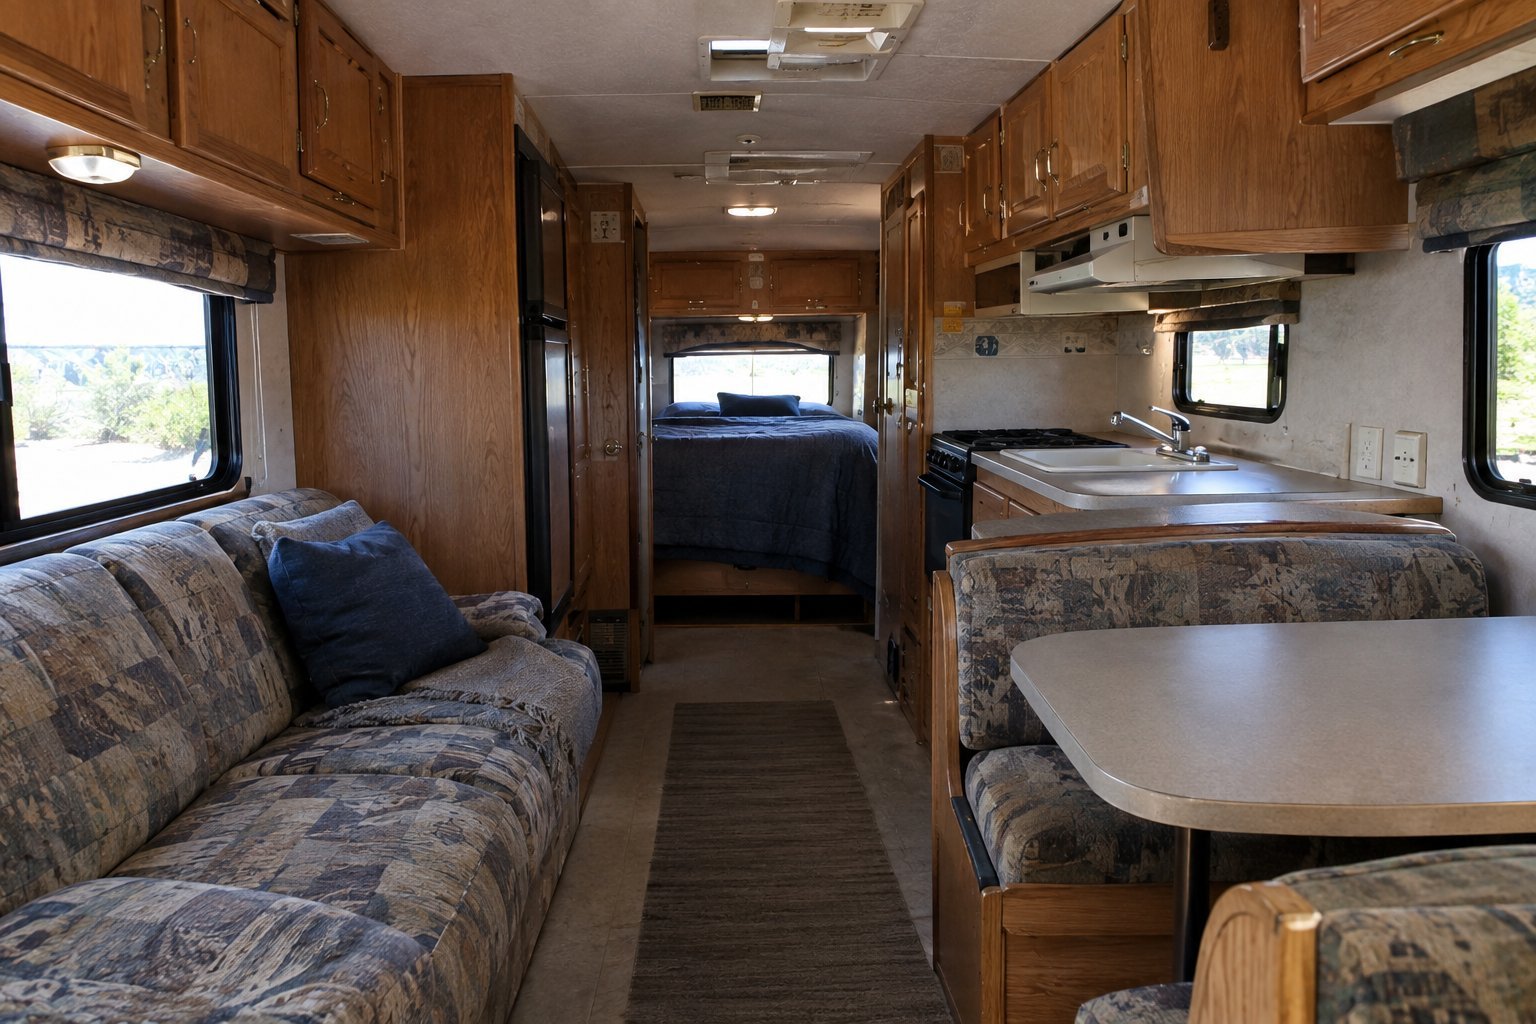
The original interior had a dated appearance that made the space feel darker than it actually was. Rather than completely replacing the cabinets and walls, I decided to see what a fresh coat of paint could accomplish.
I started by cleaning the surfaces thoroughly because RV interiors can collect more dust and grime than you realize. I also took time to lightly prepare the surfaces before painting. Skipping the preparation might save a little time at the beginning, but it can lead to poor adhesion and an uneven finish later.
For the main areas, I leaned toward lighter colors because they helped the interior feel more open. This was especially helpful in the smaller spaces where natural light was limited.
I also learned to be patient with drying time. An RV has plenty of small corners, cabinet edges, and awkward areas that can make painting slower than expected.
The finished result was worth the effort. The RV immediately felt cleaner and brighter without changing its basic layout.
A Painting Tip That Saved Me Time
I found it much easier to work in smaller sections instead of trying to paint everything at once. Removing cabinet doors and hardware before painting also made the finished result look much cleaner.
If you are planning an RV paint project, measure how much surface you actually need to cover before buying supplies. It is easy to underestimate how many coats certain RV surfaces require.
2. We Updated the Cabinet Hardware
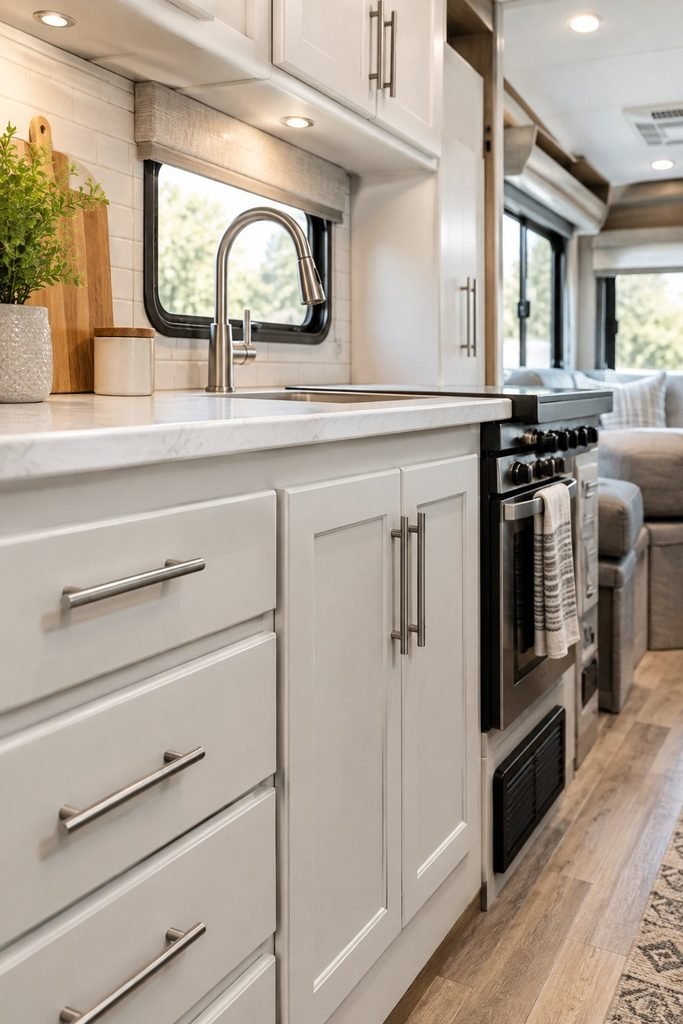
Changing cabinet hardware was one of the quickest projects we completed, but it had a surprisingly large visual impact.
The existing handles and knobs made the cabinets look older than I wanted. Instead of replacing the entire cabinetry, I switched out the hardware.
This is one of those RV upgrades I would consider when someone wants a noticeable change without committing to a major renovation.
I measured the existing hardware carefully before ordering anything. This is important because cabinet handles are not always installed at the same spacing, and buying replacements without checking the measurements can create an unnecessary headache.
I also kept the style consistent throughout the RV. Matching hardware across the kitchen, bathroom, and other storage areas helped everything feel more intentional.
What I liked most about this project was how little disruption it caused. There was no need to remove cabinets or change the layout. A few simple replacements made the interior feel much more updated.
For anyone working with a tight remodeling budget, this is an easy place to start.
3. We Improved the Storage in the Areas We Used Most
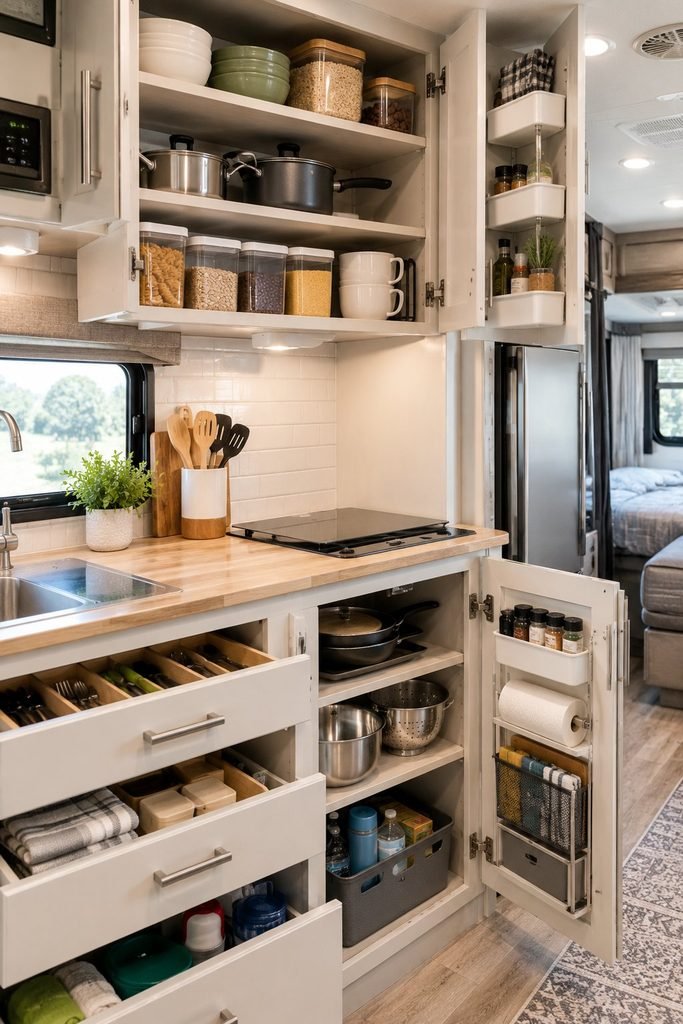
RV storage can disappear incredibly quickly once you start living in the space.
I noticed that some of our storage areas were technically large enough, but they were not being used efficiently. Items would get pushed toward the back, smaller things became difficult to find, and useful space was being wasted.
Instead of immediately adding more furniture, I focused on making the storage we already had work harder.
I added simple organizers to areas where smaller items tended to move around. I also grouped similar things together so that everyday items were easier to reach.
This made a bigger difference than I expected.
One of the biggest lessons I learned during our remodel was that good RV storage is not necessarily about having more cabinets. It is about being able to see and access what you already have.
I also became much more careful about what we actually needed to keep inside the RV. Removing things that were rarely used created space without adding another storage product.
That made the RV feel less crowded and much easier to maintain.
4. We Added Small Decorative Details That Made It Feel More Personal
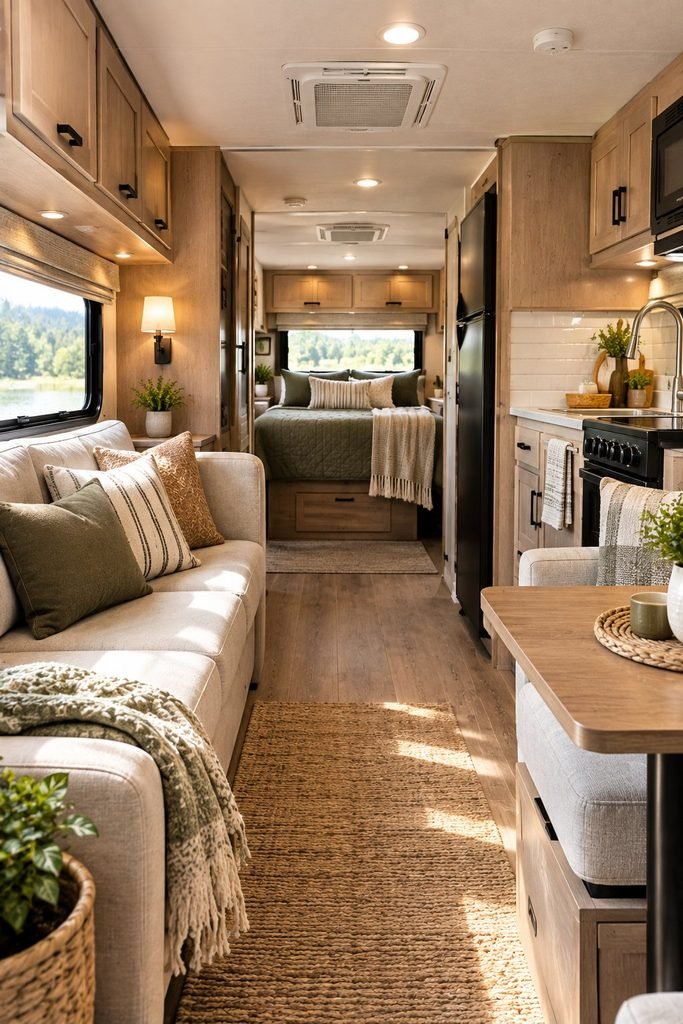
Once the practical improvements were finished, I started looking at the details that would make the RV feel like our own space.
I did not want to overload the interior with decorations because an RV needs to remain functional. Instead, I chose a few simple additions that brought warmth and personality into the space.
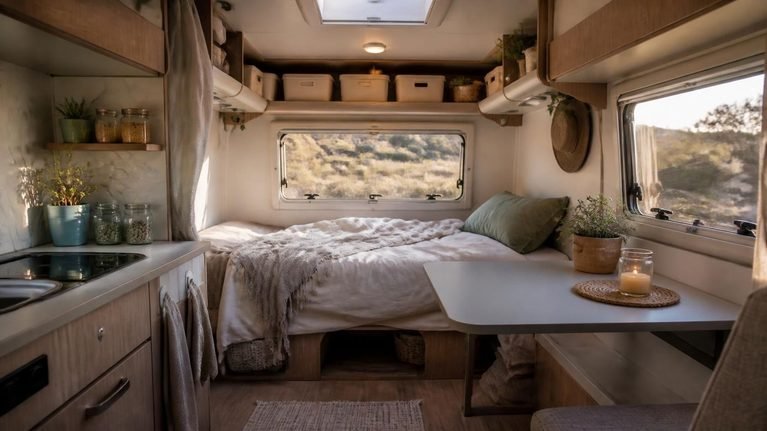
Textiles made a particularly noticeable difference. Adding softer fabrics and coordinating colors helped break up the harder surfaces inside the RV.
I also paid attention to small areas that had previously felt unfinished. A simple decorative piece in the right location could make an otherwise overlooked corner feel intentional.
The key for me was keeping everything practical. Anything I added needed to either serve a purpose or be easy to secure before traveling.
That balance helped the RV feel more like a home without sacrificing the functionality we needed on the road.
5. We Made the Kitchen Feel More Functional
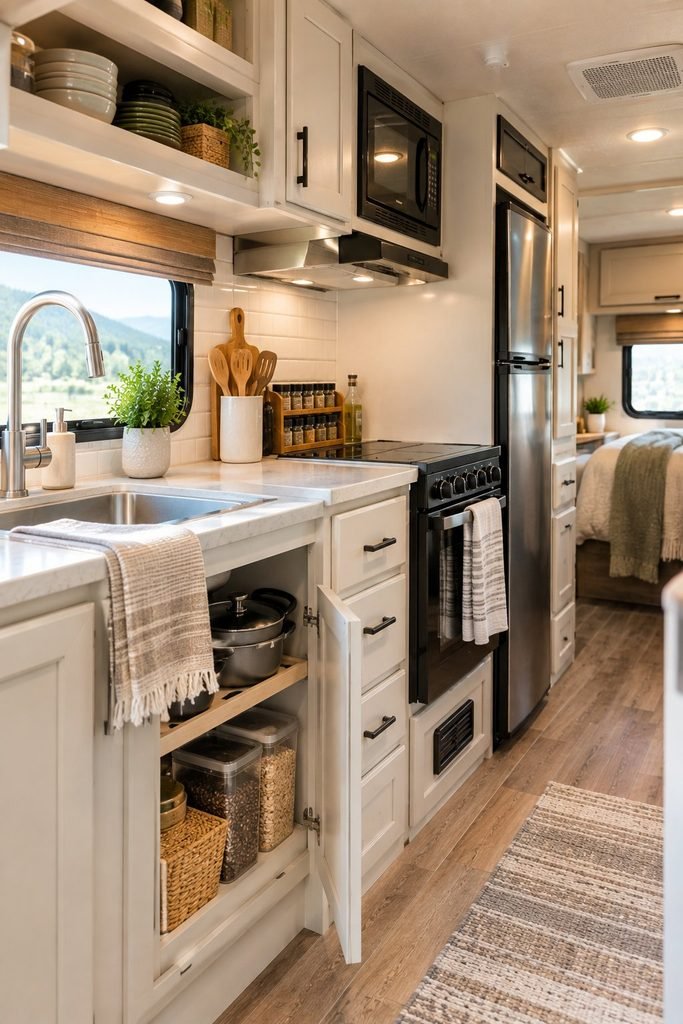
The kitchen was another area where a few smaller changes made the RV feel much more comfortable.
RV kitchens can be challenging because counter space is limited and storage has to work harder than it would in a regular home. I noticed that the kitchen often felt cluttered even when we did not have that many things inside it.
Instead of trying to add more furniture, I focused on making the existing space easier to use.
One of the biggest improvements was getting better control over the items that usually ended up sitting on the counter. I wanted the surfaces to stay as clear as possible because even a small amount of clutter can make an RV kitchen feel crowded.
I also reorganized the cabinets according to how often we used different items. Everyday cooking essentials stayed within easy reach, while things we rarely needed went into less accessible storage.
This sounds like a small change, but it made preparing meals much easier.
I also became more selective about the kitchen items we kept inside the RV. A regular kitchen can handle duplicate utensils, extra appliances, and bulky cookware. An RV really does not need all of that.
One Kitchen Change I Would Make Again
I would focus on improving the way you use the existing counter and cabinet space before buying additional organizers.
Measure the space first, think about what regularly causes clutter, and then choose a solution for that specific problem. This helped me avoid buying storage products that looked useful but ended up taking up even more space.
The goal was not to make our RV kitchen look like a large residential kitchen. I simply wanted it to be easy to cook in, easy to clean, and comfortable enough for everyday use.
That made the kitchen feel much more like part of our home rather than just a small area for preparing food.
6. We Improved the Lighting Throughout the RV
Lighting was another simple change that completely affected how the interior felt.
Some areas of the RV felt darker than I wanted, especially in the evening. The existing lighting worked, but it did not always create the warm and comfortable atmosphere I was looking for.
Rather than making a complicated electrical project out of it, I focused on simple lighting improvements that could make the space feel brighter and more inviting.
I paid particular attention to areas where we actually spent time. The kitchen, seating area, and bedroom each needed slightly different lighting depending on what we were doing.
This also made me realize how important lighting is in a small space. In a larger house, one poorly lit corner may not matter much. In an RV, the same corner can make the entire interior feel darker.
I preferred lighting that felt warm and comfortable rather than extremely bright. That made the RV feel much more relaxing in the evening.
Think About Lighting Before Decorating
One thing I would recommend is checking the lighting before adding lots of decorative pieces.
A space can look completely different depending on where the light falls. Once I improved the lighting, some areas that had previously looked plain suddenly felt much more inviting.
It also helped highlight the other remodeling work we had already completed.
The Small Changes Made the Biggest Difference
Looking back at the remodel, the most important lesson was that we did not need to completely rebuild the RV to make it feel like home.
The biggest improvements came from combining several manageable projects.
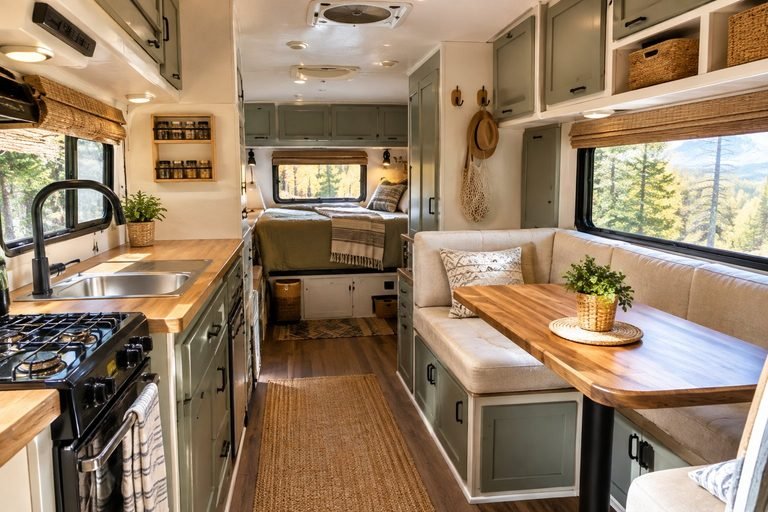
The paint changed the overall atmosphere. New cabinet hardware made the existing cabinetry feel more updated. Better storage reduced clutter. Small decorative details added personality. The kitchen became easier to use, and improved lighting made the whole interior feel warmer.
None of these projects required changing the basic layout of the RV.
That was important because I wanted to improve the space without creating a renovation that would take months or require a huge budget.
I also learned that the best RV remodel is not necessarily the one with the most dramatic transformation. The most useful changes are the ones that make everyday life easier.
A beautiful countertop does not help much if the kitchen is difficult to organize. New decorations are not particularly useful if they create more clutter. And additional storage does not solve a problem if it makes frequently used items harder to reach.
For me, the goal was always to make the RV more comfortable while keeping it practical for actual travel.
What I Would Do Differently Next Time
Even though I was happy with the finished result, there are a few things I would approach differently if I were starting the remodel again.
I would spend even more time planning the order of the projects.
It is much easier to paint before installing new hardware or organizing cabinets. Doing the work in the wrong order can mean removing things, cleaning the same areas multiple times, or accidentally damaging something that was already finished.
I would also measure every area before buying materials. RV spaces can have unusual dimensions, and something that looks like it should fit may not work once doors, trim, hinges, or other fixtures are taken into account.
Another thing I would keep in mind is weight.
It is easy to get carried away when decorating an RV because there are so many attractive storage products and accessories available. But an RV has weight limitations, so I would always consider whether an addition is actually worth carrying around.
The same applies to furniture and decorative items. Lightweight and practical choices made more sense for our space.
Most importantly, I would keep the focus on how the RV is actually used.
A remodel should make everyday life easier rather than simply make the RV look different.
How I Would Plan an RV Remodel Now
After going through these projects, I would approach another RV remodel with a much clearer plan.
I would start by spending a few days using the RV normally and paying attention to what actually bothers me. Instead of immediately making a list of things that look outdated, I would look for problems that affect everyday comfort.
Does the kitchen counter constantly become cluttered? Is there not enough usable storage? Does the interior feel dark? Are certain areas uncomfortable to sit in? Are there cabinets that are difficult to access?
Those answers would determine where I put my time and money.
I would also divide the remodel into three categories: appearance, organization, and functionality.
Appearance would include things like paint, hardware, textiles, and decorative details.
Organization would focus on cabinets, drawers, storage containers, and reducing unnecessary clutter.
Functionality would cover changes that make cooking, relaxing, sleeping, cleaning, and traveling easier.
This approach keeps the remodel focused instead of turning it into a long list of projects that may not actually improve daily life.
How to Keep an RV Remodel Affordable
A full RV renovation can become expensive very quickly, but these projects showed me that a transformation does not have to require a huge budget.
I would always start with the changes that have the biggest visual or practical impact.
Paint is a good example. You can completely change the feeling of an interior without replacing every cabinet and wall surface.
The same applies to hardware. Replacing handles and knobs can give existing cabinetry a different appearance without the cost of new cabinets.
Storage is another area where I would avoid buying too quickly. Before purchasing organizers, I would remove everything from the area, sort through what we actually use, and measure the available space.
That prevents the common problem of buying storage for things that probably should not be inside the RV in the first place.
I also found that doing projects gradually made the remodel much easier financially. There was no need to complete everything in one weekend.
A few small improvements at a time can eventually create a completely different space.
Mistakes I Would Avoid During an RV Remodel
One mistake I would avoid is trying to copy a residential home renovation too closely.
An RV has completely different requirements. Materials need to handle movement, storage needs to be practical, and added weight needs to be considered.
I would also avoid making permanent changes before living with the space for a while. It is easy to assume that a particular layout or storage solution will work perfectly, only to discover that it becomes inconvenient once you actually start using it.
Another mistake is focusing too heavily on appearance.
I love making an RV look beautiful, but I have found that functionality matters much more when you are actually traveling and living inside it.
A pretty storage solution that makes everyday items difficult to reach is not really an improvement.
I would also avoid tackling too many projects at once. Finishing one area before moving to another makes it easier to see what is working and prevents the RV from becoming one huge unfinished project.
The Projects That Changed Our RV the Most
What surprised me most about this remodel was how much difference small changes could make.
We did not completely change the floor plan or rebuild the interior. Instead, we improved the parts of the RV that affected us every day.
The fresh paint helped the interior feel brighter.
The new cabinet hardware gave the existing cabinetry a more updated appearance.
Better storage helped reduce clutter and made everyday items easier to find.
The small decorative changes added personality without making the space feel crowded.
The kitchen improvements made meal preparation easier.
The lighting changes created a warmer and more comfortable atmosphere, particularly in the evening.
Together, those projects changed how the entire RV felt.
That is what I would encourage other RV owners to remember. You do not necessarily need a massive renovation to create a space that feels comfortable and personal.
Sometimes the best transformation comes from identifying the little things that bother you every day and fixing them one at a time.
Final Thoughts
Our RV remodel taught me that creating a home on wheels is less about making everything perfect and more about making the space work for the way you actually live.
The most valuable changes were not necessarily the most expensive ones. They were the projects that improved comfort, reduced clutter, made everyday tasks easier, and gave the interior a little more personality.
If you are planning your own RV remodel, I would start small. Pick one area that frustrates you the most and make that your first project.
Once you see the difference, you can move on to the next area.
That approach made our remodel feel manageable instead of overwhelming, and it allowed us to create an RV that felt much more like our own home.
The best part is that you do not have to finish everything at once. An RV can evolve with you as you discover what works, what does not, and what would make life on the road more comfortable.