19 RV Exterior Makeover Ideas That Give New Life to an Old RV
An old RV can look completely different with the right exterior updates. I have found that you do not always need a full renovation to make a camper feel fresh, clean, and inviting.
Simple changes like a new exterior color, updated trim, better lighting, refreshed decals, or a more welcoming entry area can make a surprisingly big difference.
When I work on an RV makeover, I like to look at the entire exterior first and decide which areas actually need attention before spending money on new materials.
That approach helps keep the project practical and prevents small cosmetic changes from turning into an unnecessarily expensive renovation.
In this guide, I am sharing 19 RV exterior makeover ideas that can work for older campers, motorhomes, and travel trailers, along with practical details to help you decide which updates are worth doing for your own RV.
Before You Start Your RV Exterior Makeover
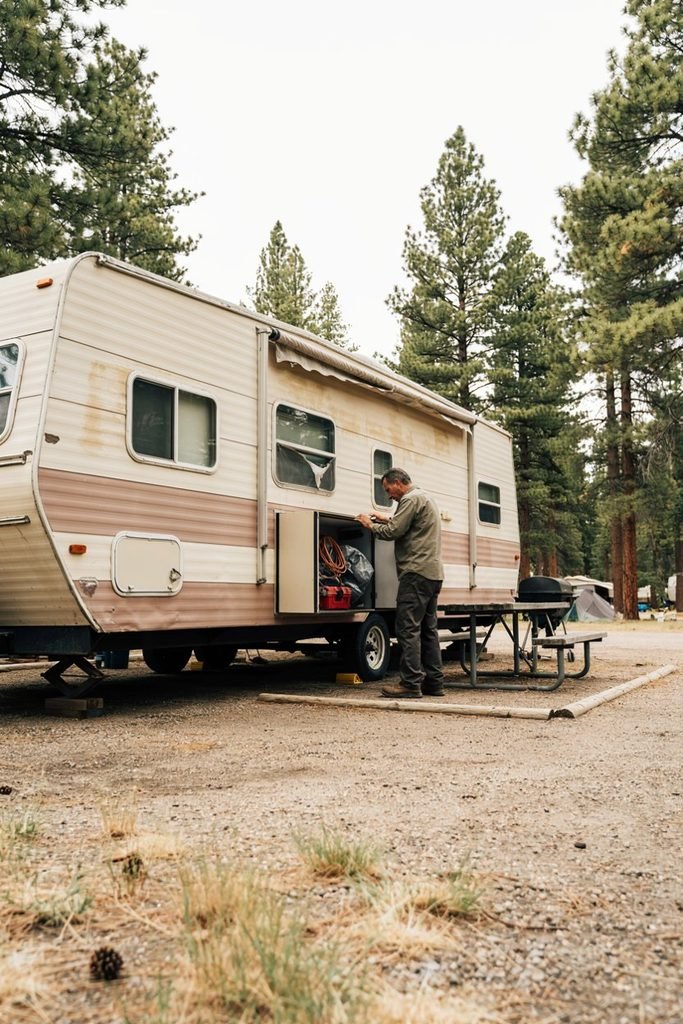
Before choosing paint colors or ordering supplies, walk around your RV during daylight and look closely at the exterior. I like to check the siding, seams, windows, doors, storage compartments, roof edges, lights, decals, and lower trim before deciding where to begin.
This step matters because an exterior makeover should not only make the RV look better. It should also give you an opportunity to notice areas that may need maintenance.
Look for peeling sealant, loose trim, cracked areas, water stains, faded decals, rust, damaged caulking, and anything that feels loose or worn. Cosmetic work will look much better when the surface underneath it is clean, dry, and in good condition.
It also helps to decide how much of the RV you actually want to change. A complete exterior makeover can require considerably more preparation, materials, and time than updating a few highly visible areas.
For my own projects, I prefer to break the exterior into sections instead of trying to tackle everything at once. It makes the work easier to manage and helps me see which improvements create the biggest visual difference.
1. Give the RV a Deep Exterior Cleaning
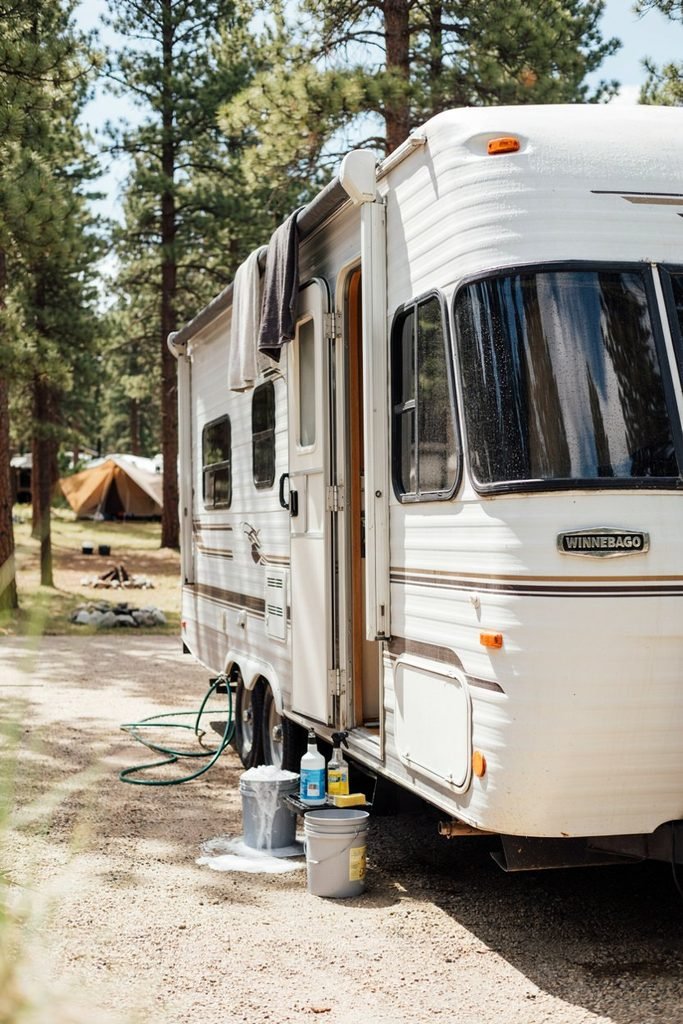
A deep cleaning is one of the easiest ways to start an RV exterior makeover, and it can make an older camper look surprisingly different before you spend money on anything else.
Dirt, road film, oxidation, mildew, and grime can make the siding look much older than it actually is. Cleaning the exterior also gives you a better idea of what needs to be repaired, painted, replaced, or simply cleaned.
I like to start at the top and work downward, paying extra attention to areas around windows, storage doors, awnings, wheel wells, and the lower portion of the RV where road dirt tends to collect.
Use cleaning products that are appropriate for your RV’s exterior material. Avoid aggressively scrubbing surfaces that could be damaged by harsh cleaners or abrasive tools.
Once the RV is clean and completely dry, walk around it again. You may find that some faded areas look better than expected and that certain cosmetic projects can be smaller than you originally planned.
2. Refresh the Exterior Paint
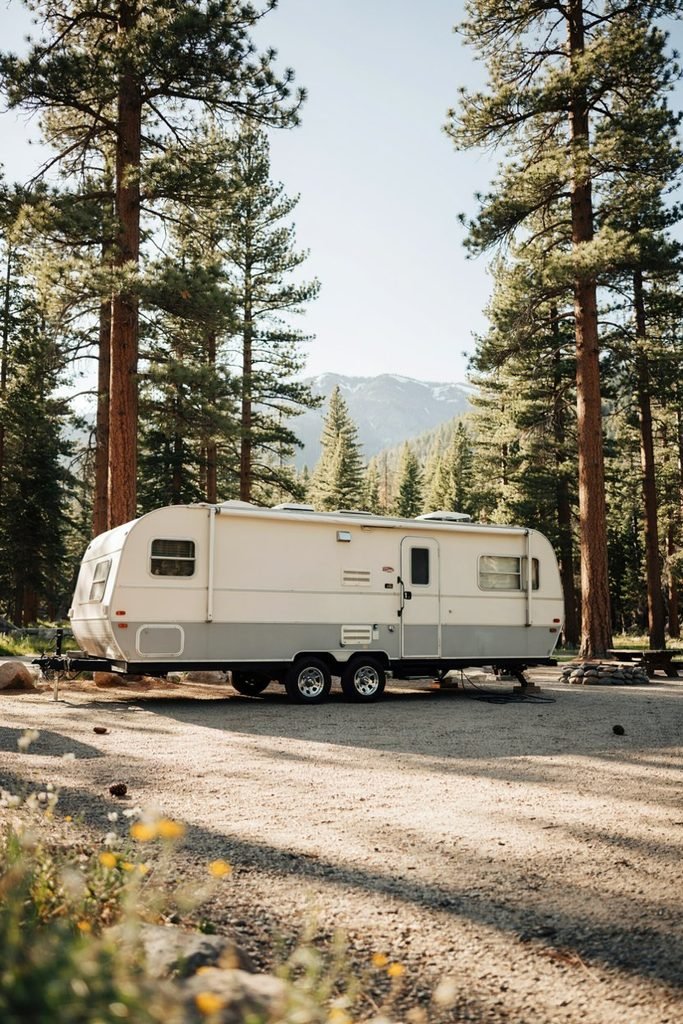
A fresh coat of paint can completely change the personality of an older RV.
This is one of the bigger projects on the list, but it can also have one of the most noticeable results. I like using a simple color combination rather than trying to introduce too many different shades.
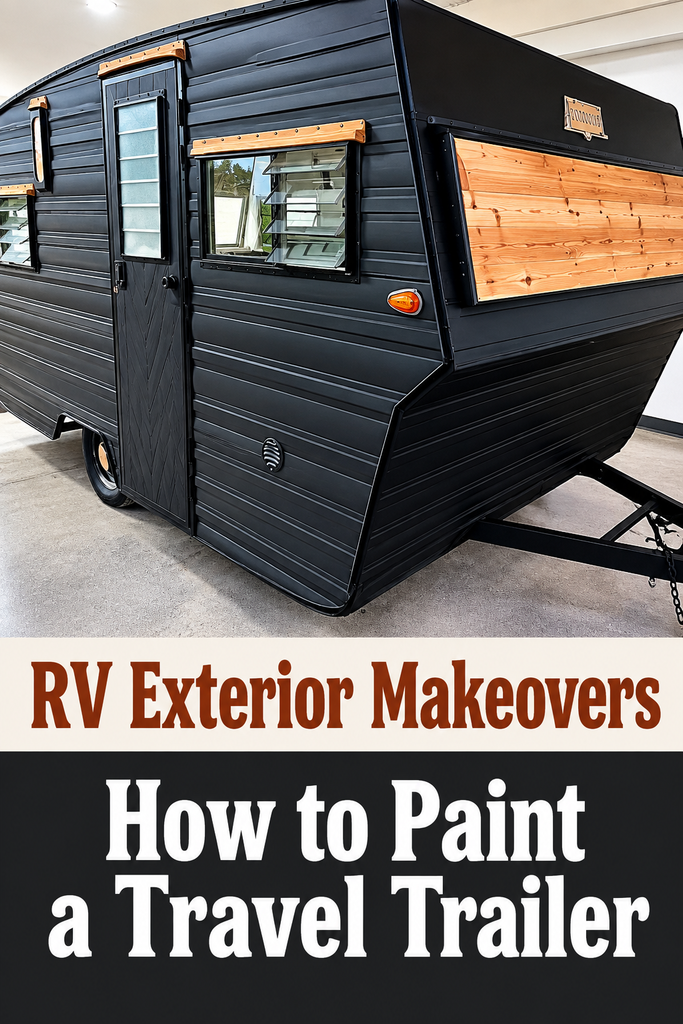
White, cream, soft gray, muted green, beige, and other neutral tones can give an older RV a cleaner and more modern appearance. You can then use a darker or contrasting color for selected areas such as trim, doors, or accent sections.
Preparation is extremely important here. The surface needs to be thoroughly cleaned and prepared before painting. Any loose material, damaged caulk, oxidation, or peeling areas should be dealt with before the new finish goes on.
I would also test your chosen color on a small area first. Exterior light can make a paint color look very different from how it appears on a small sample.
3. Update the RV Decals
Faded or peeling decals can instantly make an otherwise well-maintained RV look dated.
Replacing the decals is one of the changes I would consider when I want a noticeable exterior update without repainting the entire camper.
You can remove old graphics and replace them with a simpler design that matches the look you want. A clean stripe or subtle graphic can often look more modern than a complicated design covering a large portion of the RV.
Before ordering replacement decals, measure the existing areas carefully. I also recommend taking photographs from different angles so you can think about how the new design will look across the entire side of the RV.
If the existing decals are only slightly faded and still in good condition, a thorough cleaning may be enough to improve their appearance.
4. Paint the RV Entry Door
The entry door is a small area, but it is one of the first things people notice when they approach an RV.
Giving the door a fresh finish can create an inexpensive focal point and make the entrance feel much more intentional.
For this type of update, I like choosing a color that complements the main exterior rather than competing with it. A darker neutral can create a subtle contrast, while a muted accent color can give the RV more personality.
Before painting, remove hardware where possible and prepare the surface properly. Clean it thoroughly and make sure the existing finish is suitable for the product you plan to use.
A fresh door color paired with clean hardware and a welcoming entry area can make an older camper feel much more polished.
5. Replace Worn Exterior Lights
Exterior lighting is another practical update that can improve both appearance and usability.
Older RV lights can become cloudy, faded, cracked, or simply look dated compared with newer fixtures. Replacing them can give the exterior a cleaner appearance while improving visibility around the camper at night.
I would pay particular attention to the porch light, entry area, marker lights, and exterior utility lighting.
When replacing electrical fixtures, make sure the new components are suitable for RV use and compatible with your existing electrical setup. If you are unsure about electrical work, have the installation checked by someone qualified rather than guessing.
A few well chosen lighting updates can make the RV look much newer without changing the entire exterior.
6. Give the RV Windows a Fresh Look
Windows take up a large portion of many RV exteriors, so improving the areas around them can have a bigger visual effect than you might expect.
Start by cleaning the glass, frames, and surrounding trim thoroughly. Check the seals and look for cracked or deteriorated caulking while you are there.
If the window trim looks faded, damaged, or outdated, consider whether it can be cleaned, refinished, or replaced.
I also like paying attention to the window treatments inside the RV because they can influence how the exterior looks from outside. Simple, coordinated shades or curtains can make the whole camper feel more finished.
The goal is not necessarily to replace every window. Sometimes getting the existing windows clean and the surrounding trim looking fresh is enough to make a noticeable improvement.
7. Refresh the RV Awning
An awning can become one of the most noticeable worn areas on an older RV because it is constantly exposed to sun, dirt, wind, and weather.
Before replacing it, inspect the fabric carefully and clean it according to the manufacturer’s recommendations. Look at the arms, mounting points, hardware, and roller mechanism as well.
If the fabric is heavily damaged, replacing it can give the entire side of the RV a much fresher appearance.
I also like treating the awning as part of the overall exterior design rather than choosing a replacement completely separately from the RV’s colors.
A coordinated awning, exterior paint, and entry area can make an older camper look much more intentional.
8. Replace Faded Exterior Trim
Exterior trim can be easy to overlook because it is not as dramatic as painting the entire RV, but damaged or faded trim can make the camper look tired.
Walk around the RV and inspect the trim around windows, doors, storage compartments, corners, and lower edges.
Some trim may only need a thorough cleaning, while other sections may need replacement. If you find loose or damaged trim, address the underlying issue rather than simply covering it up.
For me, these smaller finishing details are what make a makeover feel complete. A beautifully painted RV can still look unfinished if the trim is cracked, loose, or badly faded.
9. Create a More Welcoming RV Entrance
The entrance is one of the easiest areas to transform because you can combine several small updates in one place.
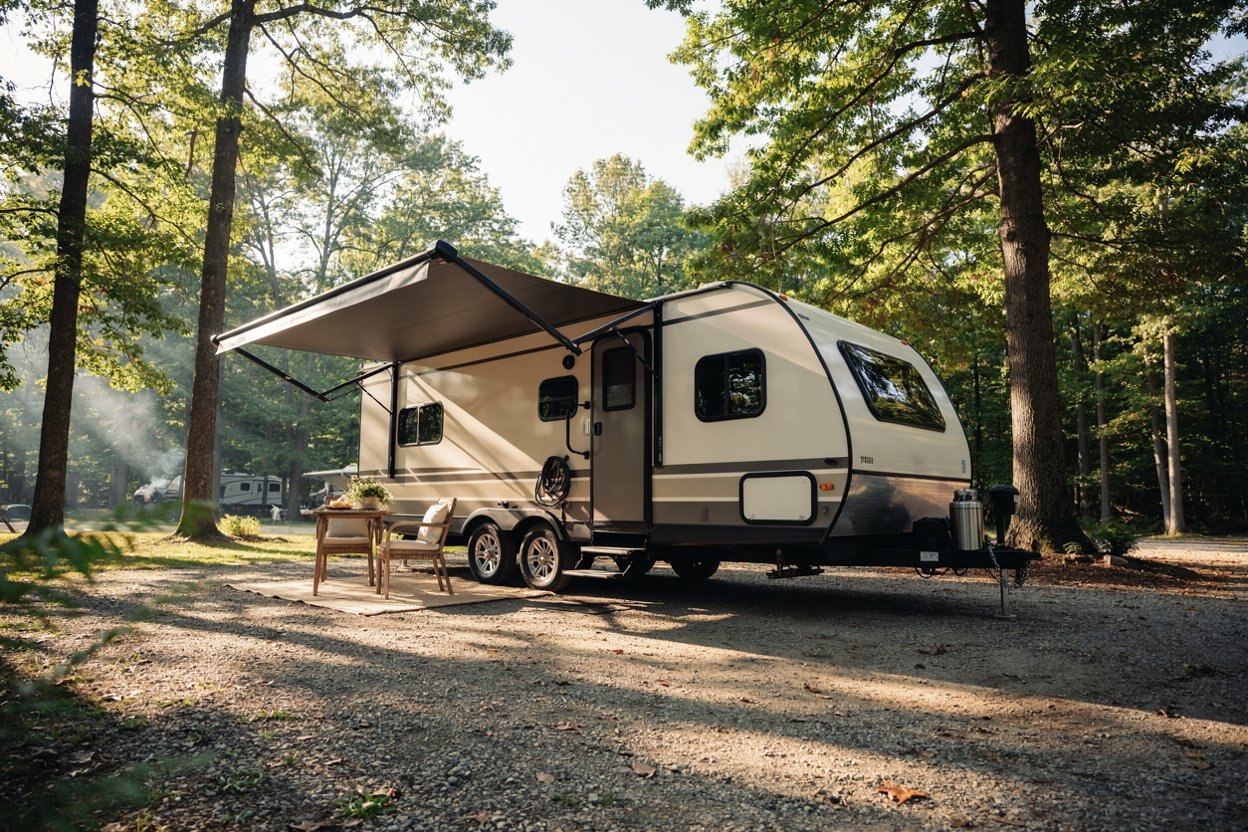
A clean entry door, refreshed step, attractive outdoor mat, functional lighting, and a small amount of simple outdoor decor can make the entrance feel much more inviting.
I prefer keeping this area practical because RV entrances experience a lot of dirt and regular use. Anything placed here should be easy to clean and should not interfere with opening the door, accessing storage, or moving safely around the steps.
Even a small change can make the entrance feel more like an intentional outdoor living space rather than simply the doorway into the RV.
10. Refresh the RV Storage Compartments
RV storage doors can make the exterior look worn when they are scratched, faded, stained, or surrounded by deteriorating trim.
I like checking each storage compartment during an exterior makeover because these areas receive plenty of use and can easily become overlooked. Clean the doors thoroughly and inspect the hinges, latches, seals, and surrounding trim.
If the doors are structurally sound, a good cleaning and fresh finish may be enough. For badly faded doors, repainting them to match the rest of the RV can create a much more cohesive appearance.
I also recommend checking the seals while you are working in this area. A cosmetic makeover is a good opportunity to notice maintenance issues before they become bigger problems.
11. Give the RV Wheels and Wheel Covers a Makeover
The wheels sit near the bottom of the RV, but they can have a surprisingly large effect on how polished the entire exterior looks.
Start by giving the wheels a thorough cleaning and removing built up road grime. Inspect the wheel covers or hubcaps for cracks, fading, or damage.
If your existing wheel covers are in poor condition, replacing them can be a relatively simple way to freshen up the lower portion of the RV.
For RVs with exposed wheels, I like keeping the overall appearance clean and simple rather than adding too many decorative details. The goal is to make the wheels look maintained and coordinated with the rest of the exterior.
While you are working around the wheels, inspect the surrounding areas for dirt, rust, damaged components, or anything that needs attention.
12. Update the RV Skirting
RV skirting can completely change the appearance of the lower portion of a camper.
If your RV has existing skirting, check whether it is faded, torn, loose, or damaged. Replacing worn material can make the RV look considerably cleaner.
Skirting can also be useful in certain camping situations because it can help reduce exposure underneath the RV, but the design and material should be appropriate for the conditions where you use your camper.
I prefer a simple skirting color that complements the main exterior. Matching it closely with the RV can create a cleaner appearance and make the camper feel more finished.
13. Add a Simple Outdoor Rug
An outdoor rug is a small addition that can make the area immediately outside your RV feel completely different.
I like using rugs that are designed for outdoor conditions and are easy to shake out or clean. They can help define the area around the entrance and make a campsite feel more comfortable without requiring a permanent modification to the RV.
Choose a size that leaves enough room to open the door and move around safely.
A neutral pattern can work well if your RV already has several exterior colors. If the camper has a simple exterior, you can use the rug to introduce a little more personality.
14. Create a Small Outdoor Seating Area
An RV makeover does not have to stop at the walls of the camper.
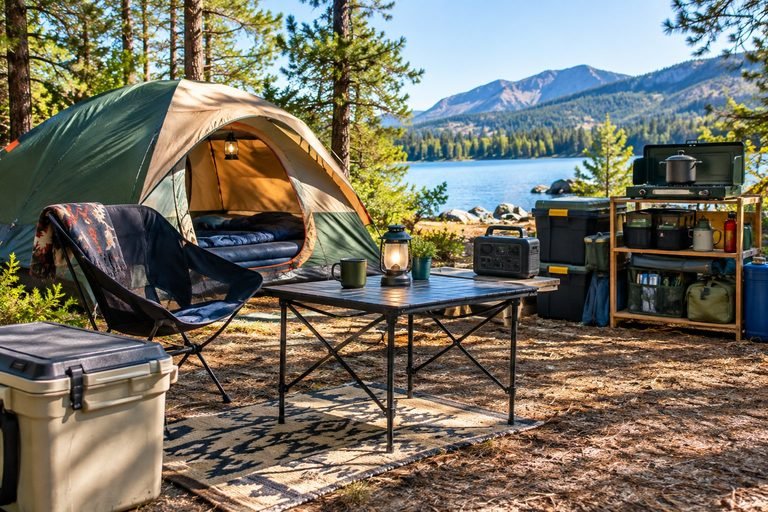
Creating a simple seating area outside can make the entire setup feel more inviting. Depending on the space available, this could include two compact chairs, a small folding table, or a comfortable outdoor lounge chair.
I always consider storage before adding outdoor furniture. RV space is limited, so I prefer pieces that fold easily and can be stored without taking over an entire compartment.
Keeping the seating area close to the RV also helps create a defined outdoor living space without making the campsite feel crowded.
15. Upgrade the RV Exterior Hardware
Small hardware details can make an older RV feel dated, especially when handles, latches, vents, and other visible components have become faded or damaged.
Take a walk around the camper and make a list of the hardware that looks worn.
You do not necessarily need to replace everything. Concentrate on the pieces that are most visible or are showing actual signs of wear.
When replacing hardware, measure carefully before purchasing anything. RV components are not always interchangeable, and a piece that looks similar online may not fit your particular model.
I find that these smaller updates work particularly well when combined with fresh paint or new decals because they help bring the entire exterior together.
16. Add Exterior Storage That Actually Helps
One of the best exterior improvements is adding storage that makes camping easier.
A well planned exterior storage system can give you a dedicated place for items that are bulky, dirty, or frequently used outdoors.
Before adding anything, think about what you actually carry. Camping chairs, outdoor cooking equipment, hoses, tools, leveling supplies, and other gear may have very different storage requirements.
I prefer storage solutions that serve a clear purpose rather than adding accessories simply because they look useful.
Also consider weight distribution and manufacturer recommendations before mounting anything to the RV. An exterior storage solution should improve organization without creating a new problem.
17. Make the RV Exterior More Functional With Better Lighting
Earlier, we looked at replacing outdated exterior lights. You can take that idea further by improving how you use lighting around the camper.
A well positioned light near the entrance can make it easier to get inside after dark. Additional appropriate lighting can also make outdoor cooking, sitting, or organizing gear more convenient.
I like keeping exterior lighting simple and purposeful. Too many lights can make a small campsite feel harsh, while strategically placed lighting can make the space feel much more comfortable.
Solar powered outdoor lights can also be useful for temporary campsite areas because they do not require permanent wiring into the RV.
18. Give the RV a Clean and Coordinated Color Scheme
If your RV has several mismatched exterior colors, creating a more consistent color scheme can make a huge difference.
You do not need to repaint every surface. Instead, choose two or three colors that work together and use them consistently across the areas you are updating.
For example, the main RV color can remain light while the door, trim, decals, and outdoor accessories use complementary shades.
I find that consistency is often more important than choosing an elaborate design. A simple color palette can make an older RV look considerably more modern.
Before committing to paint, decals, or replacement accessories, place samples next to each other in natural daylight. This makes it easier to see whether the colors actually work together.
19. Turn the RV Sidewall Into a Simple Focal Point
A large blank RV sidewall gives you an opportunity to add personality without covering the entire camper with decoration.
A subtle graphic, simple stripe, minimalist decal, or carefully chosen design can create a focal point while keeping the exterior clean.
I prefer designs that complement the shape of the RV rather than fighting against it. Look at doors, windows, storage compartments, and existing lines before deciding where a graphic should go.
If you are using decals, measure the space carefully and plan the design before applying anything. Once a large decal is installed, correcting placement can be difficult.
This is also an area where less can be more. A clean, understated design can give an older RV a completely different personality without making the exterior feel busy.
How to Make an Old RV Look More Modern Without Spending a Fortune
You do not have to complete all 19 projects to get a noticeable transformation.
If I were working with a limited budget, I would start with the areas that are most visible and easiest to improve. A deep exterior cleaning, fresh trim, updated decals, a refreshed entry door, improved lighting, and a clean outdoor area can already make an older RV feel much newer.
For a larger transformation, exterior paint can become the main project, with smaller updates used to finish the look.
The key is to avoid buying everything at once. Decide on the overall style first, then work through the RV one section at a time.
This also makes it easier to spread the cost of the makeover over several projects instead of turning it into one large expense.
Common RV Exterior Makeover Mistake to Avoid
One mistake I would avoid is focusing entirely on appearance while overlooking the condition of the RV’s exterior.
Fresh paint and beautiful decals cannot solve damaged seals, loose trim, water intrusion, cracked components, or other maintenance problems.
Before covering an area with paint, decals, trim, or decorative accessories, inspect what is underneath it.
I also recommend taking plenty of before photographs. Apart from being useful for planning, they make it much easier to see how much difference each stage of the makeover has actually made.
A successful RV exterior makeover should leave the camper looking better while also making the exterior easier to maintain and use.
How to Plan Your RV Exterior Makeover
A good RV exterior makeover is much easier when you have a plan before buying supplies. I like to start by deciding what I want the finished camper to look like and then divide the work into smaller projects.
Take photos of every side of the RV and make a list of the areas that need attention. Separate the list into cleaning, repairs, cosmetic changes, and upgrades.
This helps you see which projects should happen first. For example, there is little point in applying new decals before cleaning and preparing the surface properly.
I also recommend setting a realistic budget. Paint, decals, lights, trim, hardware, cleaning supplies, and outdoor accessories can add up quickly. Prioritize the changes that will have the biggest impact instead of trying to complete everything at once.
Start With Repairs Before Cosmetic Changes
Before making your RV look better, make sure the exterior is in good condition.
Check around windows, doors, roof edges, storage compartments, vents, lights, and exterior seams. Look for deteriorated sealant, cracks, loose trim, damaged components, and signs that moisture may be getting where it should not.
This is one of the most important parts of an RV makeover because cosmetic improvements should not hide problems that need attention.
I prefer handling repairs first, then cleaning the exterior thoroughly, and only after that moving on to paint, decals, lighting, and decorative updates.
That order saves time and prevents having to redo finished work later.
Choose an Exterior Style Before You Start
It is easy to collect individual makeover ideas without thinking about how they will look together.
Instead, choose a general style before starting.
You might want a modern neutral RV with clean lines, a cozy vintage inspired camper, a simple minimalist exterior, or a more colorful design with a noticeable accent color.
Once you have chosen your direction, use it to guide your decisions.
The paint color, decals, door, trim, outdoor rug, lighting, and furniture should complement one another. They do not have to match perfectly, but having a consistent style makes the finished RV look much more intentional.
Focus on High Impact Areas
Not every part of an RV needs the same amount of attention.
When I am trying to get the biggest visual improvement without spending unnecessarily, I focus on areas that are immediately noticeable.
The entry door, large sidewalls, windows, awning, decals, exterior lights, wheels, and outdoor seating area can all influence how the RV looks.
You can leave less noticeable areas for later.
This approach is particularly useful when you are working with an older RV and want to spread the makeover across several months.
Budget Friendly RV Exterior Makeover Ideas
You can make a significant difference without completely renovating the exterior.
Start with a deep cleaning and then look at inexpensive updates such as:
- Refreshing faded trim
- Cleaning or replacing decals
- Painting the entry door
- Updating exterior lights
- Adding an outdoor rug
- Cleaning the wheels
- Replacing damaged hardware
- Improving the campsite entrance
- Adding simple outdoor seating
- Creating a more coordinated color scheme
These smaller changes can be completed individually, allowing you to see which improvements make the biggest difference before investing in larger projects.
When an RV Exterior Paint Job Makes Sense
Painting the entire RV can create a dramatic transformation, but it is also one of the more involved projects.
Think about the condition of the existing exterior, how much preparation will be required, the type of surface you are working with, and whether you have the appropriate equipment and environment for the job.
Preparation can take considerably longer than the actual painting.
If a complete paint job is outside your budget, consider painting selected areas instead. A door, trim sections, lower panels, or carefully chosen accent areas can still create a fresh appearance.
Keep Maintenance in Mind
A beautiful RV exterior is much easier to enjoy when it is easy to maintain.
When choosing paint, decals, outdoor furniture, rugs, lighting, or other accessories, think about how they will hold up to sun, rain, dirt, road travel, and regular camping.
I prefer practical improvements that still look good after the initial makeover is finished.
It is also worth creating a simple maintenance routine. Regular washing, checking seals, cleaning the awning, inspecting trim, and looking over exterior components can help you catch problems before they become expensive repairs.
Take Before and After Photos
Do not skip this simple step.
Take photographs before starting and then photograph the RV again after each major stage.
Exterior changes can sometimes feel gradual when you are looking at the RV every day. Comparing photographs makes the transformation much easier to appreciate.
I also find before photos useful when planning future projects because they give me a clear record of what was changed and what still needs attention.
Final Thoughts
An old RV can have plenty of life left in it, and an exterior makeover is a great way to give the camper a completely different feel without replacing the entire RV.
You can start with a deep cleaning and a few inexpensive improvements, or plan a larger transformation with new paint, decals, lighting, trim, and an updated outdoor living area.
The most important thing is to work with the RV you actually have. Look at its condition, decide which areas bother you most, set a realistic budget, and tackle the makeover one project at a time.
From my experience, the best results usually come from combining several smaller improvements rather than relying on one dramatic change. A clean exterior, coordinated colors, fresh details, and a functional outdoor space can make an older RV feel more comfortable, personal, and ready for its next adventure.