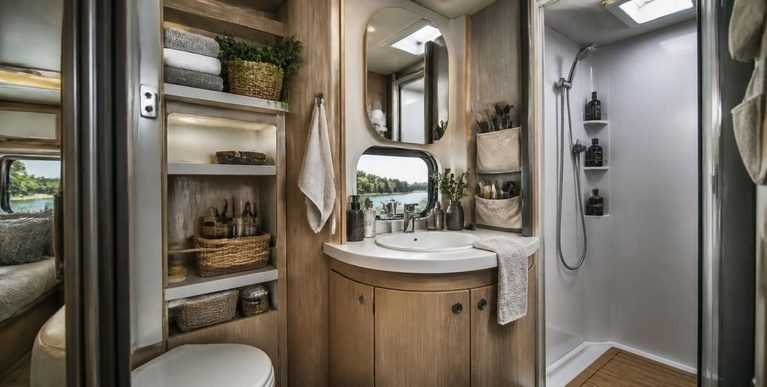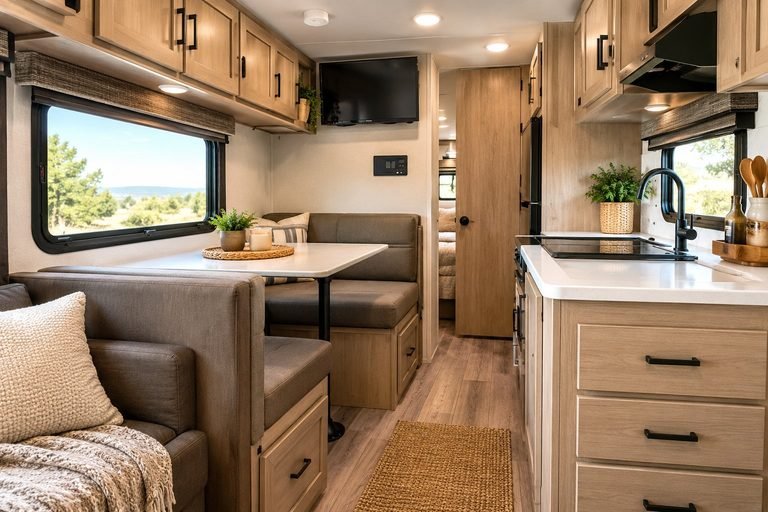
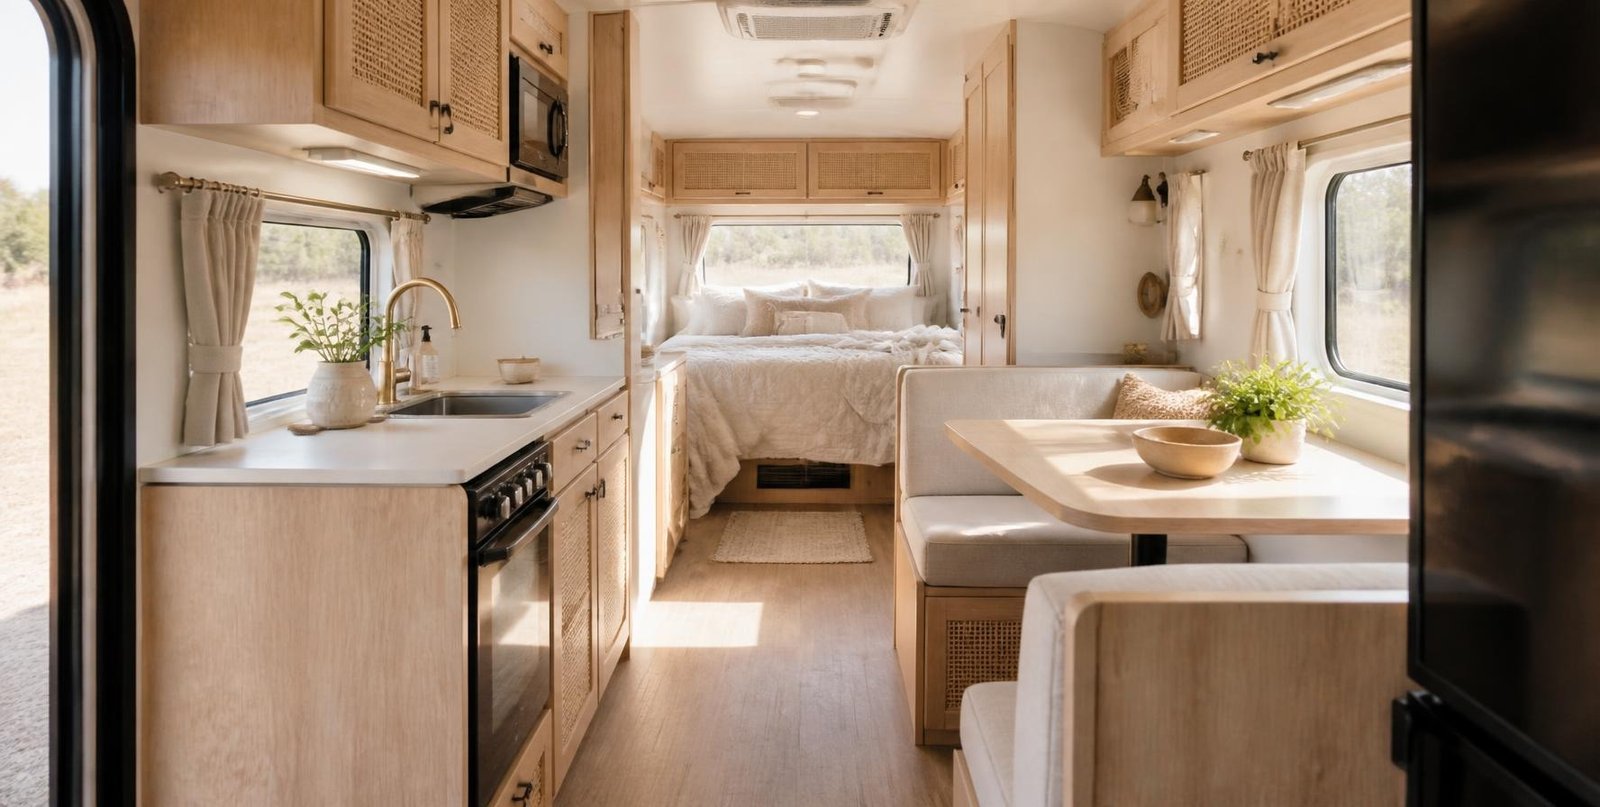
10 Small Camper Renovation Must Haves
Renovating a small camper can completely change how it feels to travel, relax, and spend time on the road.
Even an older camper with dated cabinets, worn flooring, or limited storage can become a comfortable little home with the right improvements.
The trick is knowing which renovation essentials deserve your attention before spending money on decorative extras.
When working with a small camper, every decision matters. You need materials that fit tight spaces, furniture that serves a purpose, storage solutions that reduce clutter, and finishes that can handle everyday travel.
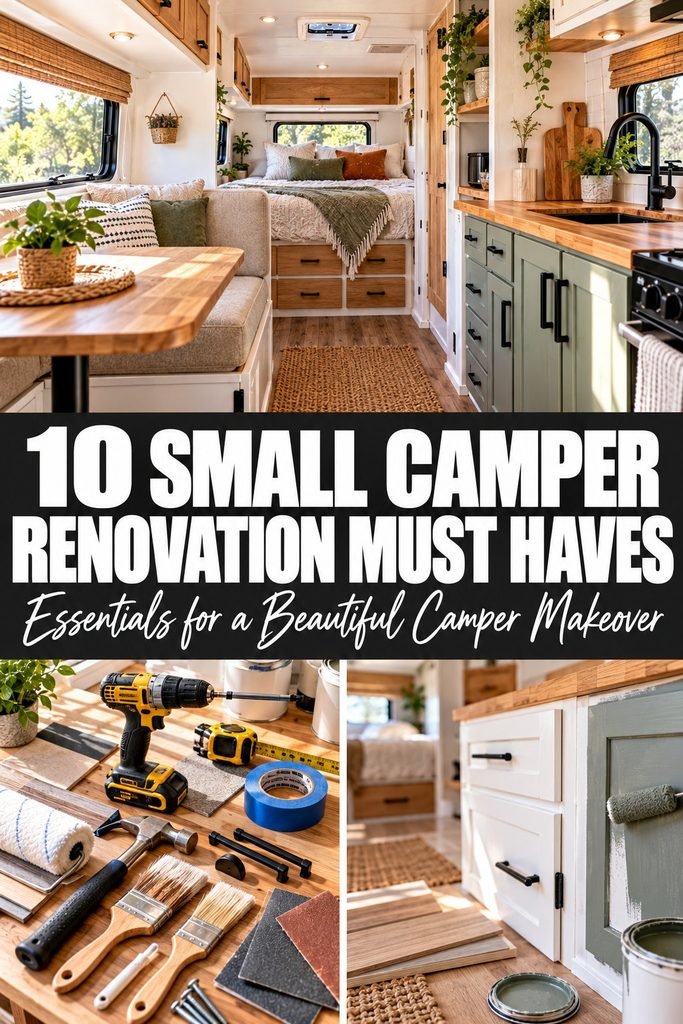
A beautiful renovation is important, but it should also be practical enough to survive changing weather, frequent movement, and the demands of life on the road.
I would start by focusing on the basics: checking for water damage, improving lighting, choosing durable surfaces, and making better use of the available space.
Once those essentials are addressed, it becomes much easier to introduce the colors, textures, and accessories that make a camper feel personal.
Whether you are updating a vintage travel trailer, refreshing a compact motorhome, or planning a budget friendly DIY makeover, these 10 small camper renovation must haves will help you create a space that looks attractive and works better for everyday adventures.
1. Moisture Resistant Wall Panels and Paint
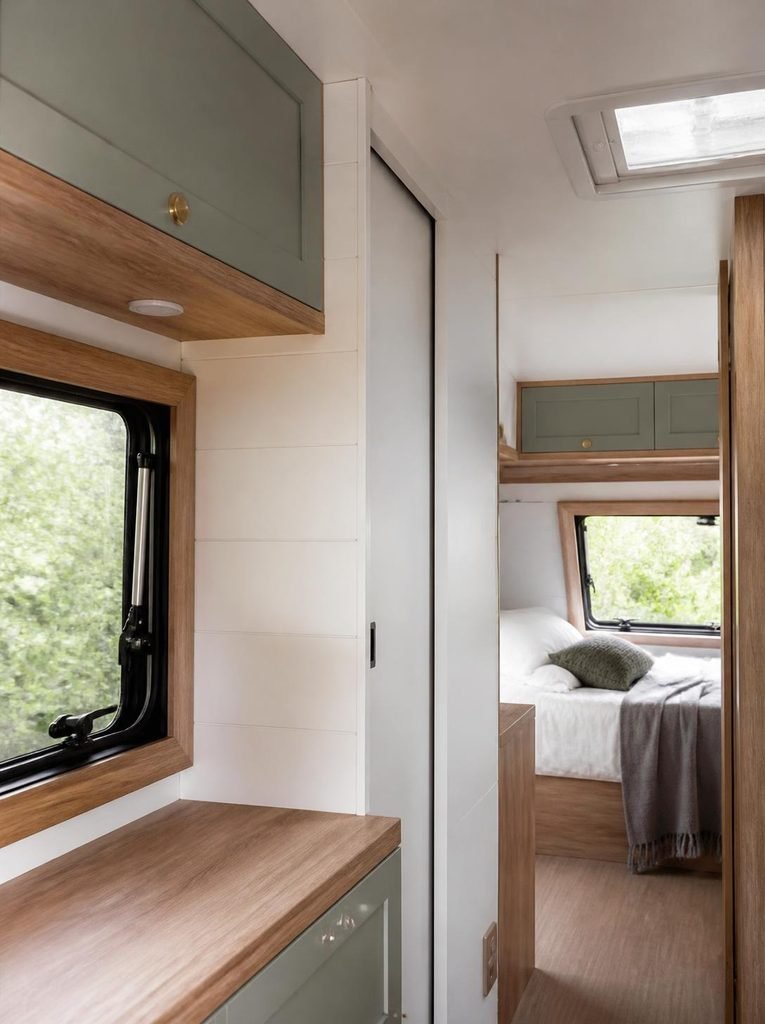
Walls have a major influence on how a small camper looks and feels. Old wallpaper, discolored paneling, and dark interior finishes can make an already compact space feel even smaller.
Refreshing the walls is one of the most noticeable ways to transform a camper without changing its entire layout.
However, appearance should not be the only consideration. Camper interiors experience temperature changes, condensation, and movement, so the materials you choose need to suit the conditions.
What to Consider
Moisture resistant wall panels: Suitable panels can provide a clean, modern finish while making damaged or dated walls easier to update. Choose products specifically appropriate for your camper’s interior and installation conditions.
Light colored paint: Cream, warm white, pale beige, and soft sage can brighten a small interior and work well with different decorating styles. Before painting existing paneling, check that the surface is sound and that the primer and paint are compatible with the material.
Easy to clean finishes: Camper walls can collect fingerprints, cooking residue, and dust. A suitable washable finish can make routine cleaning easier.
Lightweight materials: Weight matters in a camper. Check the product specifications and avoid adding unnecessary weight to walls or cabinetry.
How to Get the Best Results
Before covering old walls, inspect them carefully for signs of leaks, soft spots, discoloration, or damaged seams. Repair the source of any moisture and replace unsound materials before applying new finishes.
Simply painting over water damage can hide a problem without fixing it.
Clean the existing surface, prepare it according to the paint manufacturer’s instructions, and test a small area before committing to the entire interior.
If you are using wall panels, measure carefully around windows, cabinets, outlets, and corners. Accurate cuts make the finished renovation look more professional.
Design tip: Use a light neutral wall color as your foundation, then introduce personality through cushions, curtains, rugs, and small decorative accessories. This approach makes it easier to update the camper’s style later without repeating major renovation work.
2. Lightweight Vinyl Flooring
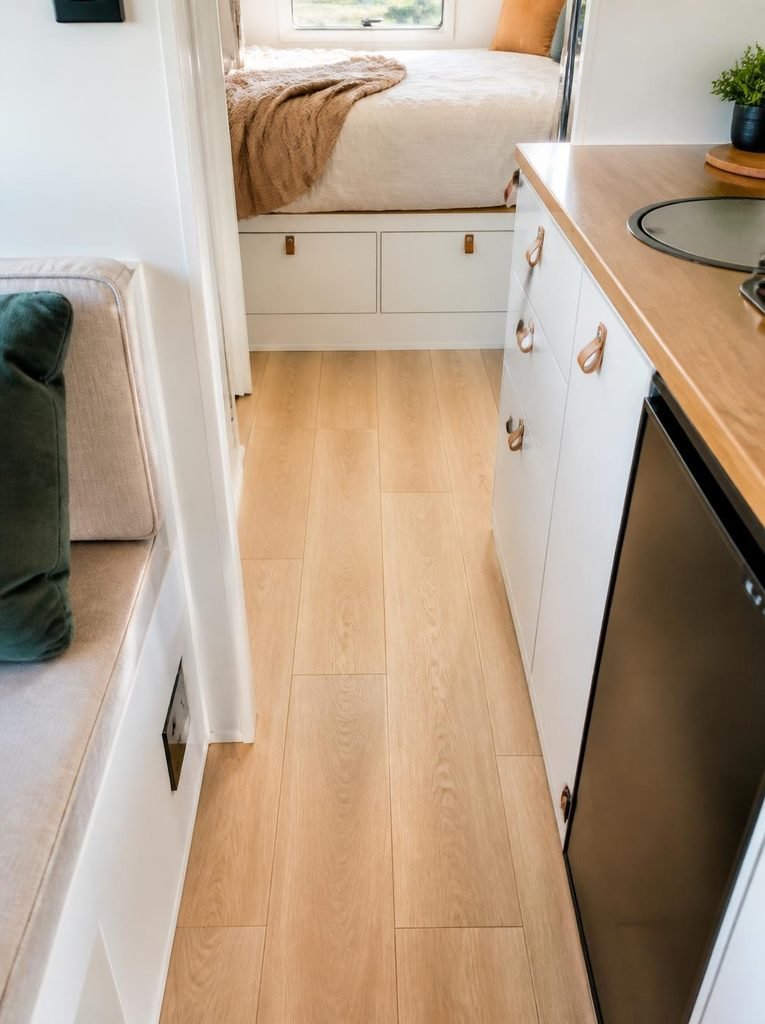
Flooring is another renovation essential that can make an older camper feel noticeably cleaner and more modern. Worn carpet, damaged vinyl, or outdated patterns can affect the entire interior, especially when the living area is small.
Lightweight vinyl flooring is worth considering because some products are easy to maintain, available in a variety of designs, and suitable for compact interiors when installed according to the manufacturer’s specifications.
Why Vinyl Flooring Can Work Well
- Easy maintenance: Many vinyl surfaces can be cleaned with a damp cloth or a suitable floor cleaner.
- Variety of designs: Wood effect, stone effect, and simple neutral finishes can complement different camper styles.
- Practical for small spaces: A consistent flooring color can make a compact interior look more visually connected.
- Everyday durability: The right product can handle ordinary foot traffic, provided it is suitable for the installation environment.
Choosing the Right Flooring
Look for flooring that is appropriate for recreational vehicles or the temperature and movement conditions in which it will be used. Not every residential flooring product is suitable for a camper.
Consider the weight, thickness, installation method, subfloor requirements, and recommended temperature range before buying.
You should also check how the flooring will behave around cabinet bases, doorways, and other fixed components. Follow the manufacturer’s guidance for expansion gaps, adhesives, and installation over the existing floor.
Installation Tips
First, inspect the subfloor for water damage, soft spots, uneven areas, or loose sections. Correct these problems before installing the new surface.
Remove dirt and debris, prepare the subfloor as required, and measure the area carefully to minimize waste.
If you are installing the flooring yourself, work slowly around corners and narrow spaces. Poorly fitted edges can look untidy and may become damaged with repeated use.
Style tip: A pale oak effect or warm neutral vinyl can pair beautifully with white walls and natural wood cabinetry. For a darker, more practical look, consider a medium wood tone that complements your existing interior without making the camper feel too enclosed.
3. Space Saving Furniture With Multiple Uses
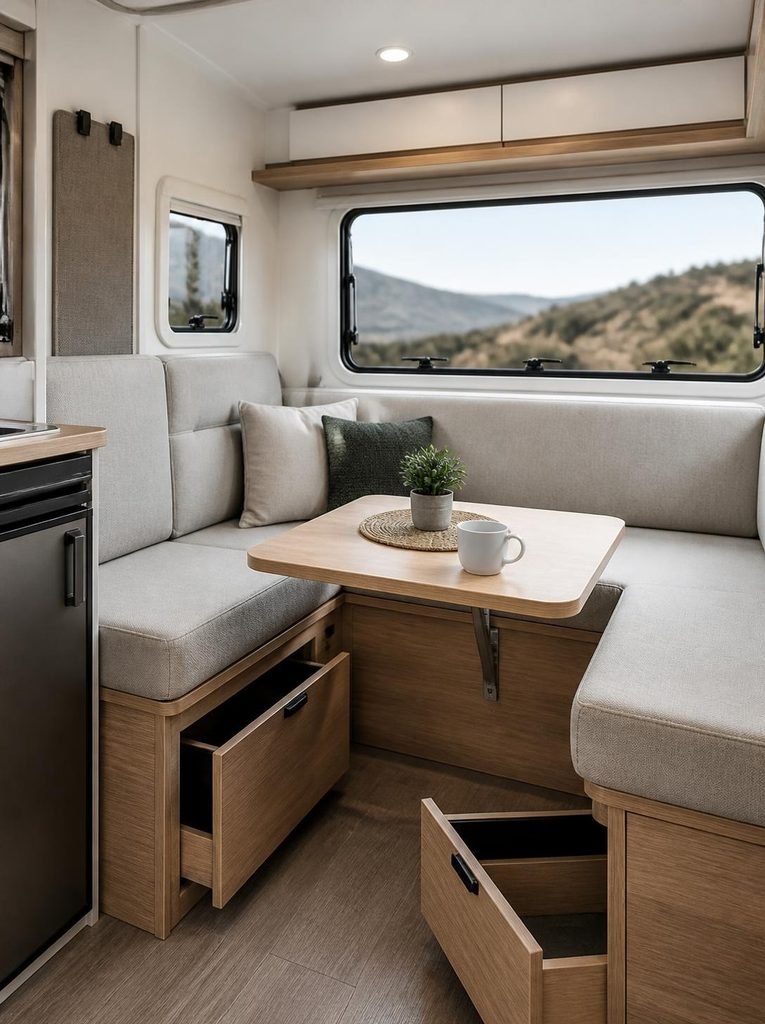
When renovating a small camper, furniture can either make the interior feel organized or take up valuable room that you need for everyday activities.
Oversized sofas, bulky tables, and storage units that serve only one purpose can quickly make a compact layout feel cramped.
That is why multifunctional furniture is one of the most useful investments for a small camper renovation. Instead of filling the interior with separate pieces, look for furniture that combines seating, storage, dining, and sleeping functions.
Furniture Ideas Worth Considering
- Storage benches: A bench with an accessible storage compartment can provide extra seating while keeping blankets, books, or other lightweight essentials out of sight.
- Convertible dinettes: A properly designed dinette that converts into a sleeping area can make better use of limited floor space.
- Foldable tables: A folding or drop leaf table can provide a useful surface for meals and work without permanently occupying the walkway.
- Compact nesting tables: Smaller tables can be tucked together when they are not needed.
- Wall mounted folding desks: Where the wall structure and mounting system allow, a folding desk can create a temporary workspace.
How to Choose Furniture for Your Camper
Before buying anything, measure the available floor area and consider how much room you need to walk around, open cabinets, and access the sleeping area.
Pay attention to furniture height as well as width. A storage bench that fits along a wall might still interfere with a window, heater, or cabinet door.
Weight is another important factor. Check the furniture specifications and your camper manufacturer’s loading limits before adding heavy pieces. Secure furniture appropriately for travel, and never rely on an ordinary freestanding table or chair to remain in place while the vehicle is moving.
If your camper already has built in seating, consider whether replacing the cushions or improving the storage underneath would solve the problem without requiring a complete furniture replacement.
Design tip: Choose furniture in similar wood tones or neutral fabrics to create a consistent appearance. In a tiny camper, a few well chosen pieces generally work better than several unrelated styles competing for attention.
4. Smart Storage Systems for Cabinets and Closets
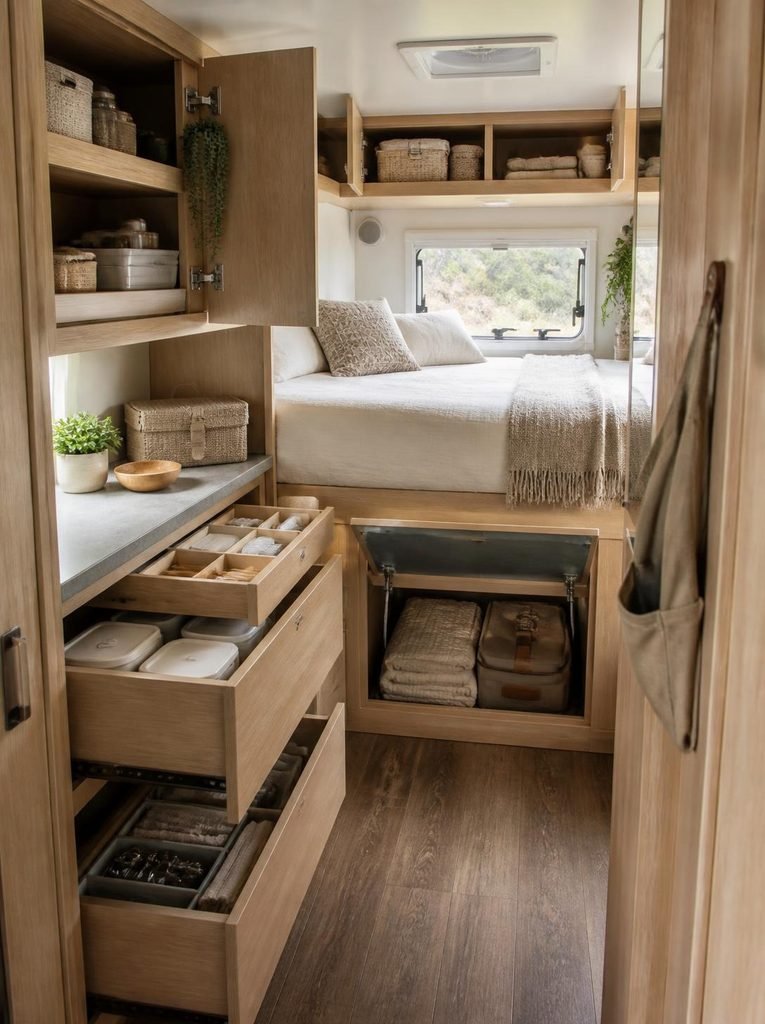
Storage is one of the biggest challenges in a small camper. There is rarely enough room for everything you might want to bring, so a successful renovation needs to make the existing cabinets and closets more efficient.
The goal is not simply to add more containers. It is to make frequently used items easier to access while preventing clutter from spreading across countertops, seating areas, and the floor.
Storage Upgrades to Consider
Pull out cabinet organizers: These can make deep cupboards easier to use by bringing stored items closer to you. Check that the organizer fits the cabinet and does not interfere with doors, pipes, or other fittings.
Adjustable shelf dividers: Dividers help separate plates, bowls, pantry items, and other essentials. Choose products that fit the actual dimensions of your cabinets.
Under bed storage: If your camper has an accessible space beneath the bed, suitable containers can hold seasonal clothing, spare bedding, and other items you do not need every day.
Overhead organizers: Lightweight organizers can use otherwise empty areas, provided they are securely installed and do not obstruct access or create hazards.
Drawer dividers: These help keep utensils, tools, and small accessories from becoming mixed together.
Make the Most of Vertical Space
Look at the inside of cabinet doors, the sides of suitable cabinets, and unused shelf height. These areas may provide room for lightweight items without requiring additional furniture.
However, be careful when attaching anything to camper walls or cabinetry. Before drilling, check for hidden wiring, plumbing, and structural limitations. Adhesive organizers should be used according to their instructions and checked regularly for signs of loosening.
A Simple Storage Strategy
Start by removing items you no longer use. Group the remaining belongings by category, then assign each category a specific storage location.
Keep daily essentials near the areas where you use them. Store less frequently needed items in harder to reach locations, provided they remain safely secured.
Practical tip: Before your next trip, close every cabinet and drawer and check that nothing shifts excessively. Use suitable liners, dividers, and latches where needed. A storage system should work while parked and remain secure during travel.
5. Upgraded Lighting for a Brighter Interior
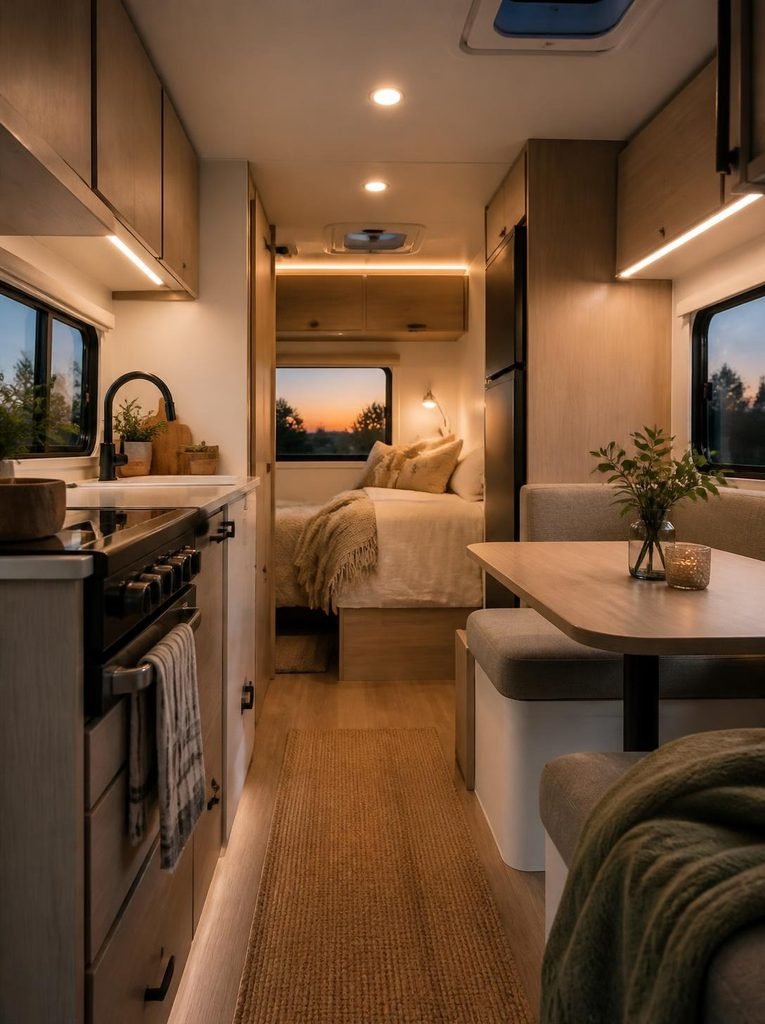
Lighting can change the atmosphere of a small camper without requiring a major renovation. Poorly positioned lights, dim bulbs, or a single overhead fixture can leave corners dark and make daily activities less comfortable.
A combination of general lighting, task lighting, and softer ambient lighting can make the interior more useful throughout the day.
Lighting Upgrades to Consider
- LED ceiling lights: Suitable LED fixtures can provide efficient general illumination and are available in a variety of sizes and color temperatures.
- Under cabinet lighting: Lighting beneath kitchen cabinets can brighten food preparation surfaces without requiring a large fixture.
- Reading lights: A focused light near the bed or seating area makes reading more comfortable.
- Dimmable fixtures: Where compatible, dimmable lighting allows you to adjust brightness for different activities.
- Natural light improvements: Clean windows, appropriate curtains, and unobstructed window areas can help the interior feel more open.
Choose the Right Light Color
Warm white lighting can create a cozy atmosphere in the sleeping and seating areas. Neutral white may be more suitable for kitchen preparation or other tasks that require clearer visibility.
You do not have to use the same color temperature throughout the camper. A thoughtful combination can make each area feel more functional while maintaining a consistent overall style.
Installation and Safety
Before changing fixtures, identify your camper’s electrical system and verify the voltage, wiring requirements, and compatibility of the new lights.
Turn off the appropriate power source before working on electrical components. If you are unfamiliar with camper wiring or the installation requires modifications, use a qualified technician.
Choose fixtures designed for the environment in which they will be installed. Avoid placing unsuitable lights where they may be exposed to moisture, excessive heat, or vibration.
Design tip: Under cabinet lighting paired with warm ceiling lights can make a small kitchen feel more inviting while improving visibility on the countertop.
6. Compact Kitchen Upgrades That Improve Everyday Use
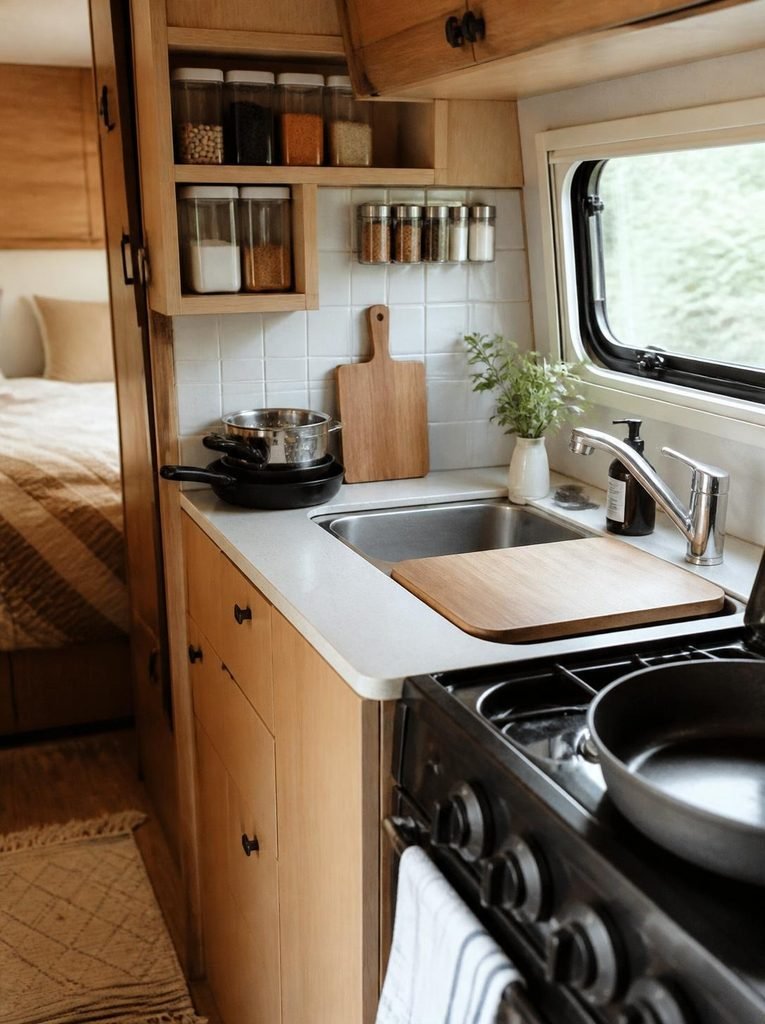
A small camper kitchen needs to do a lot with very little space. You may need to prepare meals, wash dishes, store food, and keep cooking equipment accessible without blocking the main walkway.
A renovation does not necessarily require replacing the entire kitchen. Sometimes, a few carefully selected upgrades can improve how the space functions.
Useful Kitchen Improvements
A compact backsplash: A suitable backsplash can protect the wall behind the cooking area from splashes and make cleaning easier. Choose a lightweight material appropriate for the surface and its exposure to heat.
An over the sink cutting board: A properly fitted board can provide temporary food preparation space when the sink is not in use.
Nesting cookware: Pots, pans, and mixing bowls that fit inside one another can reduce the amount of cabinet space needed for kitchen equipment.
Stackable pantry containers: Uniform containers can make dry ingredients easier to organize and help use shelf space more efficiently.
A compact drying rack: A foldable or removable rack can provide a place for dishes to dry without permanently taking up counter space.
Improving Your Kitchen Layout
Start by identifying the activities you perform most often. If you regularly prepare meals, prioritize a clear preparation surface and convenient access to cooking utensils.
If storage is the main problem, focus on improving cabinet organization before adding decorative accessories.
Keep heavier cookware in lower cabinets where practical, and make sure loose items are secured before travel.
Important Renovation Considerations
Any changes near a stove, oven, electrical outlet, or plumbing fixture must be compatible with the manufacturer’s safety requirements. Do not place ordinary decorative materials close to heat sources unless they are rated for that use.
If your renovation involves moving plumbing, modifying gas lines, or changing electrical systems, consult a qualified professional.
Design tip: Light cabinetry, a simple backsplash, and a small amount of natural wood can make a compact kitchen look coordinated without introducing too many competing patterns.
7. Blackout Curtains or Practical Window Treatments
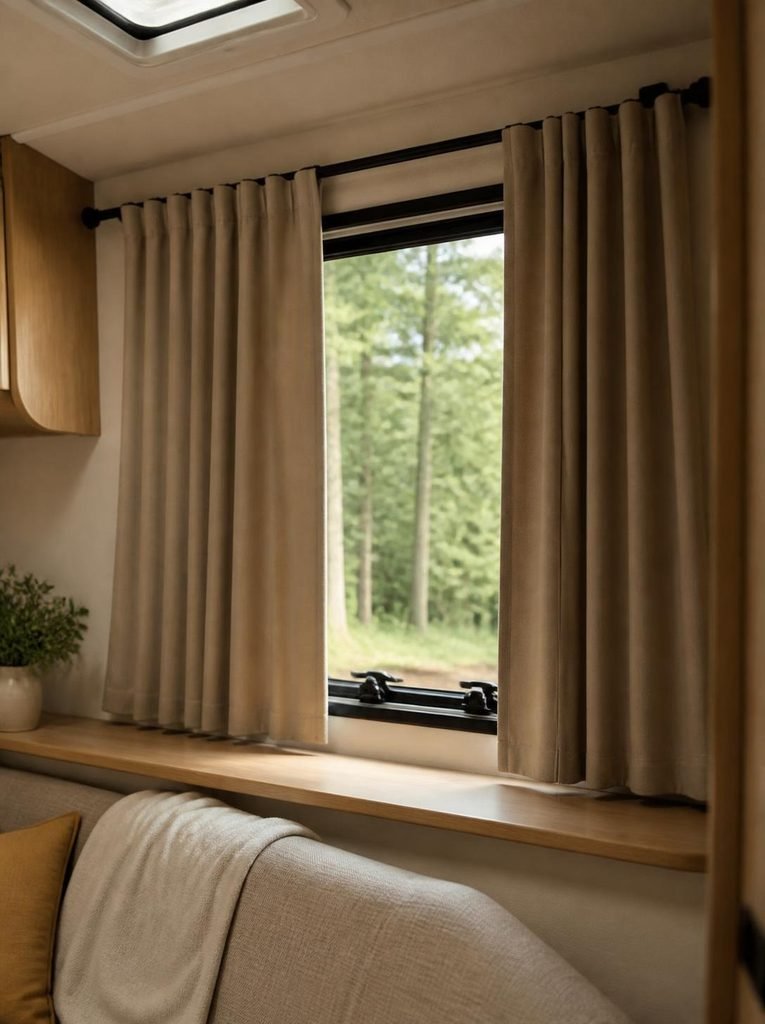
Window treatments are one of those small camper renovation details that can make a noticeable difference in comfort and privacy.
Bare windows may look clean, but they can let in too much sunlight, make the interior feel exposed, and allow heat to build up during warm afternoons. The right curtains or shades help create a more comfortable space without taking up valuable room.
For a small camper, I would prioritize lightweight window coverings that are easy to clean, simple to operate, and secure enough to stay in place while traveling.
What to consider when choosing camper window treatments:
- Blackout curtains: These help block outside light, making it easier to sleep when camping near streetlights or in busy campgrounds.
- Thermal window shades: Insulated shades can help reduce heat transfer through windows, although their effectiveness depends on the material and fit.
- Roller blinds: These offer a neat appearance and take up relatively little space when raised.
- Lightweight curtains: These soften the interior and provide privacy without adding much weight.
- Reflective window covers: These can help manage sunlight and heat when the camper is parked, provided they are appropriate for the windows and conditions.
Before buying anything, measure each window carefully. Small campers often have windows in different sizes, so a standard curtain set may not fit properly. Consider how the coverings will be secured, whether they interfere with window operation, and whether they obstruct emergency exits.
I also recommend choosing colors that complement the walls and flooring. White, beige, light gray, and soft earthy tones can help the interior feel more open. If you prefer a cozy camper aesthetic, simple linen-look curtains or warm neutral shades can add character without making the space feel crowded.
Renovation tip: Check how window coverings affect ventilation and condensation. Avoid permanently covering vents or blocking windows that are needed for emergency escape.
8. A Comfortable Mattress and Washable Bedding
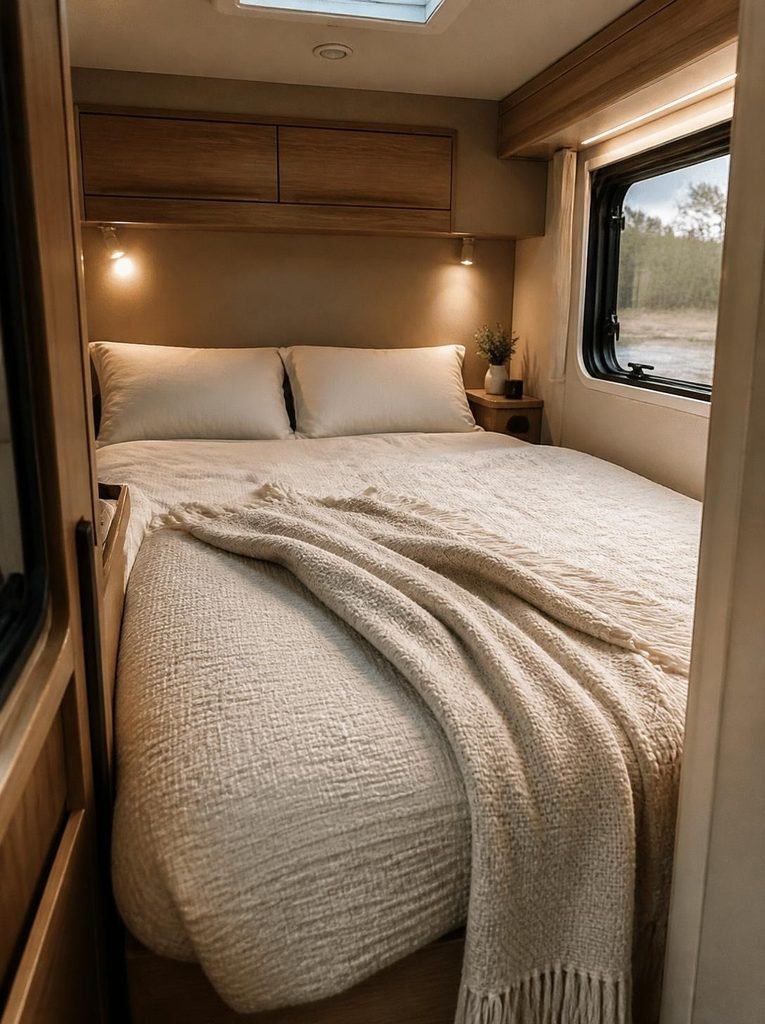
A camper can look beautiful after a renovation, but it will not feel like a comfortable home if the bed is difficult to sleep on. Since sleeping arrangements often occupy a large portion of a small camper, improving the bed is one of the most practical upgrades you can make.
You do not necessarily need to replace the entire mattress. If the existing mattress is in good condition, a suitable mattress topper may improve comfort at a lower cost. However, if the mattress has persistent odors, visible mold, water damage, or significant sagging, replacement may be the better option.
Before purchasing a mattress or topper, measure the sleeping area. Camper beds sometimes have unusual dimensions, and a standard residential mattress may not fit. Make sure the finished bed still allows access to storage compartments, cabinets, and nearby walkways.
Useful bedding upgrades include:
- A supportive mattress or suitable topper: Choose one that fits the available space without interfering with surrounding furniture.
- Washable mattress protectors: These help protect the mattress from spills, sweat, and everyday dirt.
- Breathable sheets: Cotton or other comfortable, washable fabrics can make sleeping more pleasant in changing temperatures.
- Lightweight blankets: These are easier to store and work well in a compact sleeping area.
- Under-bed storage organizers: If the bed design allows it, these can hold clothing, spare bedding, and other essentials.
I would keep camper bedding simple rather than buying multiple decorative pillows and bulky blankets. A coordinated set of sheets, one comfortable blanket, and a couple of pillows can make the space look finished without creating extra clutter.
Pay attention to moisture, too. Condensation can collect beneath mattresses, particularly in cold weather or poorly ventilated campers. Allow the mattress to air out regularly, keep the sleeping area ventilated, and investigate any dampness rather than covering it with fresh bedding.
Renovation tip: Choose bedding that can be washed easily and stored compactly. In a small camper, practical comfort matters more than elaborate styling.
9. Ventilation and Moisture Control
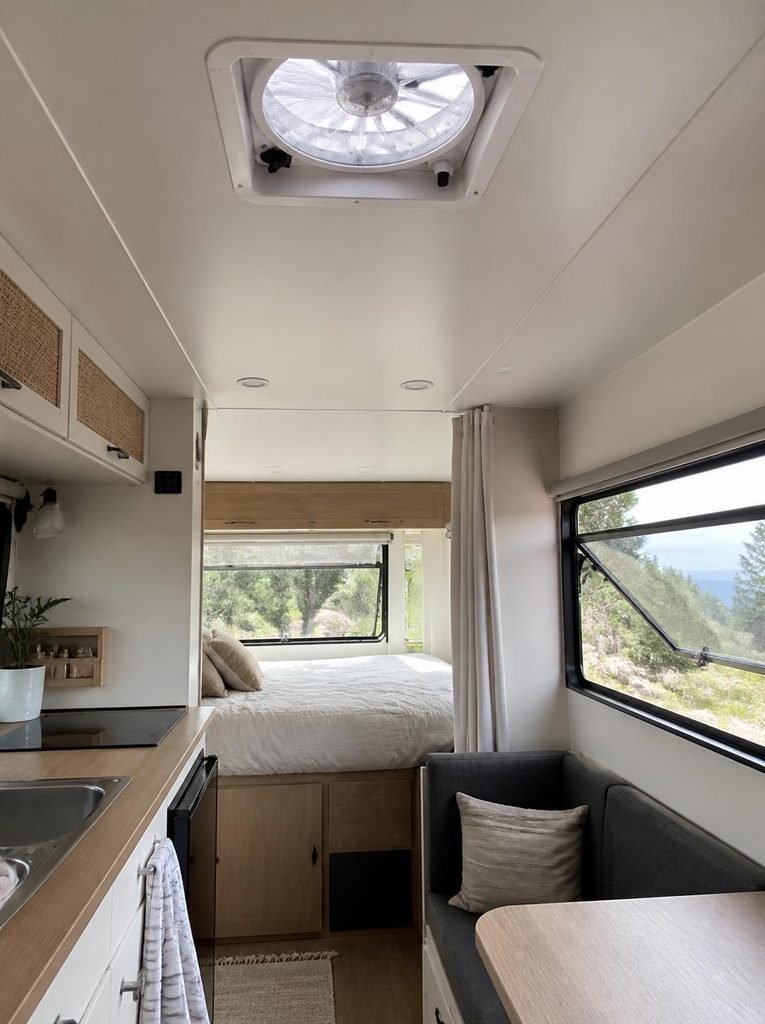
Good ventilation is one of the most important parts of a successful small camper renovation. It is also one of the easiest things to overlook when attention is focused on paint colors, furniture, and decorative finishes.
Cooking, showering, breathing, and drying damp clothing all introduce moisture into the air. Without adequate ventilation, that moisture can collect on windows, behind furniture, inside cabinets, and beneath mattresses. Persistent dampness can lead to unpleasant odors, damaged materials, and mold growth.
Before installing new wall panels, flooring, or cabinetry, inspect the camper for signs of water intrusion. Look for soft flooring, bubbling finishes, discoloration, musty odors, and damaged seals around windows and roof openings. Cosmetic repairs will not solve an underlying leak.
Ventilation improvements worth considering include:
- A suitable roof vent or vent fan: This can help move humid air outside when installed correctly.
- Operable windows: Opening appropriate windows can improve airflow when weather and campsite conditions permit.
- Kitchen ventilation: Use the camper’s designated cooking ventilation system and follow its safety instructions.
- Clear airflow around furniture: Avoid pushing furniture tightly against damp-prone exterior walls when doing so would prevent air circulation.
- Moisture monitoring: A small humidity meter can help you recognize when indoor moisture levels are becoming excessive.
If you are renovating an older camper, inspect existing roof vents and window seals before adding new equipment. A replacement vent or fan must be compatible with the camper’s structure, wiring, and roof opening. Electrical modifications should be completed by a qualified professional when necessary.
Never rely on a portable dehumidifier or moisture absorber as a substitute for repairing a leak. These products may help manage limited moisture, but they cannot correct water entering through a damaged roof, window, or exterior seam.
Safety tip: Never use a charcoal grill, outdoor camping stove, or other outdoor combustion appliance inside a camper. Follow the manufacturer’s instructions for fuel-burning appliances, maintain required ventilation, and install and maintain carbon monoxide alarms as appropriate for your setup.
10. Exterior Sealing and Weatherproofing Essentials
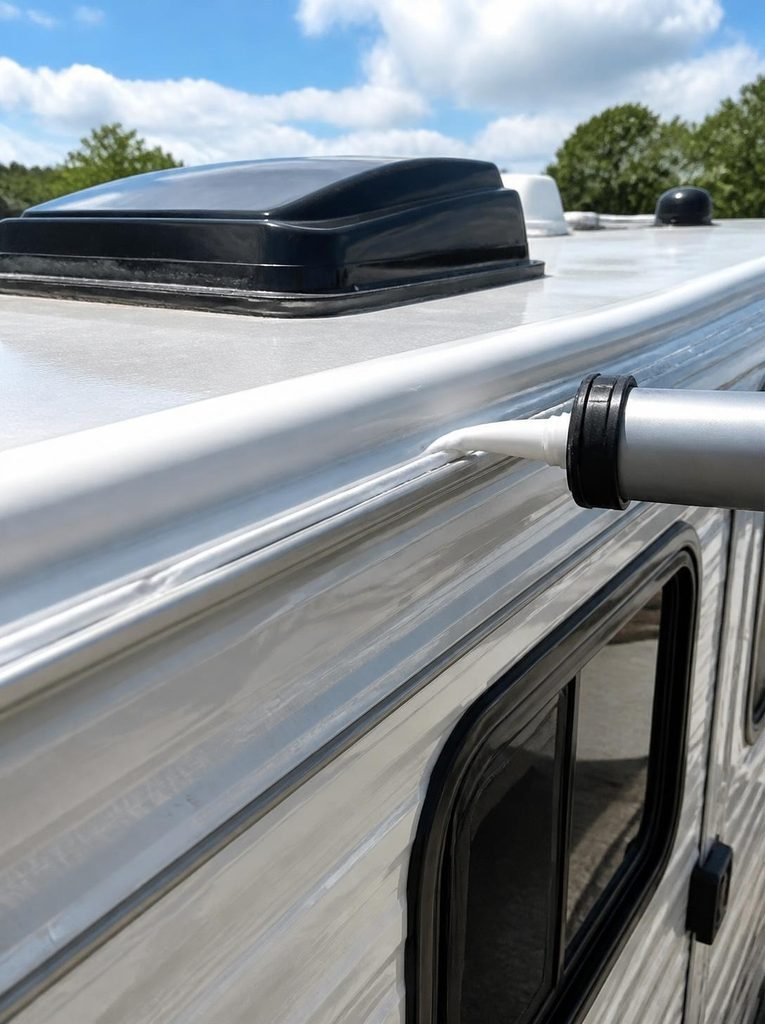
The final must-have on my small camper renovation list is exterior weatherproofing. It may not be the most exciting part of a makeover, but it can protect the work you have already completed.
A freshly painted interior and new flooring will not stay in good condition if rainwater continues entering through a roof seam, window, door, or exterior fitting. Before considering your renovation finished, take time to inspect the outside of the camper and address any signs of damage.
Important areas to inspect include:
- Roof seams: Check for cracked, loose, or deteriorated sealant.
- Windows: Look for gaps, damaged seals, and evidence of water entering around the frames.
- Doors and storage compartments: Inspect weatherstripping and seals for wear.
- Roof vents and exterior fittings: Pay attention to areas where openings or accessories pass through the camper’s exterior.
- Exterior panels: Look for cracks, damaged trim, loose fasteners, and other signs that water could enter.
When repairing seals, use a product specifically compatible with your camper’s roof material, exterior finish, and existing sealant. Different roofing materials require different products, and some sealants can damage certain surfaces or fail to bond properly.
Avoid applying a new layer of sealant over everything without inspecting the underlying condition. Old material may need to be removed or prepared according to the manufacturer’s directions. If the roof has soft spots, structural damage, extensive cracking, or evidence of hidden water intrusion, arrange a professional inspection before covering the problem.
You should also consider the weight of any exterior upgrades. Additional roof accessories, solar equipment, storage racks, and other modifications must remain within the camper manufacturer’s weight limits and be installed using appropriate mounting methods.
Working on a camper roof can be dangerous, especially when the surface is wet or fragile. Follow the manufacturer’s access instructions and seek professional help if the roof cannot be inspected safely.
Renovation tip: Make exterior sealing part of your maintenance routine rather than treating it as a one-time project. Inspect vulnerable areas periodically and after severe weather, following the camper manufacturer’s recommendations.
The Best Order for Renovating a Small Camper
Once you have identified the upgrades you need, the order of your renovation matters. Completing cosmetic work before repairing leaks or damaged flooring can mean paying for the same work twice.
Here is a practical sequence to follow.
Step 1: Inspect the Entire Camper
Check the roof, exterior seams, windows, doors, floor, walls, plumbing, and electrical systems. Look for leaks, rot, soft spots, damaged wiring, and other problems that could affect safety or durability.
Step 2: Repair Structural and Moisture Problems
Resolve water intrusion and repair damaged materials before installing new finishes. Have qualified professionals inspect serious structural, gas, plumbing, or electrical issues.
Step 3: Plan Your Layout and Storage
Measure the interior and decide where furniture, kitchen equipment, storage organizers, and sleeping arrangements will go. Keep walkways accessible and avoid exceeding weight limits.
Step 4: Complete Flooring and Wall Finishes
After necessary repairs, install appropriate flooring, prepare the walls, and apply suitable finishes. Protect completed surfaces while working on the remaining upgrades.
Step 5: Install Lighting, Furniture, and Kitchen Improvements
Complete planned lighting and furniture upgrades, then organize the kitchen and storage areas. Secure all fixtures properly and confirm that doors, drawers, and movable furniture can be secured for travel.
Step 6: Add Bedding and Window Treatments
Fit the mattress, bedding, curtains, and shades. Check that windows, vents, emergency exits, and storage compartments remain accessible.
Step 7: Test Everything Before Traveling
Inspect seals, test lighting and appliances, check ventilation, and confirm that cabinets and furniture are secure. Verify that the camper’s safety equipment is in working order and that all modifications comply with the manufacturer’s guidance.
Small Camper Renovation Checklist
Use this checklist to keep your project organized.
- Inspect and repair leaks before covering walls or floors.
- Choose lightweight, moisture-appropriate wall finishes.
- Install flooring suitable for the camper’s conditions.
- Select furniture that serves more than one purpose.
- Add storage organizers without blocking access to important systems.
- Upgrade lighting using compatible fixtures.
- Improve kitchen functionality without compromising safety.
- Install practical window coverings.
- Make the sleeping area comfortable and easy to maintain.
- Improve ventilation and investigate persistent moisture.
- Inspect exterior seams and use compatible sealants where needed.
- Secure furniture, appliances, and loose items before traveling.
Final Thoughts on Small Camper Renovation Must Haves
Renovating a small camper is about making limited space more comfortable, functional, and enjoyable without adding unnecessary weight or clutter.
The best improvements are not always the most expensive ones. Sometimes, repairing a leak, installing better lighting, reorganizing a cabinet, or choosing a more comfortable mattress can make a bigger difference than a complete decorative makeover.
I would start with the essentials that protect the camper and make everyday use easier. Repair moisture problems first, choose durable materials, plan storage carefully, and make sure every new fixture is safe for travel.
Once those priorities are handled, you can add the colors, textures, and finishing touches that reflect your personal style.
Most importantly, work within your budget and complete the renovation in manageable stages. You do not have to transform the entire camper at once.
By focusing on these 10 small camper renovation must haves, you can create a space that feels more organized, comfortable, and ready for your next road trip.